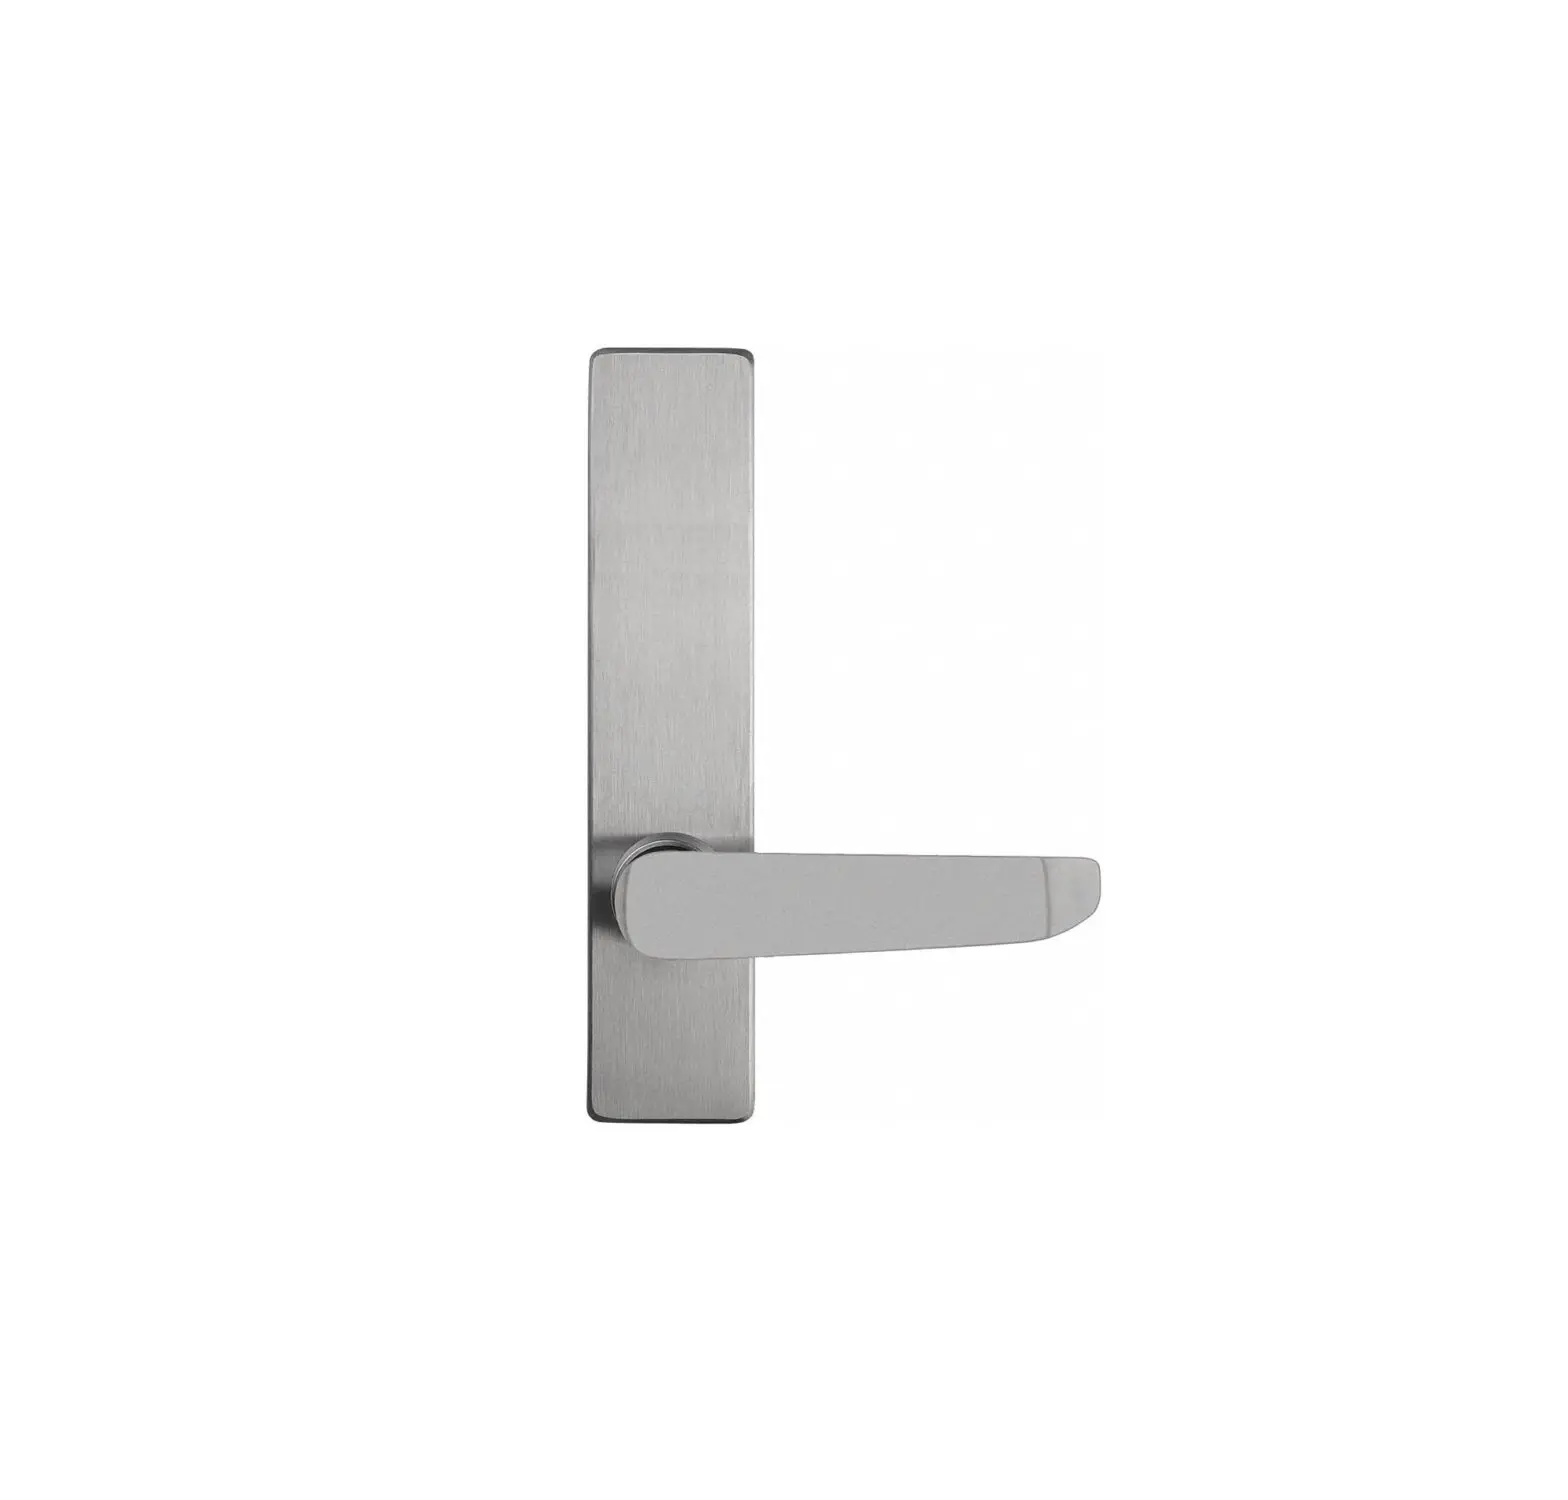
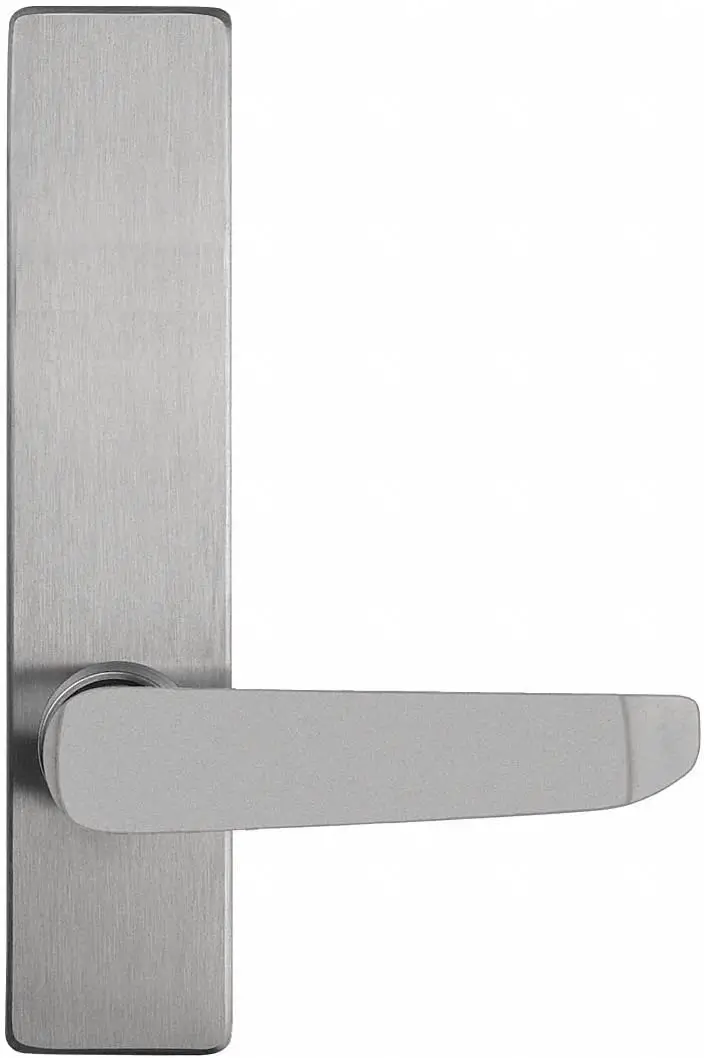
DETEX 101898 Outside Trim
TOOLS AND SUPPLIES
Safety Glasses
(Always put on safety glasses prior to beginning installation of unit)
Pencil
Center Punch
Hammer
Drill Motor
Drill Bits & Taps
Screw Driver (Phillips Drive)
Tape Measure
For WARRANTY information,
scan code below
or go to www.detex.com/warranty
For device installation videos,
scan code below
or go to www.detex.com/videos
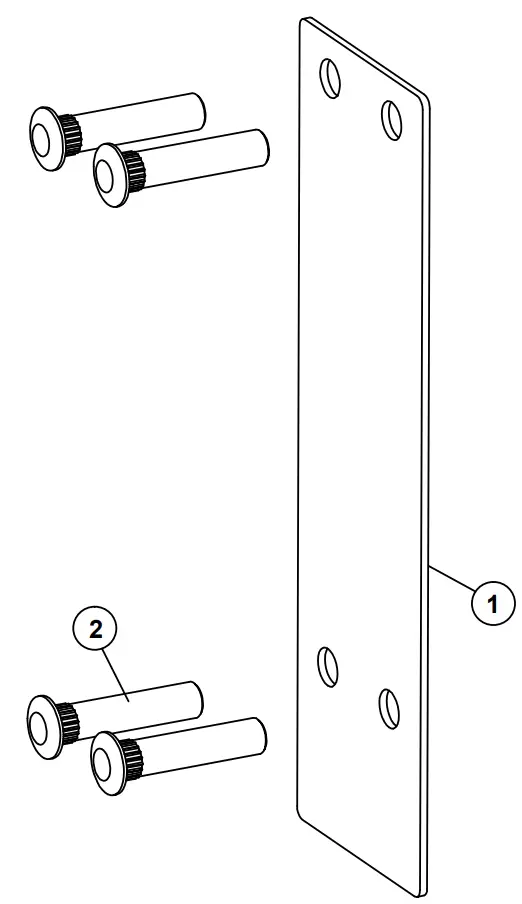
OVERVIEW
| ITEM | PART NO. | QTY | PART NO. QTY DESCRIPTION |
| 1 | 101911-9 | 1 | TRIM PLATE, 01W, BRUSHED STAINLESS STEEL FINISH (630) |
| 1 | 4 | SEX NUT, 1/4-20 |
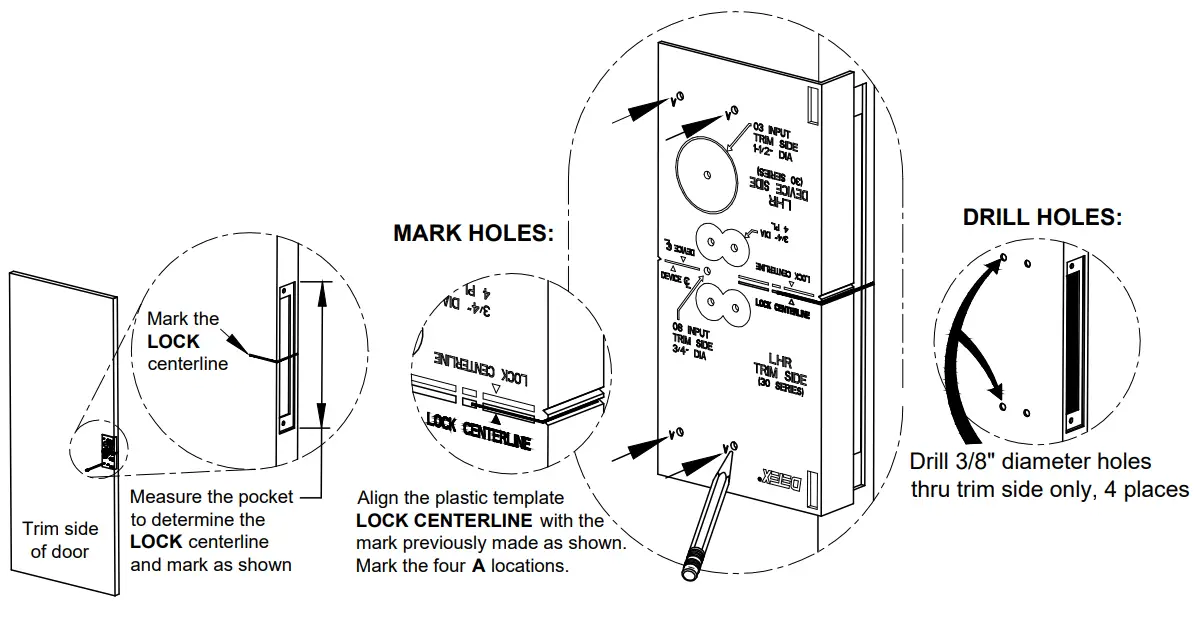
STEP 1: PREP DOOR
MARK & DRILL HOLES – TRIM SIDE
Use plastic template to mark TRIM holes (LHR shown)
NOTE: The height from the finished floor to the trim/device centerline that Detex recommends is 40″.
If unsure of trim/device centerline location, use the method below and at right to determine correct trim location.
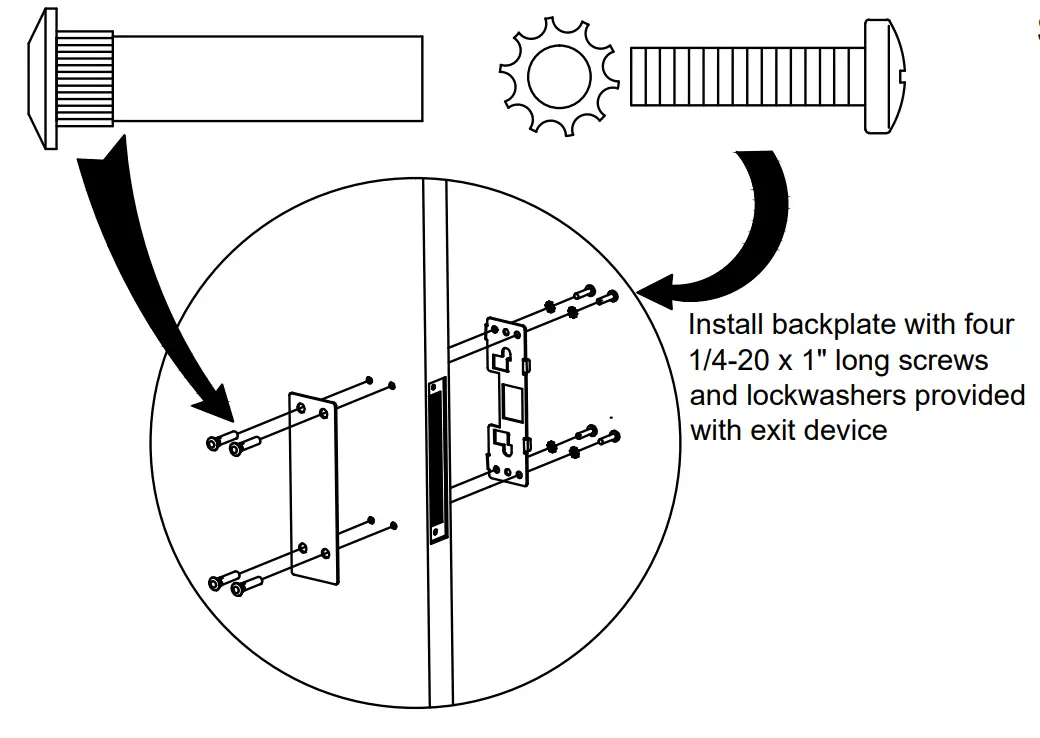
STEP 2: INSTALL TRIM
STEP 3: INSTALL MORTISE LOCK
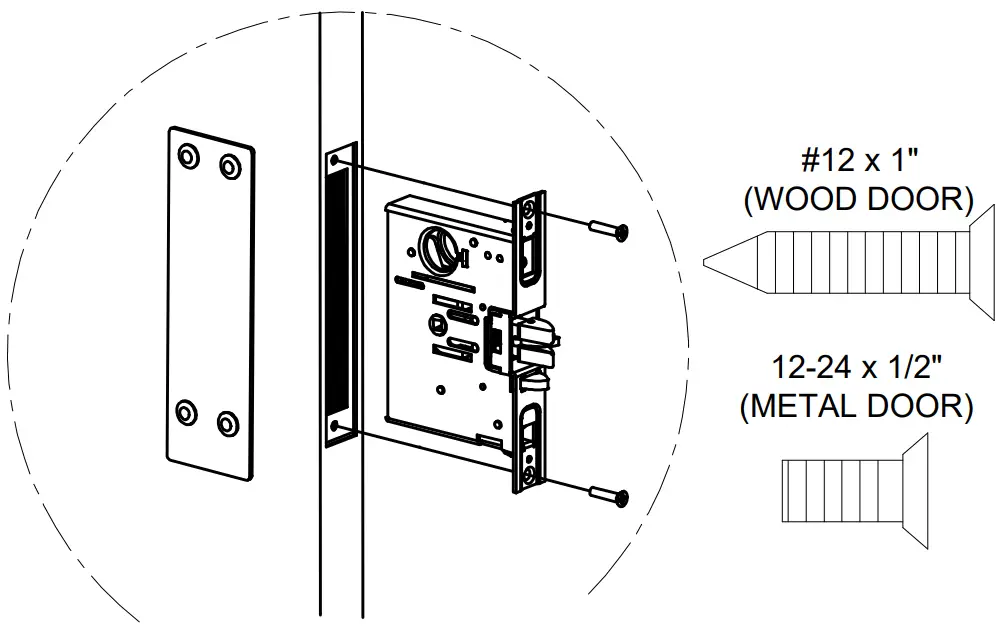
Note: Mortise lock and mounting hardware supplied with exit device. Fasten screws loosely
TRIM INSTALLATION COMPLETE
Continue installation using device instructions