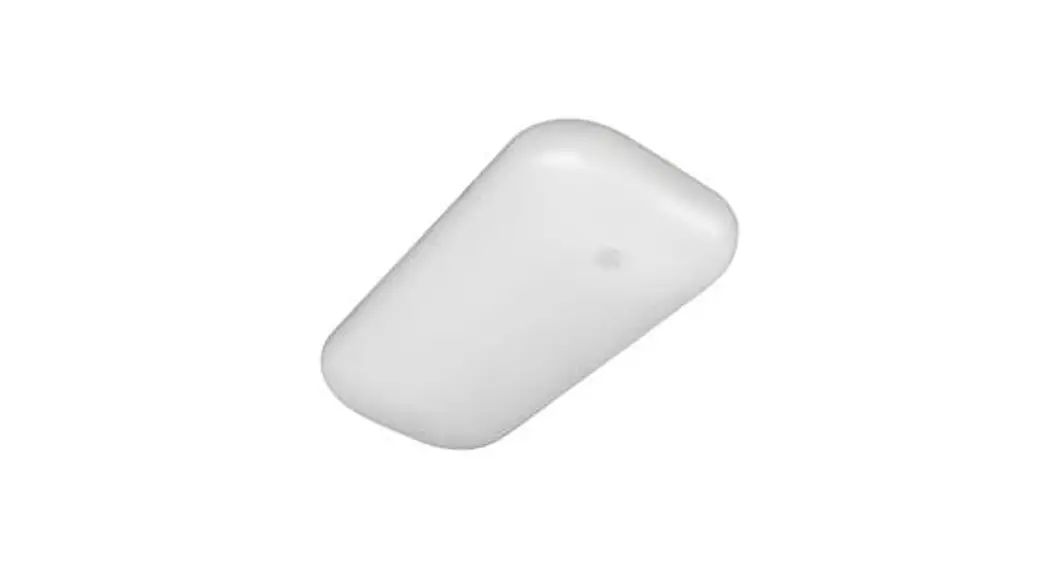
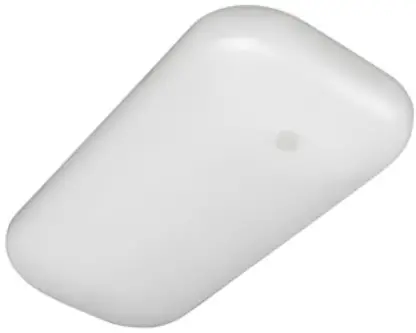
![]() 69252-12-KK Radiance X2 Light
69252-12-KK Radiance X2 Light
Instruction Manual
PARTS/TOOLS NEEDED:
 | 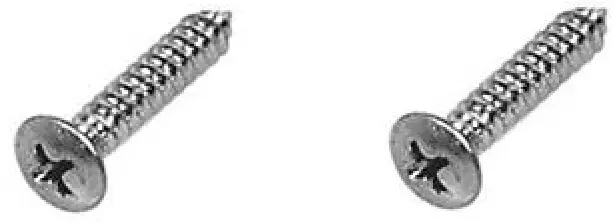 | 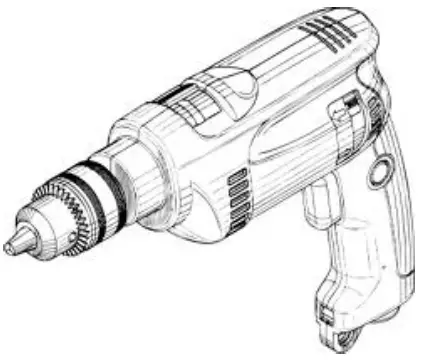 |
| RadianceX2 Light | Four #6 Pan Head Screws (not provided) | Power Drill (not provided) |
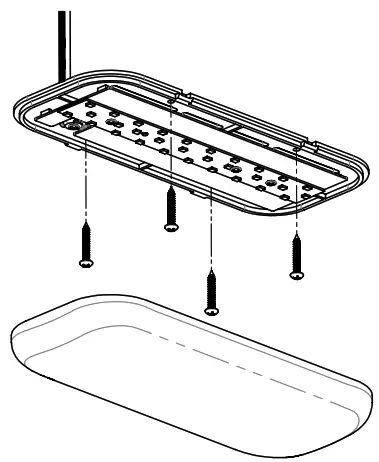
- Start by removing the frosted lens from the fixture (Note, you may need to use a screw driver to gently remove the lens).
- Use CSA approved wire connectors to connect the fixture’s white neutral wire (-) to the neutral wire (-) on the unit’s supply circuit. Next, connect the fixture’s black live wire (+) to the live wire (+) on the unit’s supply circuit.

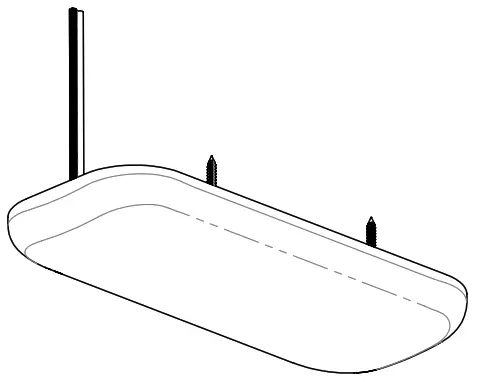
- Next, hold the fixture base up to the mounting sur face and mark the location of each screw. Attach the light using #6 pan head screws (customer provided) to marked area.

- Snap the frosted lens into place on the fix ture and test light.


For warranty information please visit www.itc-us.com/warranty-return-policy
Rev A • 01/19/16
![]() 3030 Corporate Grove Dr.
3030 Corporate Grove Dr.
Hudsonville, MI 49426
Phone: 616.396.1355
itc-us.com
Part#: 69252-12-KK


