![]() INSTALLATION INSTRUCTIONS
INSTALLATION INSTRUCTIONS
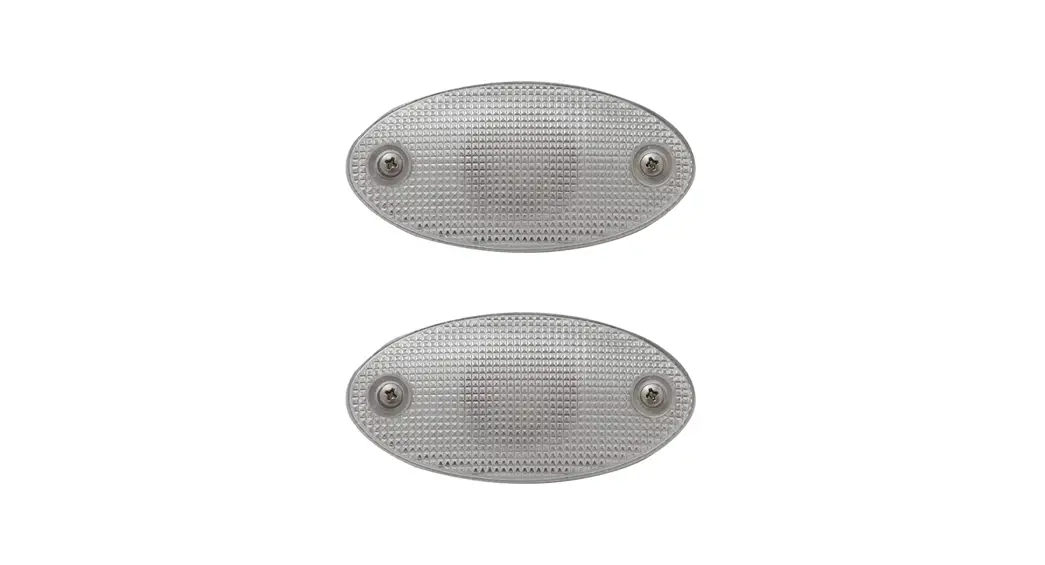
Luna Courtesy Light
Part#: RN LL12XX-0412-KIT
PARTS / TOOLS NEEDED:
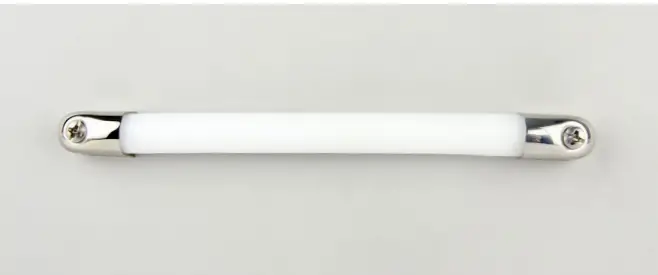
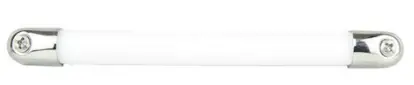 | Luna Courtesy Light w/ SS End Caps |
| Mounting Screws (Qty: 2) | |
| Silicone Sealant (not provided) | |
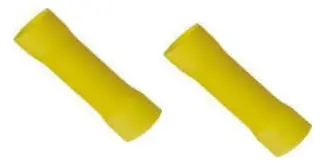 | Butt Splices (not provided) |
 | Power Drill (not provided) |
Safety Instructions
- Disconnect power before installing, adding or changing any component.
- To avoid a hazard to children, account for all parts and destroy all packing materials.
- Do not install any luminaire assembly closer than 6” from any combustible materials.
Installation Considerations
- Do not bend lighting more than necessary. It should only be bent to a 1” radius. Bending to a tight 90 degree angle could cause damage to the circuit.
- Only bend the LED ribbon in one natural direction, do not try to bend in an unnatural direction such as twisting.
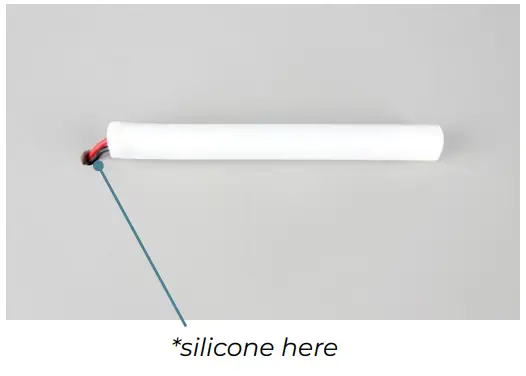
- Start installation at the wire lead end.
- Determine installation location and drill a hole in the mounting surface for wires.

- Feed the wires into the hole and apply silicone* around the hole and wires.

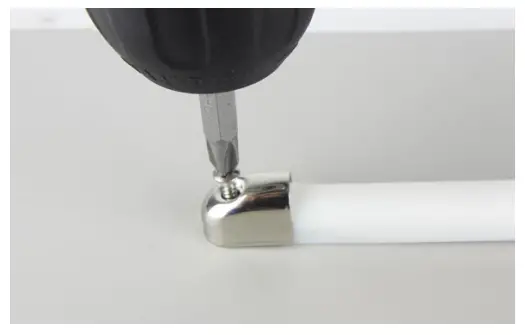
- Secure the encaps to the mounting surface using the provided screws

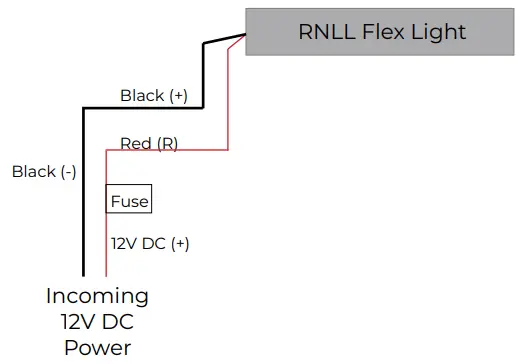
- Follow the wiring diagram below to wire the light to your system.


Please review the considerations below to ensure a successful installation.
*RNLL flexible lighting cannot be field cut. Field cutting the light will void the warranty. ![]()
Do not horizontal bend to a radius of less than 11.8” 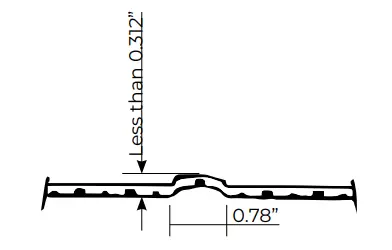
Do not axial bend to the height of more than 0.312” within 0.78” segment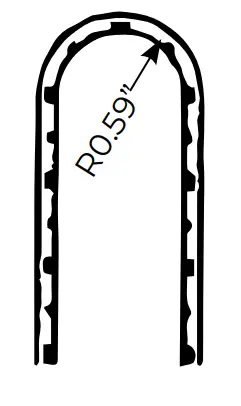
Do not bend to a radius of less than 1/2”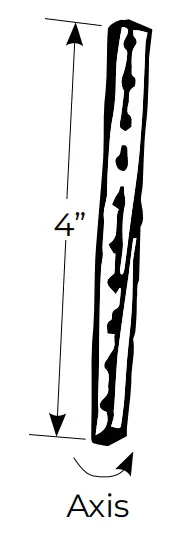
Do not twist more than 90° over the length of one 24V segment / Two 12V segments (4” total length)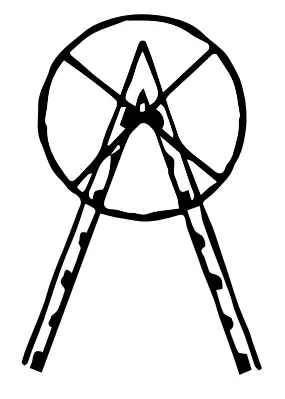
Do not bend flexible light at 90°
![]() 3030 Corporate Grove Dr.
3030 Corporate Grove Dr.
Hudsonville, MI 49426
Phone: 616.396.1355
itc-us.com
For warranty information please visit www.itc-us.com/warranty-return-policy
DOC #: 710-00113 • Rev A • 04/02/19


