ITC Flexible Light

PARTS/TOOLS NEEDED
| PARTS/TOOLS NEEDED: | |||
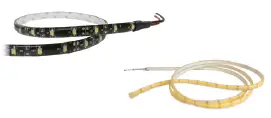 | 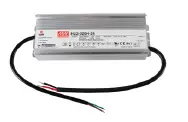 | 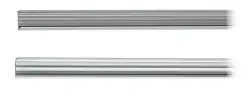 | 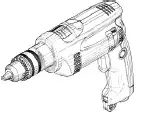 |
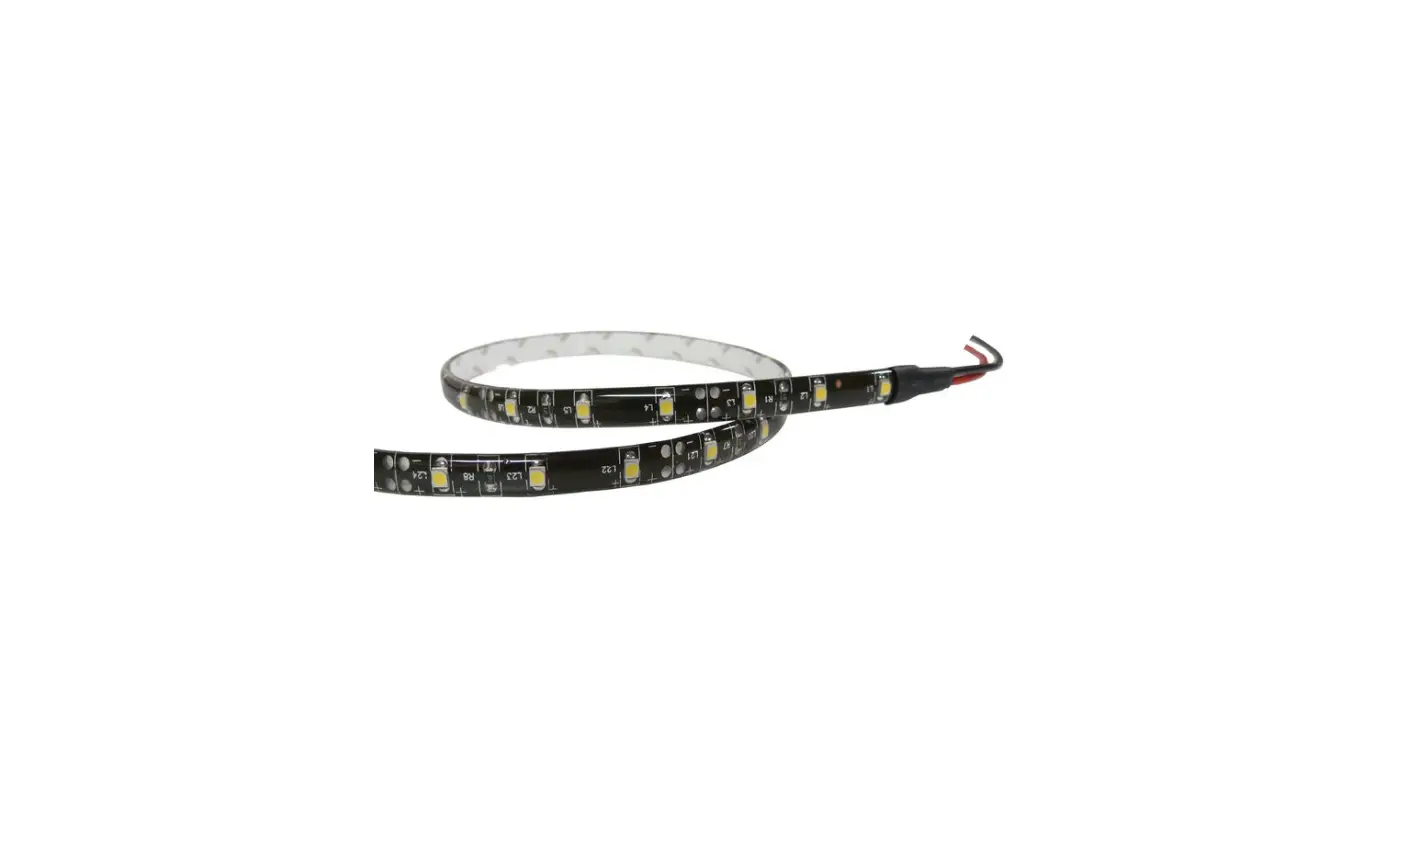
| Flexible Light | UL Recognized Power Supply (purchased separately) | Mounting Channel (purchased separately) | Power Drill (not provided) |
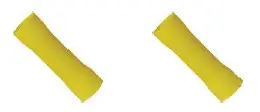 |  |  |  |
| Butt Splice Connectors (not provided) | #4 Flat Head Screws (not provided) | Alcohol Wipes (not provided) | Primer 94 (not provided) |
IMPORTANT SAFETY INSTRUCTIONS
READ CAREFULLY FOR YOUR PROTECTION AND SAVE ALL INSTRUCTIONS
- Disconnect power before installing, adding or changing any component.
- To avoid a hazard to children, account for all parts and destroy all packing materials.
- Use only with a UL-approved power supply.
INSTALLATION CONSIDERATIONS
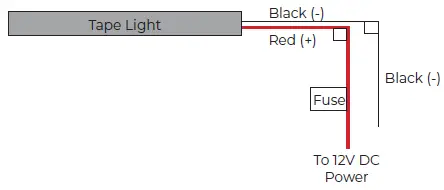
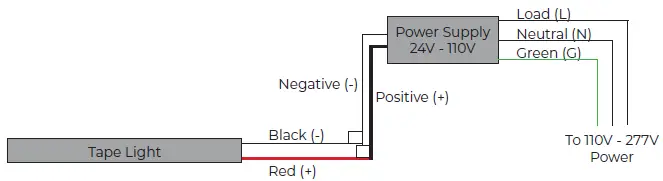
- It is recommended that fuse protection be added to the positive (+) input.
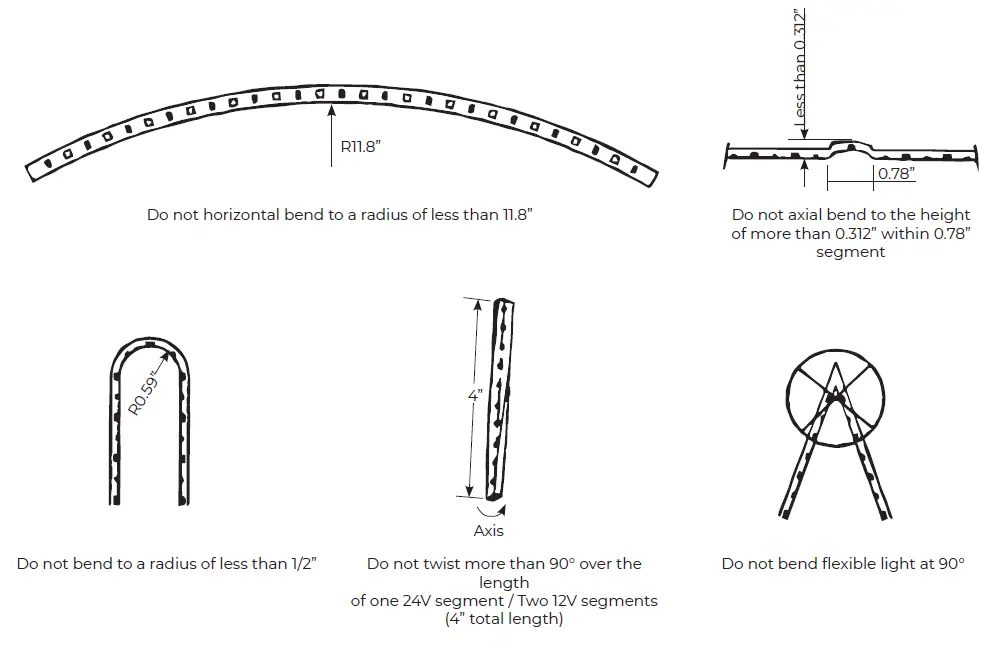
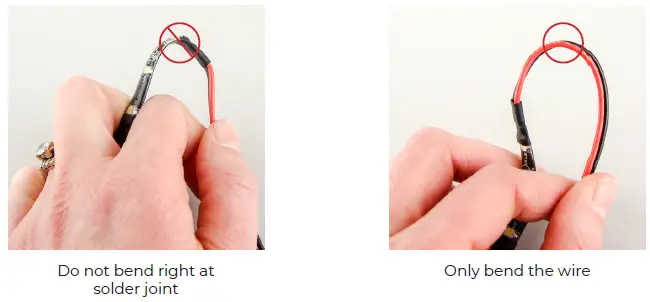
- Do not bend lighting more than necessary. It should only be bent to a 1” radius. Bending to a tight 90° angle could cause damage to the circuit.
- Only bend the LED ribbon in one natural direction, do not try to bend in an unnatural direction such as twisting.
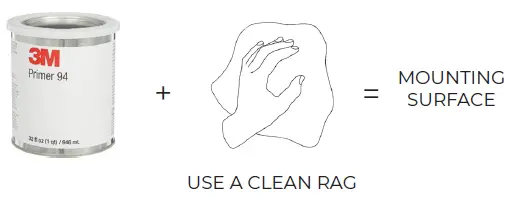
- Make sure surfaces are smooth, clean, and free of dust and debris before installing this product. Surfaces should be cleaned and primed per the 3M specified cleaning instructions* on page two. Failure to properly clean the surface may result in loss of adhesion.
- Rough surfaces may prevent proper adhesion. If adhesion failure occurs, screw-in mounting channels may be used for installation. Contact ITC sales for more information on mounting channels: 616-396-1355 / [email protected].
DO NOT TWIST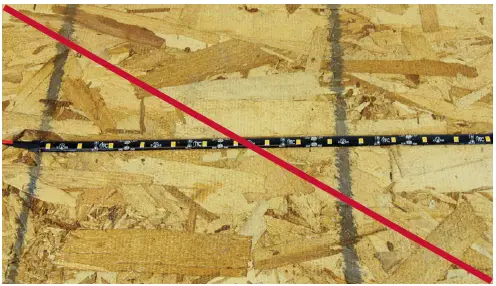
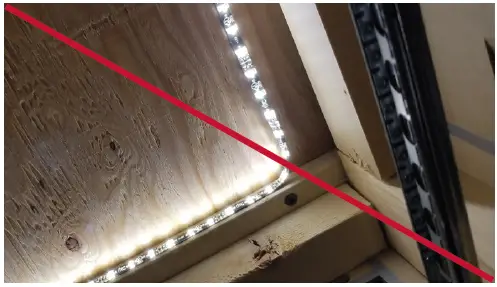
DO NOT INSTALL ON ROUGH PLY-WOOD Recommend use of mounting channel TPB-1 or TPB-2.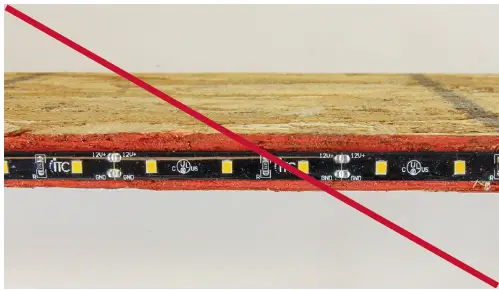
DO NOT INSTALL ON A ROUGH EDGE Recommend use of mounting channel TPB-1 or TPB-2.
INSTALLATION INSTRUCTION
- Clean the surface with a mixture of 50% water/50% isopropyl alcohol.
Let the surface dry.
- Apply Primer 94 as recommended by 3M.
Failure to follow the surface preparation guidelines will void the warranty.
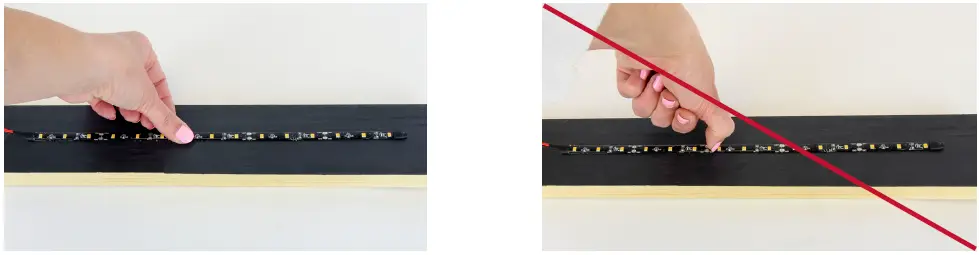
- Remove the paper backing and firmly press the light in place.
DO NOT slide or drag your thumb along the tape light or the silicone may be pulled off.
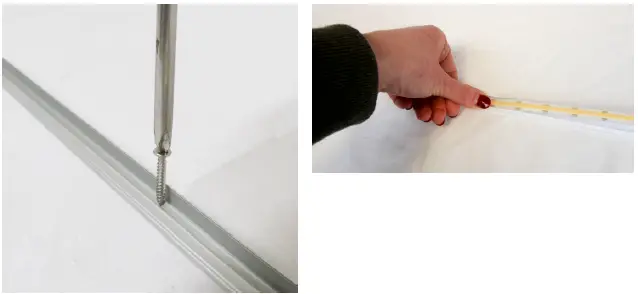
- If using mounting channels for installation, they are available in screw or adhesive mount. Install per your desired method.
Screw Mount Channel: Screws should be used every 12”.
Adhesive Mount Channel:
Follow the same cleaning instructions above and remove the paper backing from the channel and press in place.
Both Channels:
Remove the paper backing from the light and press the light into the channel.
- Wire the light based on the wiring diagrams below.


- Please review the considerations below to ensure a successful installation.
Flexible light cannot be field cut. Field cutting the light will void the warranty.


3030 Corporate Grove Dr. Hudsonville, MI 49426 Phone: 616.396.1355 itc-us.com.
Warranty Information
For warranty information please visit www.itc-us.com/warranty-return-policy
DOC #: 710-00127 • Rev F • 02/02/21.


