![]() Facade™ Flex Light
Facade™ Flex Light
Part#: AFLD24KK-LLLWL-15-XX
Instruction Manual
AFLD24KK-LLLWL-15-XX Facade Flex Light
PARTS / TOOLS NEEDED:
 |  | |
| Façade Flex Light | UL Approved Power Supply (purchased separately) | Mounting Track (purchased separately) |
| Butt Splice Connectors | #4 Flat Head Screws |  |
| Not provided | Not provided | Power Drill |
Safety Instructions
- Disconnect power before installing, adding or changing any component.
- To avoid a hazard to children, account for all parts and destroy all packing materials.
- For safety purposes, ITC recommends tape light installations be used with a Class 2 power device. For installations without a Class 2 power device, it is highly recommended that appropriate fusing be used, to be determined by tape light length.
Installation Considerations For All Flexible Lighting Products
- Do not bend lighting more than necessary. It should only bent to a 1” radius. Bending to a tight 90 degree angle could cause damage to the circuit.
- Only bend the LED ribbon in one natural direction, do not try to bend in an unnatural direction such as twisting.
**Installation Considerations For AFLD Flexible Lighting
- Unroll the entire length of Facade (AFLD) before installing.
- Start at the wire lead end and beginning of channel, work the light into the channel going 6” at a time. The light should go into the channel pretty easily by just thumbing it in.
- When pushing the light into the channel, make sure to push towards the wired end. The silicone on the light is flexible and pushing away from the wired end will leave a gap at the end of the run.
- Do not use any roller as that may cause damage to the LED circuit.
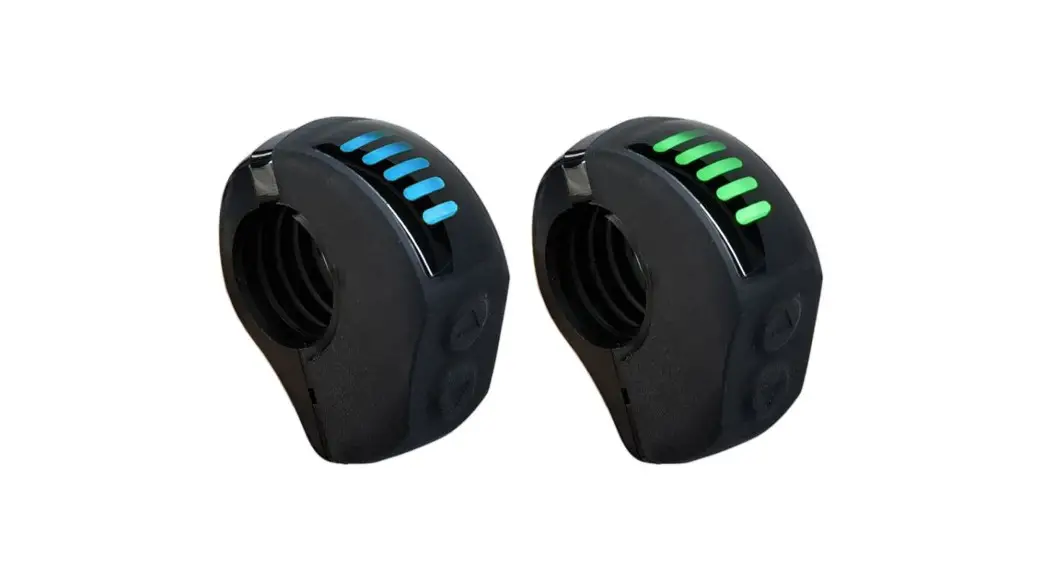
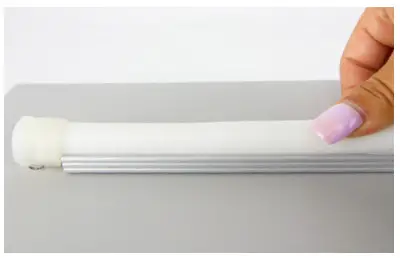
- Each RGBW flex light length will include a driver that prevents the RGB LED and white LED from turning on at the same time. Care should be taken during installation to accommodate the size of the driver box (see dimensional drawing below).
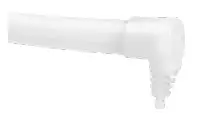
1. Determine the installation location and install the track by either taping or screwing in place. Install the light in the track by gently rocking it back and forth. Refer to installation tips above to ensure a successful installation.
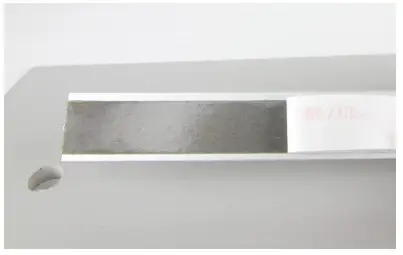 | 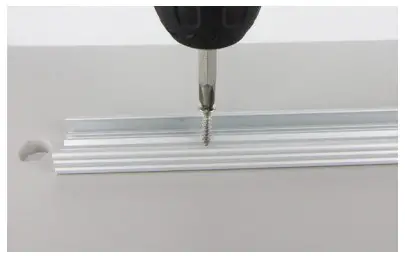 |  |
| Adhesive Mount Track* | Screw Mount Track* | Installing Light** |
 Driver Box (applies to RGBW only)
2. Follow the wiring diagram below to wire the light to your system.
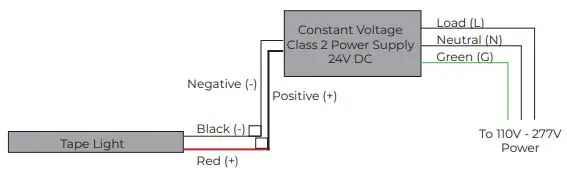 | 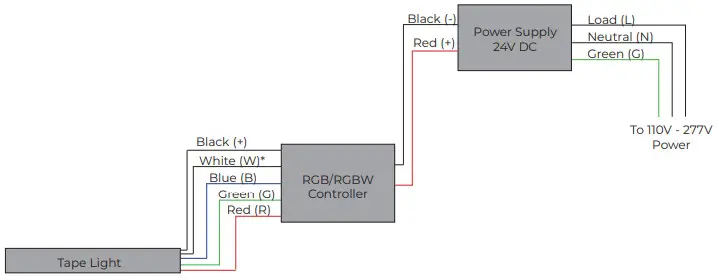 |
| Single Color Wiring | RGB/RGBW Wiring *Note, if using the RGB Facade it will not have a white wire |
3. Please review the considerations below to ensure a successful installation.
Do not horizontal bend to a radius of less than 48”
Do not bend top to bottom to a radius of less than 5”
*AFLD flexible lighting cannot be field cut. Field cutting the light will void the warranty.
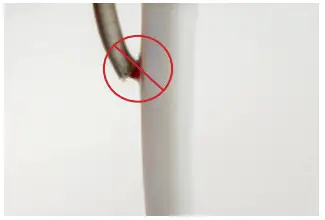 Do not bend sharply at jacket exit.
If wire is bent to sharply it may allow water into light. To prevent water ingress, add silicone sealant around wire exit.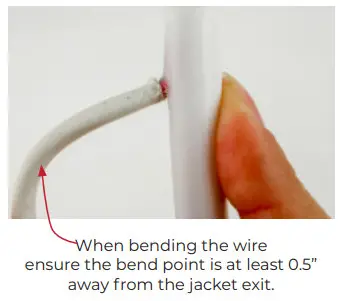
![]() 3030 Corporate Grove Dr.
3030 Corporate Grove Dr.
Hudsonville, MI 49426
Phone: 616.396.1355
itc-us.com
For warranty information please visit www.itc-us.com/warranty-return-policy
DOC #: 710-00062 • Rev H • 06/30/21


