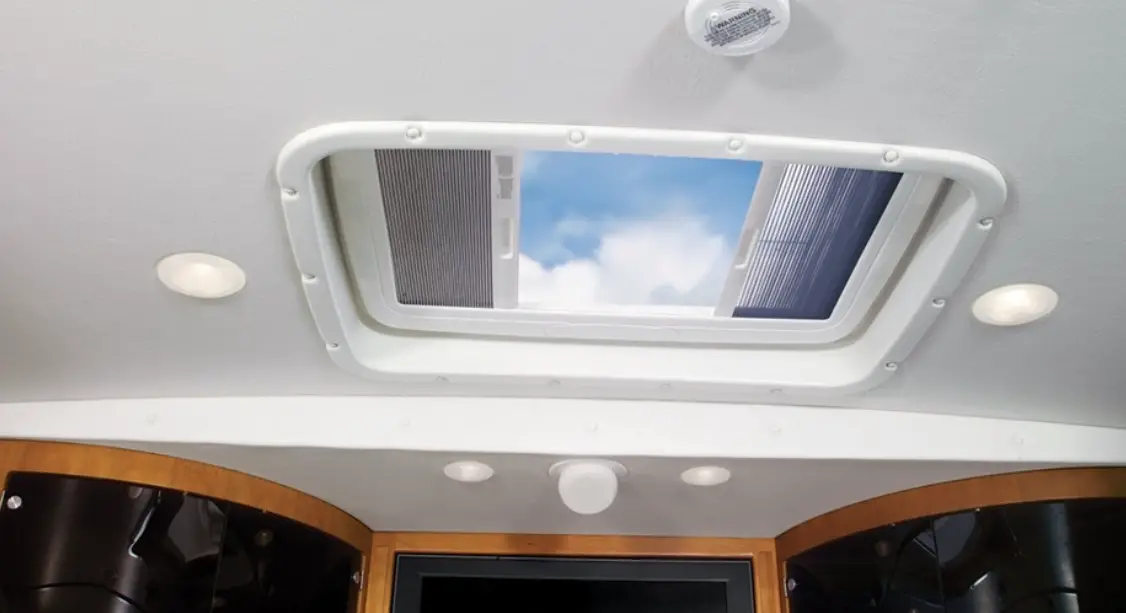
ITC 69231B and 69240 LED Radiance Light

Installation Instruction
| PARTS/TOOLS NEEDED: | |||
 |  |
|
|
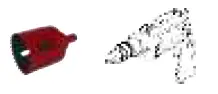
| Radiance Overhead Light | Wire Nuts (Not Provided) | Power Drill w/Hole Saw Bit (Not Provided) | Mounting Screws (Not Provided) |
IMPORTANT SAFETY INSTRUCTIONS.
READ CAREFULLY FOR YOUR PROTECTION AND SAVE ALL INSTRUCTIONS.
- Disconnect power before installing, adding or changing any component.
- To avoid a hazard to children, account for all parts and destroy all packing materials.
- It is recommended that fuse protection be added to the positive (+) input.
- Determine where your LED light fixture will be installed. Once dtermined, drill a hole using a hole saw (see chart below for hole size requirement).

- Mounting Method : Cutout
- 69231B (81229) 2.25”
- 69240 (81232) 3.5”
- 69926 2.5”
- Mounting Method : Cutout
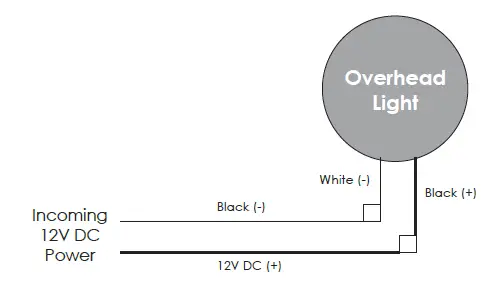
- Use the wiring diagram below to wire the light to the units power.

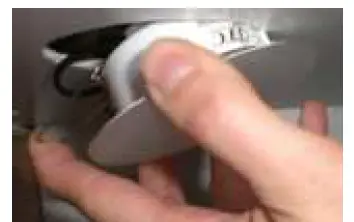
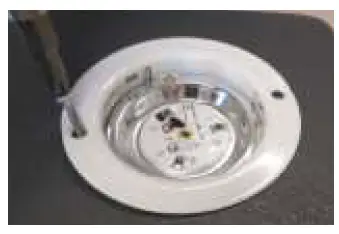
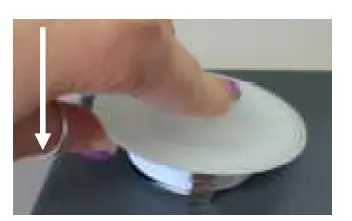
- Installing the spring clip version: Push the clips on both sides of light up and slide housing and clips through hole. Clips will snap down and hold the light in place.

- Installing the screw mount version: Remove cover by twisting counter clockwise. Mark location of screw holes and pre-drill. Screw in fixture and re-install cover by twisting clockwise

- Installing the leaf spring version: Push light in at an angle and press down on opposite side until light is firmly seated in hole