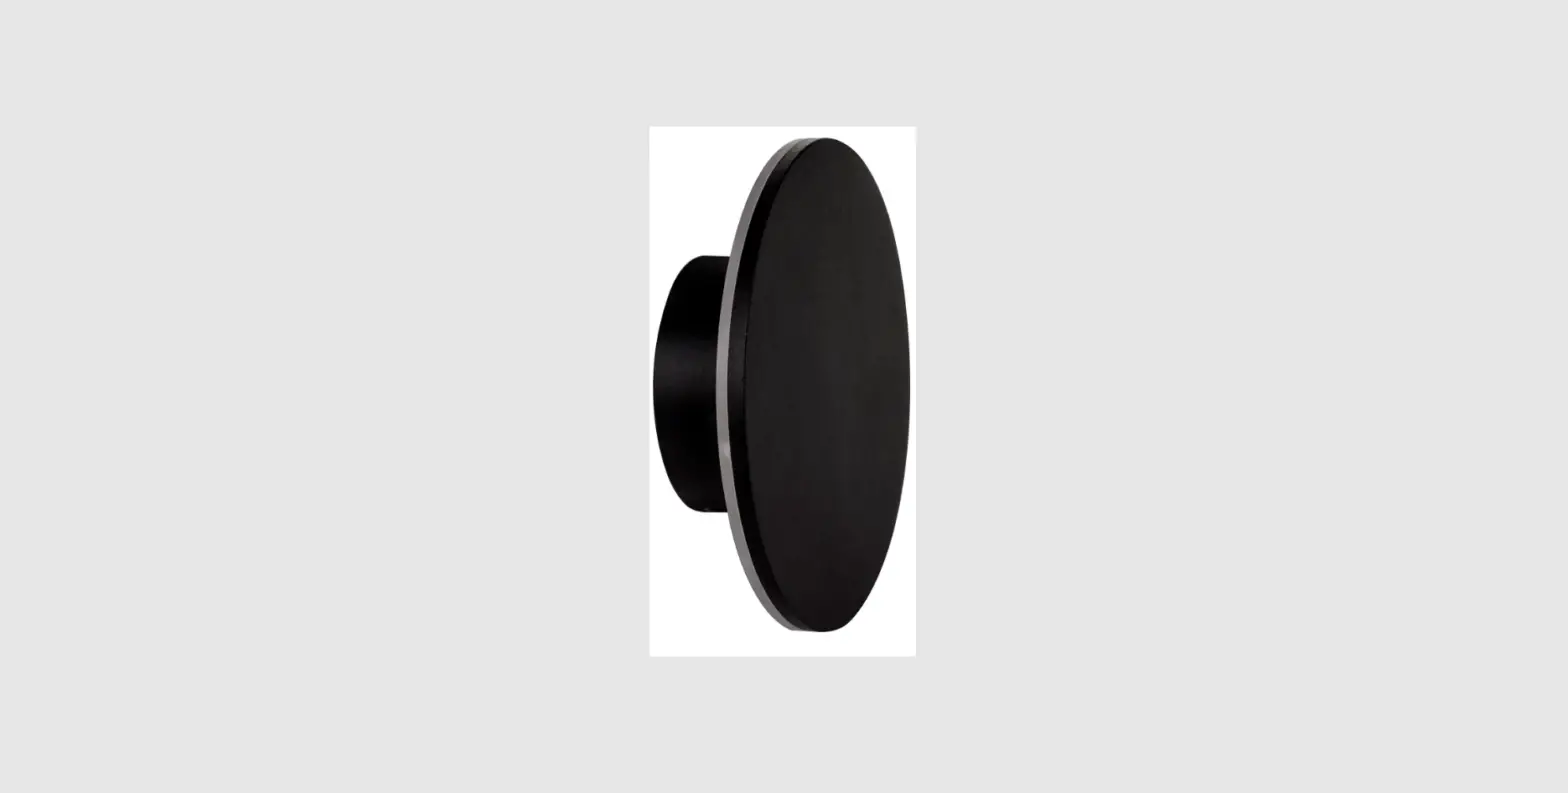
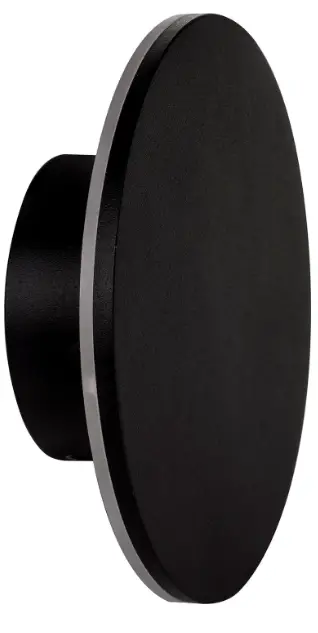
HAVIT HV3592T-BLK Halo Wall Light
Product Specifications
| Model No. | HV3591T-BLK | HV3591T-WHT | HV3592T-BLK | HV3592T-WHT | HV3593T-BLK | HV3593T-WHT | HV3594T-BLK | HV3594T-WHT |
| Name | Halo | |||||||
| Material | Aluminium | |||||||
| Colour | Black | White | Black | White | Black | White | Black | White |
| IP Rating | IP65 | |||||||
| Input Voltage | 240v AC | |||||||
| Lamp Base | Built in LED | |||||||
| Lamp Wattage | 1x 7w | 1x12w | 1x18w | 1x24w | ||||
| Colour Temp | TRI Colour – 3000k, 4000k, 5500k | |||||||
| Lumens | 540lm, 550lm, 560lm | 960lm, 1020lm , 1080lm | 1315lm, 1380lm, 1440lm | 1920lm, 2040lm, 2160lm | ||||
| CRI | > 80 | |||||||
| Wiring | Parallel | |||||||
| Dimmable | Yes – Triac Dimmable | |||||||
| Warranty | 3 Years Replacement* | |||||||
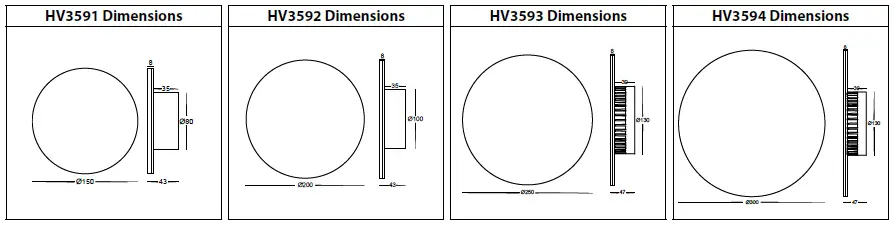
DIMENSIONS
Important Safety Issues
- This product must be installed by a qualified electrician according to AS/NZS 3000.
- Ensure all electrical mains are disconnected before any installation.
- Modification of this product will void any warranty.
- Havit Lighting does not take responsibility for wrong installation, incorrect use, or use of installation material that does not belong to the system.
- Aluminium and 304SS fittings must not be installed within 5km of any salt water environments.
- All o-rings and seals must be in place correctly to maintain warranty
- When using dimmers, Havit Lighting has tested on its own model dimmers and product works fine, When using other model dimmers, Dimming results could be different.
- This form may be updated at any time due to product improvements, please check online installation form for most current version.
Steps for Installation
- Make sure that the electrical circuit is free of voltage (master switch off)
- Remove the screws from side of fitting and set aside
- Remove base plate from fitting
- Install base plate to wall in desired location using appropriate screws for application.
- Seal all holes including cable entry hole and mounting screws.
- Connect the cable – use wire with earth; connect the earth first, then live and neutral wire
- Fitting is preset to 3000k, to change slide switch to desired colour temperature
- Reattach fitting to base plate making sure screws are tight to avoid water penetration
- Apply silicon around edge of bas to prevent any water from getting inside to electrical connections.
- All connections must be carried out carefully, inspect all contacts before switching back on the electric circuit.
Must be installed by a licensed electrician
Contact Details:
143 Beauchamp Road Matraville NSW 2036 Australia Tel: 02 9381 8300 Fax: 02 9666 8881 Email: [email protected] Web: www.havit.com.au


