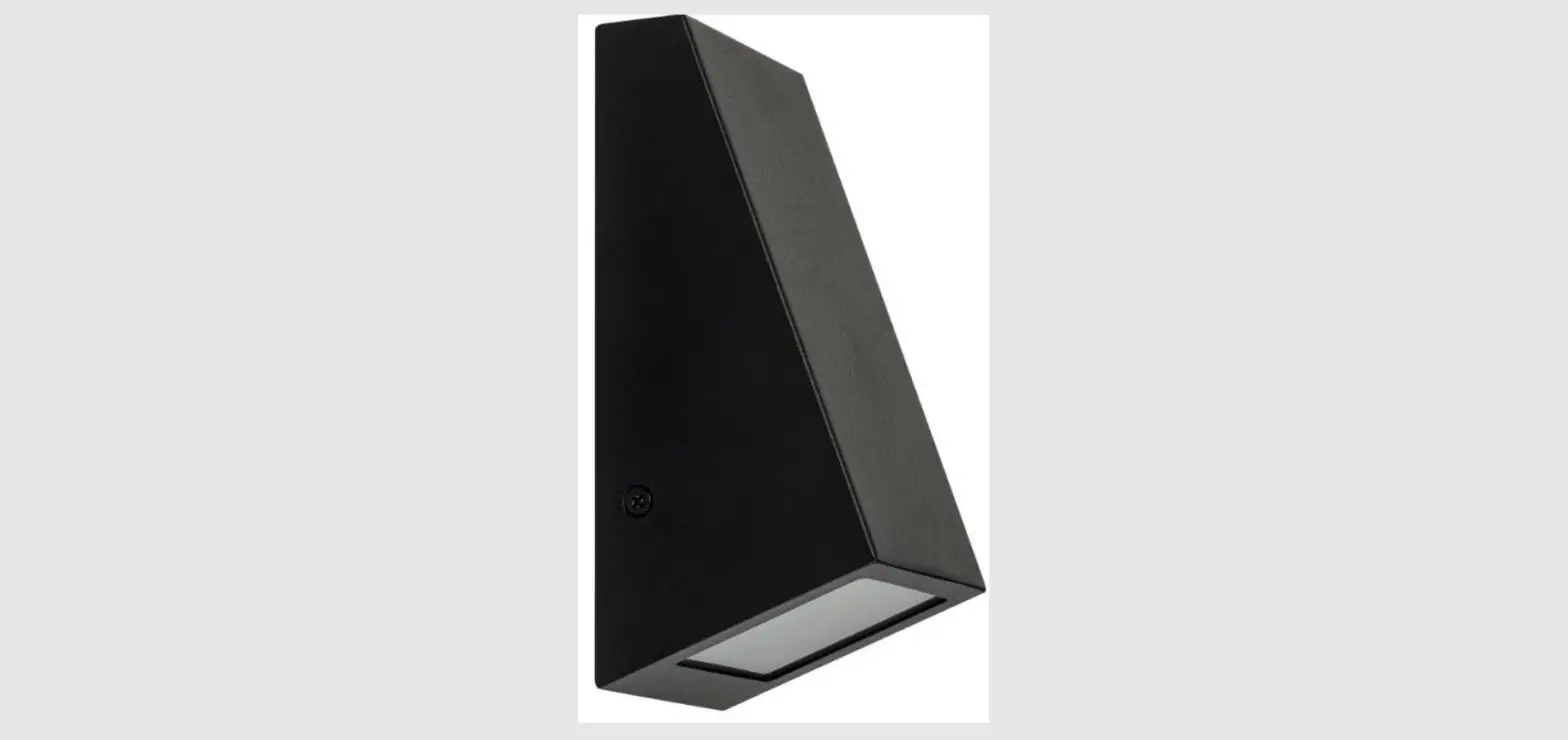
HAVIT HV3602T-BLK Taper Wall Light
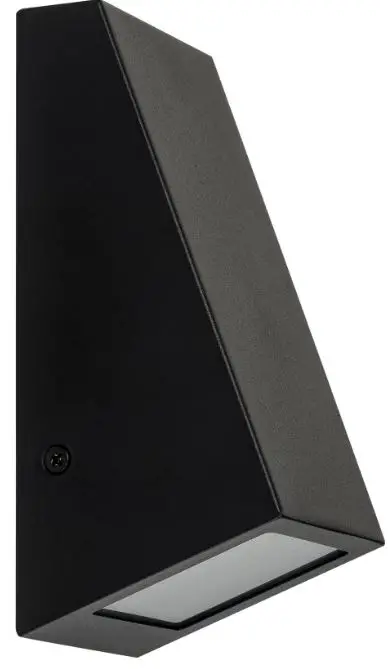
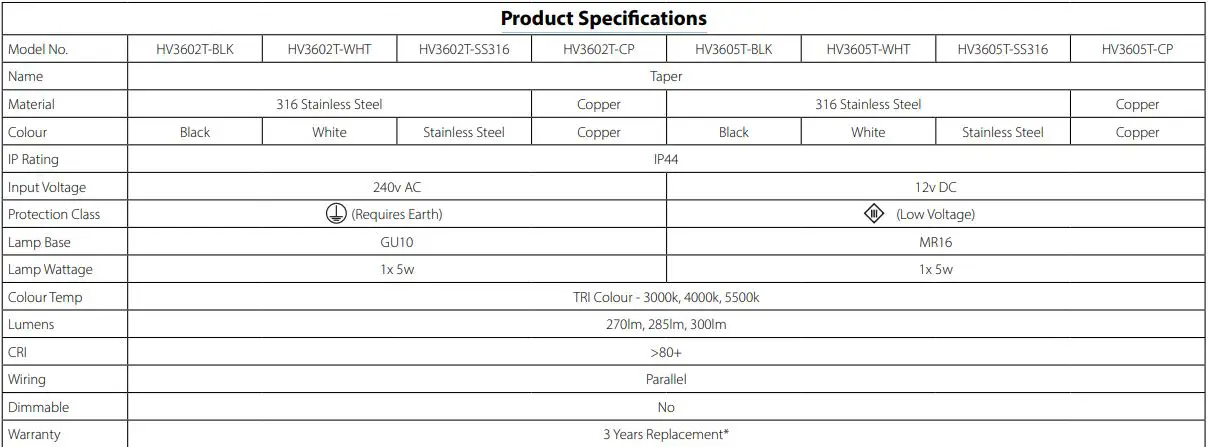
PRODUCT SPECIFICATION
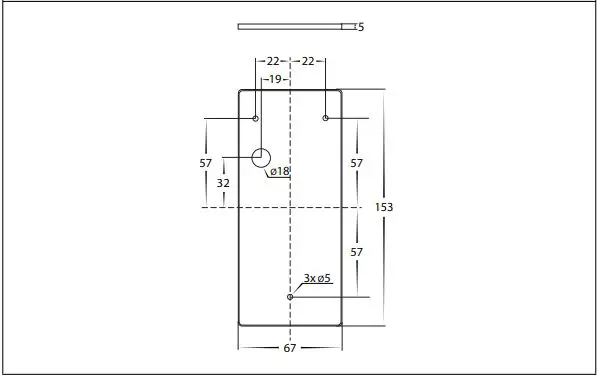
DIMENSIONS

MOUNTING BASE
Important Safety Issues:
- This product must be installed by a qualified electrician according to AS/NZS 3000.
- Ensure all electrical mains are disconnected before any installation.
- Modification of this product Will vold duy
- Must not exceed maximum wattage GU10 3w/G4 20W
- Havit Lighting does not take responsibility for wrong installation, incorrect use, or use of installation material that does not belong to the system.
- When installing low voltage fittings, Voltage to fitting must be within +or- 5% of voltage required and cannot be installed more than 25m from LED Driver, if not within this allowance warranty will be
voIded. - When installing copper fittings, gloves must be worn to avoid any oils transferring to hitting
- All 316&304 stainless steel fittings must have regular cleaning maintenance to avoid any tea staining from forming on fitting.
- Warranty does not cover lea staining
- All o-ings and seals must be in place correctly to maintain a warranty
- This form may be updated at any time due to product improvements, please check the online installation form for most current version.
Steps for Installation:
- Make sure that the electrical circuit is free of voltage (master switch off)
- Remove the screws from the side of the fitting and remove the cover and set aside
- Install base plate to the wall in the desired location
- Seal all holes including cable entry and mounting holes
- 240V Models-use wire with earth; connect the earth first, then live and neutral wire
- 12v DC Models – Using an appropriate 12v DC LED Driver- DO NOT CONNECT LIGHT FITTING DIRECTLY TO 24ov
- Colour temperature is set to 3000K. lo change, Remove globe by twisting anti clockwise and select desired colour temperature by moving switch on side of globe and then reinsert globe.
- Reattach cover to base plate making sure screws are tight to avoid water penetration
- Apply Silicon around edge of ting to prevent any water from getting inside to electrical connections.
- 10. All connections must be carried out carefully, inspect all contacts before switching back on the electric circuit.
Steps for Changing Globe:
- Remove cover from fitting by removing the 2 screws and removing cover
- Remove globe by twisting anti clockwise for GU10 and pull for G4 models.
- Re-insert the appropriate globe by twisting clockwise for GU10 or push gently into the lamp holder (Make Sure not to exceed max wattage, see product label for correct info)
- Reattach cover to base plate making sure screws are tight to avoid water penetration
- Apply silicon around edge of fitting to prevent any water from getting inside to electrical connections.
Must be installed by a licensed electrician
Contact Details
- 143 Beauchamp Road Tel: 02 9381 8300
- Fax: 02 9666 8881
- Email: [email protected]
- Matraville NSW 2036
- Australia
- Web: www.havit.com.au
Warranty Terms &Conditions
Additional Information