
primo 1057278 Coffee Machine Installation Guide
TECHNICAL INFORMATION – MINI
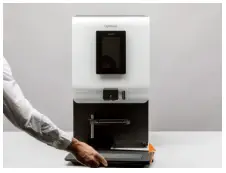
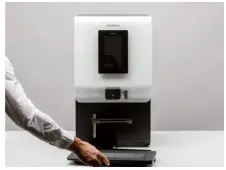
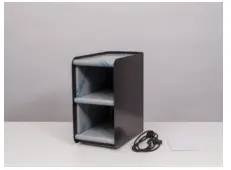
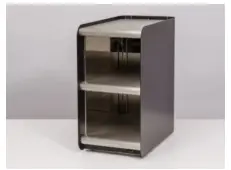
The Primo Mini is a slimline Instant Machine. The machine has 3 canisters, is capable of 24 different drink choices, and produce a drink every 10 seconds:
- External Dimensions: W409xD569xH520mm
- Capacity Instant Canisters: 1×2.3L and 2×1.2L
- Noise Emission: <70dB
- Weight: 18kg

TECHNICAL INFORMATION – MIDI
The Primo Midi is an Instant Machine capable of 24 different drink choices, and with 4 canisters provides a great variety. The Midi can produce a drink every 10 seconds:
- External Dimensions: W409xD520xH569mm
- Capacity Instant Canisters: 4×1.2L
- Noise Emission: <70dB
- Weight: 23kg

Parts Included
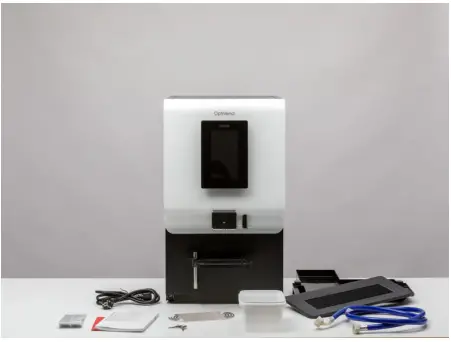
Check the contents:
- Primo Mini/Midi Machine
- Drip Tray and Grid
- Waste Bin (inside machine)
- Cleaning Container
- Power Cable
- Westomatic Hose set
- Canister Labels
- Keys
- Safety Instructions
Welcome Booklet
NB: The machine will have been set up to your specifications and tested at Westomatic HQ prior to install. All parts have been assembled on the machine. The QR code inside the machine gives access to the We:Support pages with technical information.
Important:
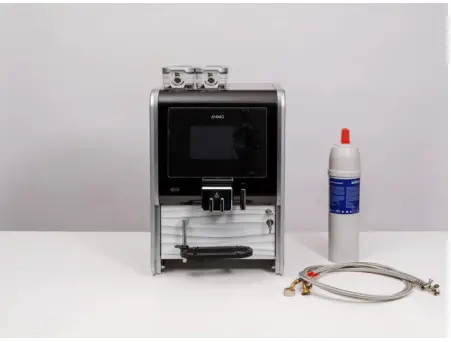
Westomatic strongly recommend using a water filter to prevent scale build up in the parts – if this happens the warranty on the machine becomes void.
- Ensure genuine Westomatic water hoses are used, fitted with a water cut-off
- Ensure the power supply has a capacity of at least 2.5W.
- Ensure the surface has a capacity of at least 50kg
- Water supply requirements:
Water Pressure: 0.2 – 1.0MPa (2-8 Bar) Flow Rate: >1L/Min Water Temperature: <25°C
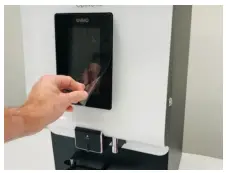
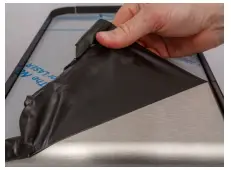
- Ensure the protective foil is removed from the touchscreen.

- Once in place – Level the machine Min Clearances: Rear: 50mm Above:250mm Left: 100mm
- Connect water filter to Primo – ensure new hoses are used
- Connect water filter to main water – set filter to hardness of local area
- Place grill into drip tray
- Slide drip tray into machine
- Place the cup tray grill onto tray and firmly push down to clip into place
- Westomatic will have taken your set up specifications and attached labels
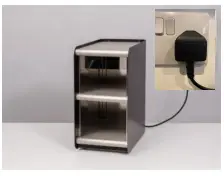
- Connect Primo to an earthed power socket
- Switch the Primo Mini/Midi on – switch located below instant canisters.
- Close the lid, and the door. Lock the door.
- Machine is set up and ready to use or install any accessories

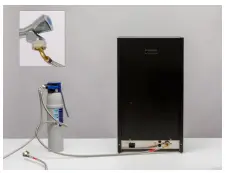


INSTALL WASTE TO BASE DRAIN
There is the option to have plumbed drainage from the drip tray to waste water drain:
Required Items:
- The Primo Drain Hose WVS PN: 1057278 (Midi)
- A screw driver
- Combination Pliers
NB: The machine must be situation within close proximity of a waste water drain – and there needs to be height differential to ensure the water flows freely into the drain.
- Remove the drip tray from the machine

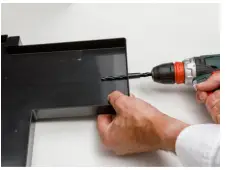
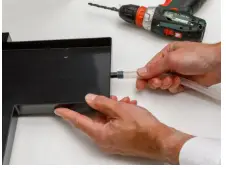
- Drill a 6mm hole in drip tray connector.
- Connect the drain hose to the drip tray connector.
- Route the hose to the rear under the machine.

- Place and fix the drain hose in the waste water drain.
- Replace drip tray at the front of the machine.


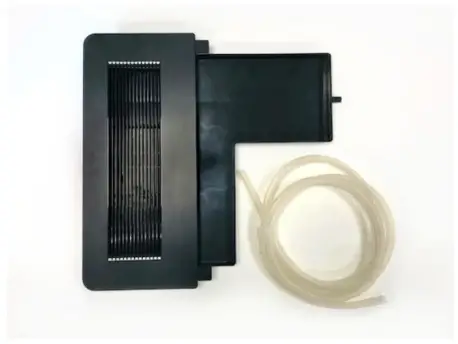
INSTALL CUP WARMER

The cup warmer is designed for pre-heating coffee cups and glasses used with the Primo Mini/Midi:
- External Dimensions Cup Warmer: W230xD420xH455mm
- External Dimensions Total: W530xD515xH600mm
- Noise Emission: <70dB
- Weight: 11kg (Total: 49kg)
- Contents: Cup Warmer Power cable Instructions

- Ensure the protective plastic is removed from the top
- Place unit next to the Primo Mini/Midi – on a flat and level surface
- Plug the cup warmer into the mains 230V Plug socket

- Switch on and fill with cups (upside down) Takes approx 60 mins to reach temperature

CONTACT
Westomatic Vending Services Ltd
,Units 7 – 8 Forde Court B l o c k 4 F o r d e R o a d
N e w t o n A b b o t ,T Q 1 2 4 B T
+44 (0)1626323100
[email protected]


