
westomatic Primo Touch Fitting Brewer Service Kit Instruction Manual
These instructions show how to replace parts from the maintenance kit into the High Pressure Brewer.
- Recommended at 25000 drinks.
- Machine will alert “service brewer”
You will need:
- 37mm Service Kit PN:1057167
- 44mm Service Kit PN:1057151
- 7mm socket spanner
- Crosshead Screwdriver
Contents
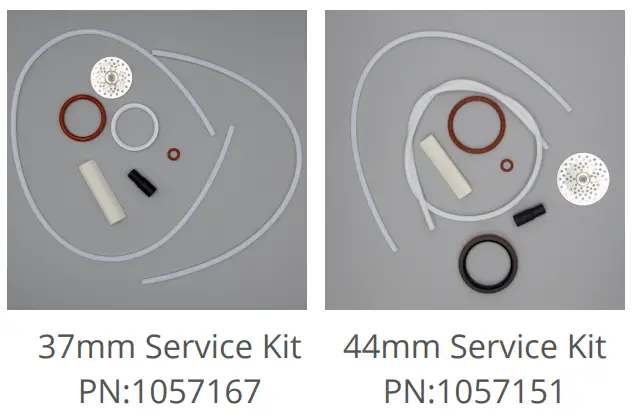
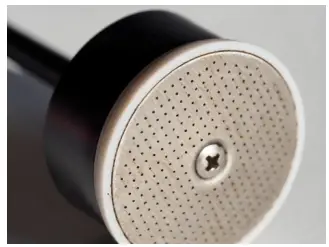
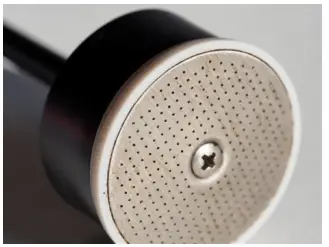
- Filter
- Seal (lower piston)
- Large O Ring
- Small O Ring
- Wiper
- Rubber Socket
- 2 x Hose
Instructions
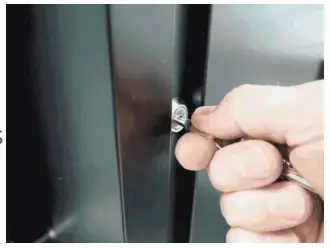
- Unlock the machine, and open the door.

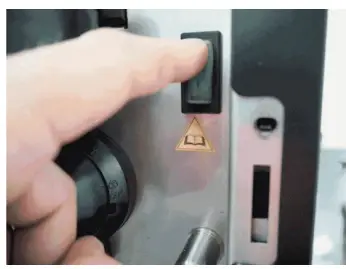
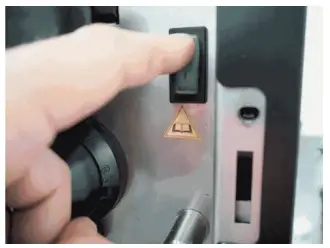
- Switch off the machine.
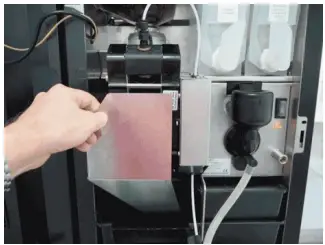
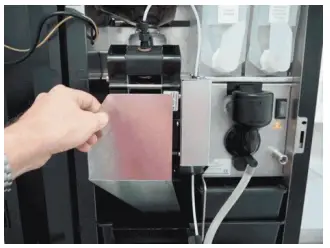
- Remove the brewer cover.

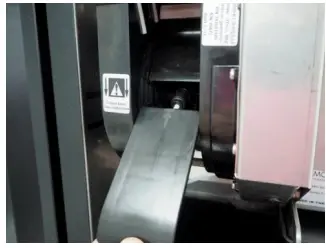
- Remove the plastic (OG = steel) slide

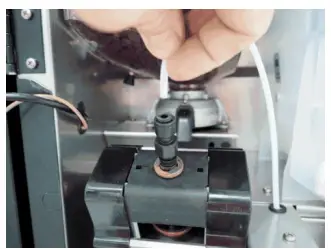
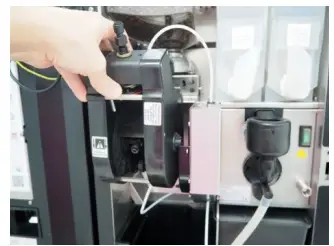
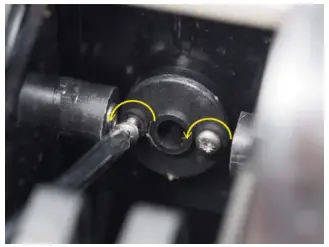
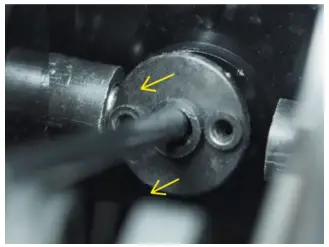
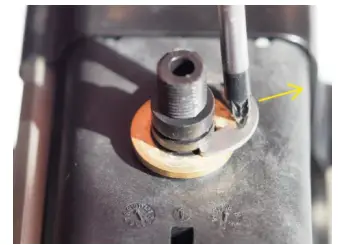
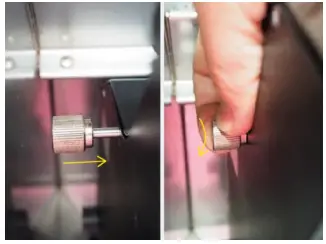
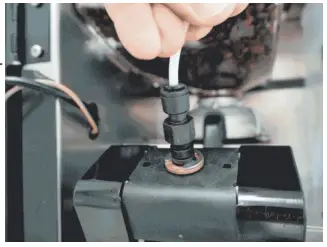
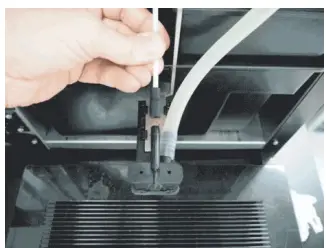
- Remove the upper hose (coffee outlet) from the push fitting.

- Remove the lower hose (water supply) from the push fitting.

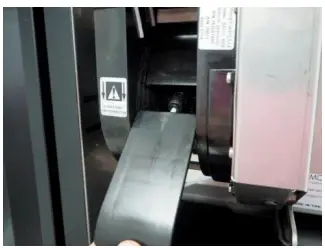
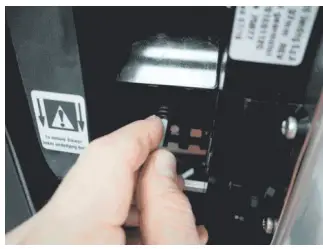
- Unscrew the bolt. Press down the plastic clip and remove the brewer.

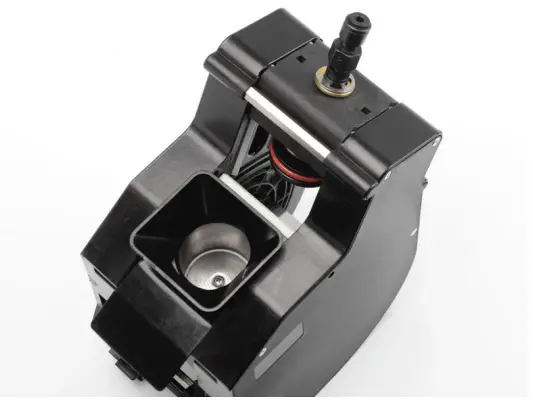
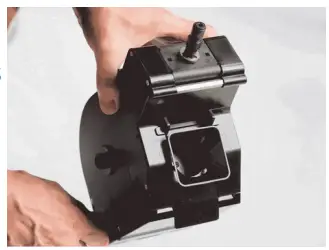
- Remove the brewer from the machine.

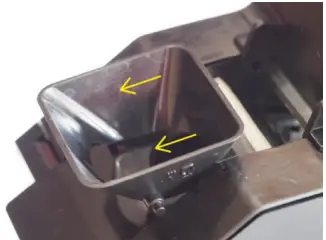
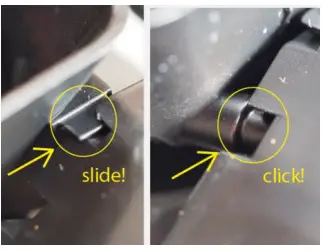
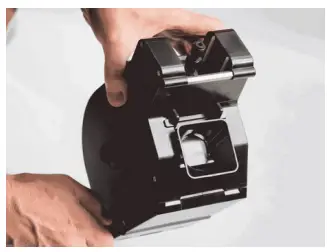
- Remove the funnel and wiper by sliding it out of the brewer.

- Remove the old wiper & discard, clean the funnel and replace the new wiper.

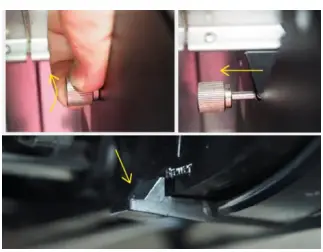
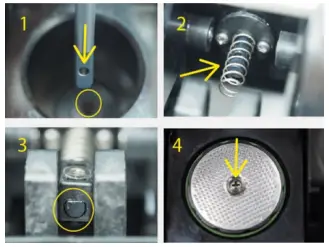
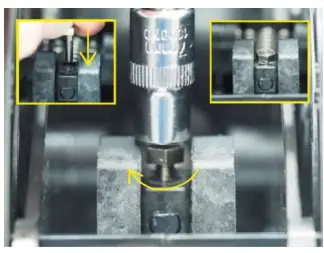
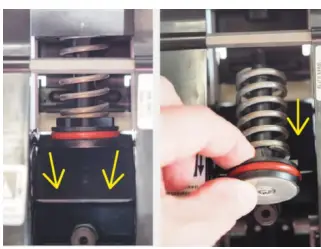
- Disassemble the lower piston – unscrew the lower piston rod nut.

- Push Piston upwards by pushing against the piston rod. (37mm has a metal spring! -keep it safe!)
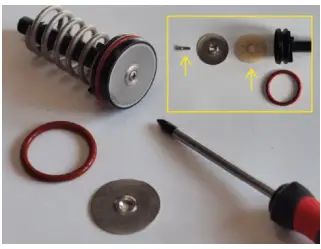
- Disassemble the lower piston. Take out used piston seal and discard.
- Replace piston shaft O Ring. Unscrew both cross head screws
- Remove flange Plate
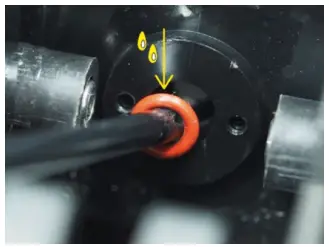
- Remove old O Ring, Lubricate new O Ring and replace, fix plate with screws.
- Replace piston seal, and reassemble piston.
- Reassemble lower piston back into brewer.
- Fix the lower piston, replace screw and fix back into place.

- Replace funnel – slide both wings into the slot and push funnel until it clicks into place.

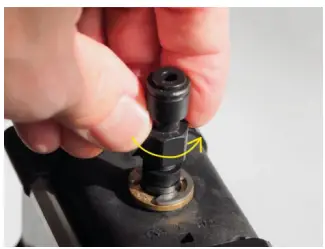
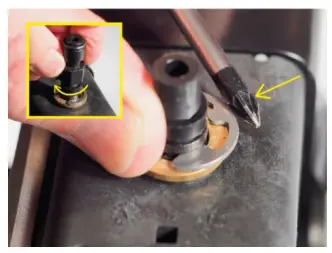
- Remove the upper piston, remove the push fitting by unscrewing.

- Push plunger upward to release tension then remove C Clip, & take off brass ring.

- Remove upper piston. Push flap down and pull out the upper piston.

- Remove parts, clean piston, and replace hygiene parts from kit. Reassemble upper piston.
- Reassemble upper piston, replace brass ring, and C Clip. Refit push fitting.

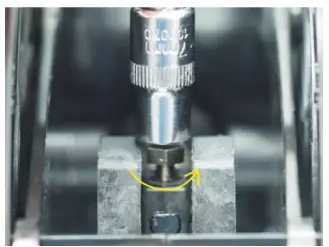
- Run a couple of manual brewer cycles by hand. Use rotation wheel…
- Check the pistons move without friction.

- Movement should be smooth.

- Replace brewer into machine, and lock with the bolt.

- Reconnect upper tube (coffee outlet).

- Reconnect lower tube (water supply).

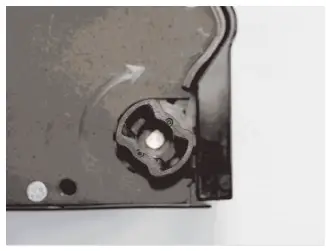
- Replace the rubber socket on the lid splitter on the dispense area.

- Replace the plastic (OG = Steel) slide into the brewer.
- Refit the brewer cover.

- Switch the machine on.
- Lock the door and dispense a couple of coffees from the machine to check the drinks.


RESET BREWER COUNTER
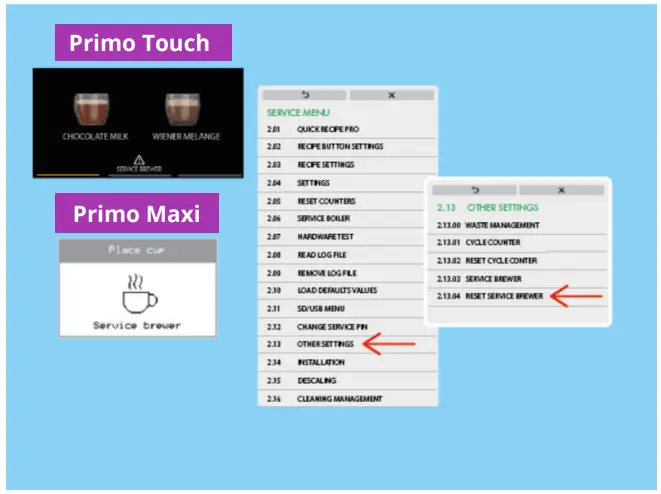
After fitting the new service kit and servicing the brewer it is important to reset the “service brewer” counter.
- 02 SERVICE MENU
- 13 OTHER SETTINGS
- 04 RESET SERVICE BREWER
And confirm the change.
CONTACT
![]()
Westomatic Vending Servies Ltd ,
Units 7 – 8 Forde Court , Block 4 Forde Road , Newton Abbot , TQ12 4BT
![]()
+44(0)1626323100


