![]() Make it happen
Make it happen
![]() DAILY & WEEKLY
DAILY & WEEKLY
CLEANING MANUAL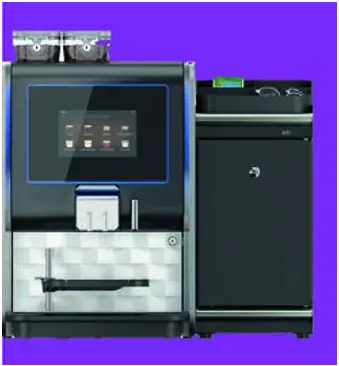
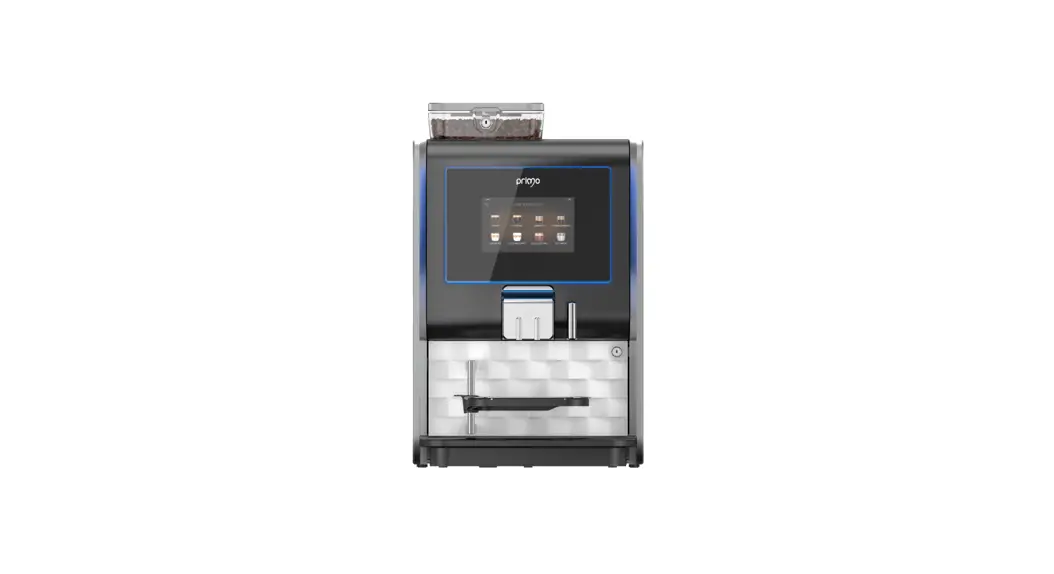
Parts Needed:


| PRIMO COMPACT Fresh Milk | QTY | PART NUMBER |
| 1 Litre Milk Line Cleaner | 1 | 1053009 |
| Brewer Cleaning Tablets (x50) | 1 | 1015015 |
| Screen Cleaner (100m1) | 1 | 1015014 |
| Microfibre Cloth | 1 | 1015012 |
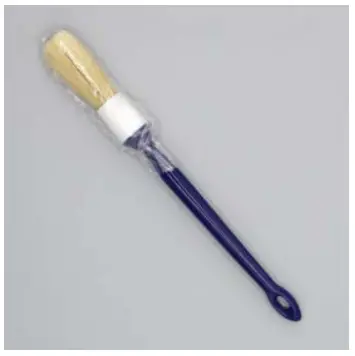
| Cleaning Brush | 1 | 1057158 |
| PRIMO COMPACT Instant Milk | ||
| Microfibre Cloth | 1 | 1015012 |
| Screen Cleaner (100m1) | 1 | 1015014 |
| Brewer Cleaner Tablets (x50) | 1 | 1015015 |
| Cleaning Brush | 1 | 1057158 |
DAILY CLEANING:
These instructions show the steps for the Daily Cleaning including:
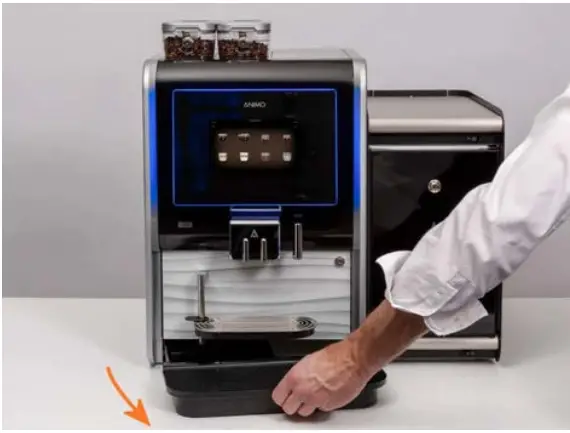
- Empty & Clean the waste container and the trays
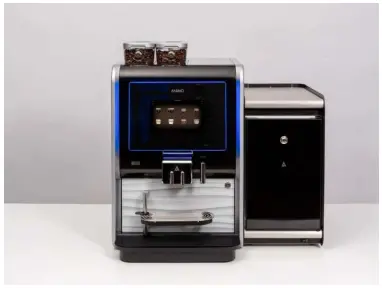
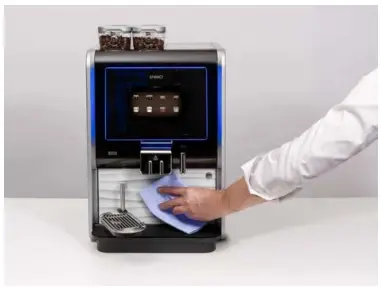
- Clean the coffee machine

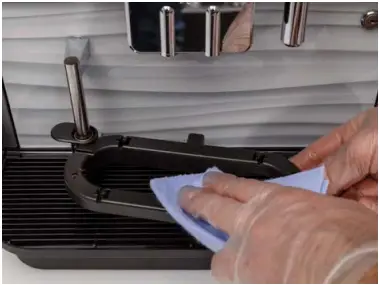
- Remove Drip Tray

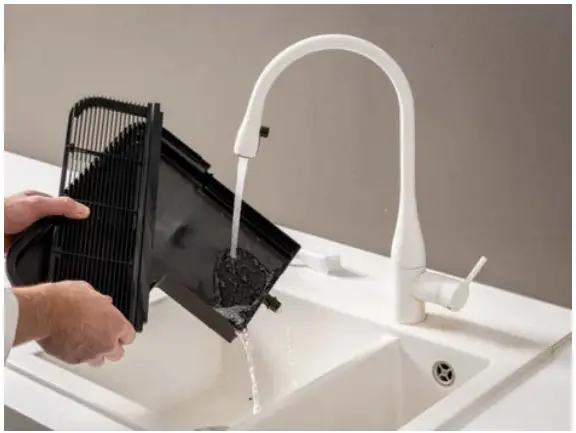
- Rinse and Clean Drip Tray. Dry all parts thoroughly

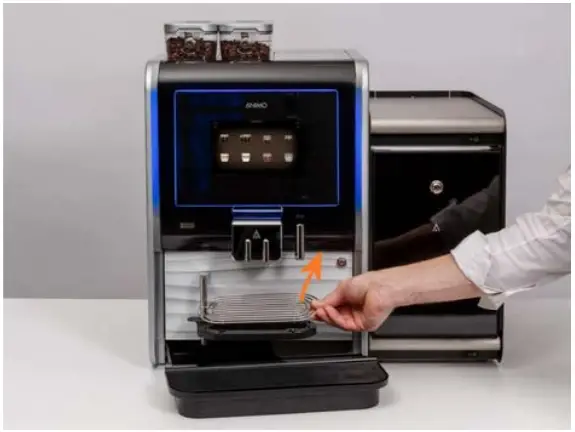
- Remove Cup Tray Guard

- Wipe Cup Tray with a damp cloth

- Clean Cup Tray Guard

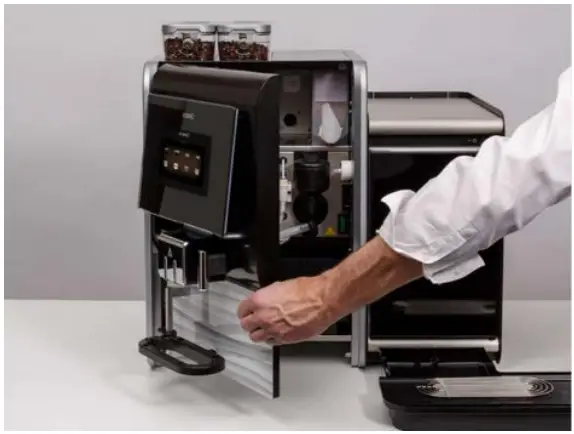
- Open the machine with the key

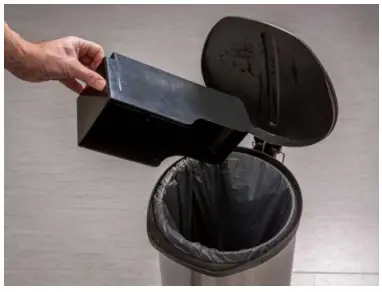
- Remove waste container

- Empty and clean waste container

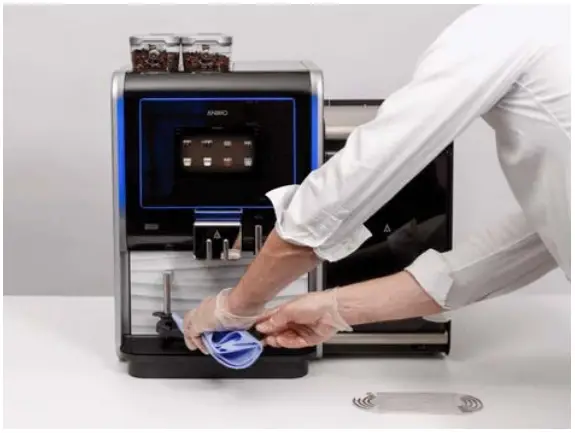
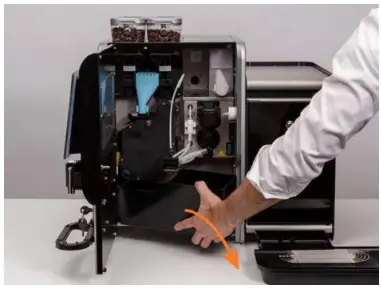
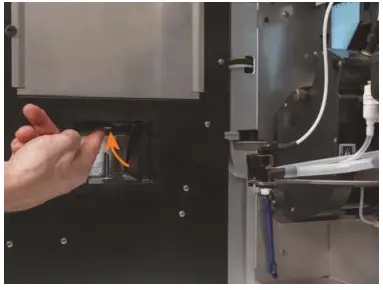
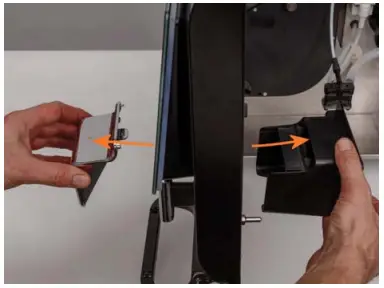
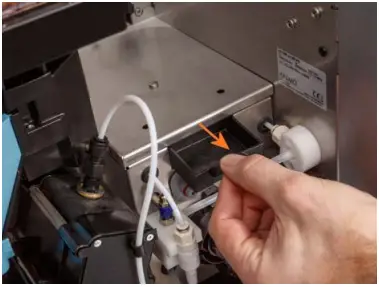
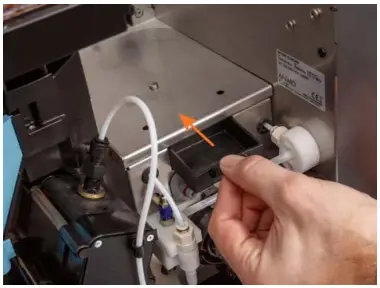
- Remove Outlet Cover: Lift the tab on the inside of the machine

- Pull the outlet cover out from the door

- Clean the outlet and dry thoroughly

- Place all parts back into the machine

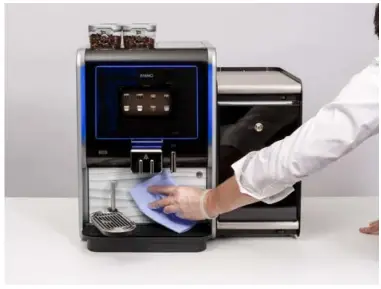
- Clean the back cover behind the cup tray with a damp cloth
- The machine is now ready to use.
If you have a milk fridge continue with Fresh Milk System cleaning before refilling.

WEEKLY CLEANING:
These instructions show the steps for Weekly Cleaning including:
- Clean the ingredient mixer parts
- Clean the bean supply parts and grinder

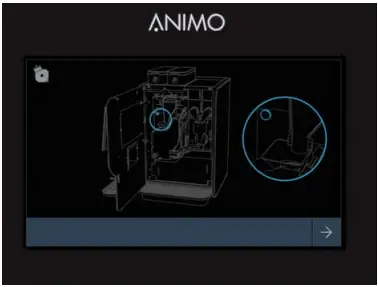
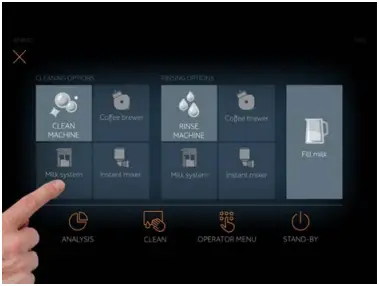
- On the touchscreen: Select the
 machine menu
- Select CLEAN MACHINE The steps on the screen will guide you through

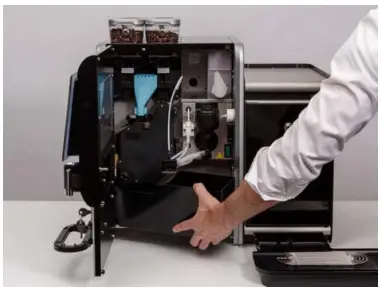
- Open the machine with the key

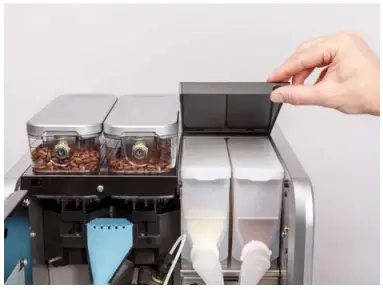
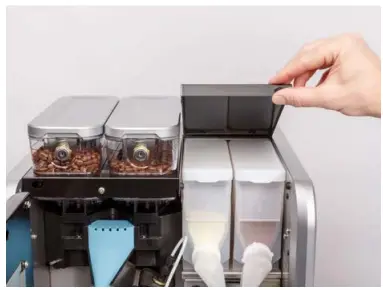
- Open the canister lid
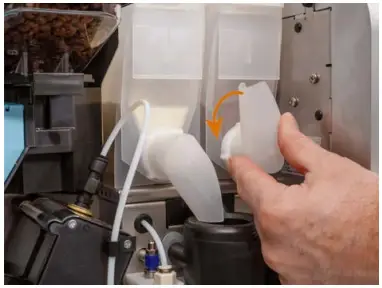
- Turn canister chutes upwards

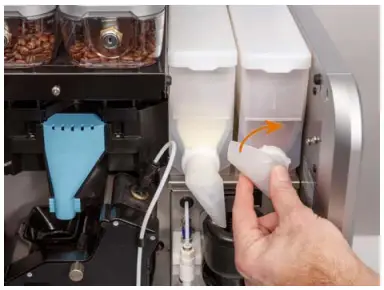
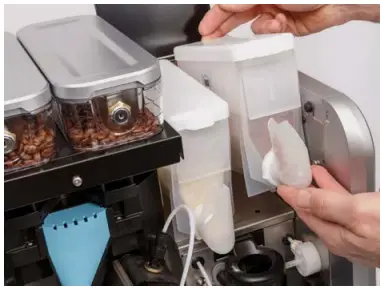
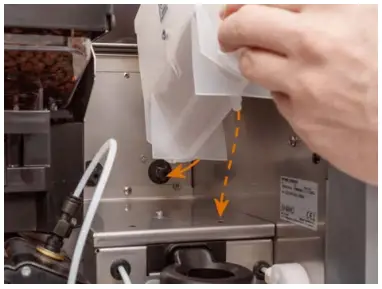
- Remove instant canisters by lifting them and pulling them forward
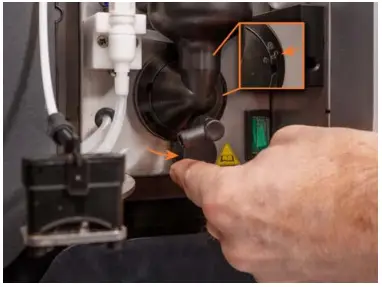
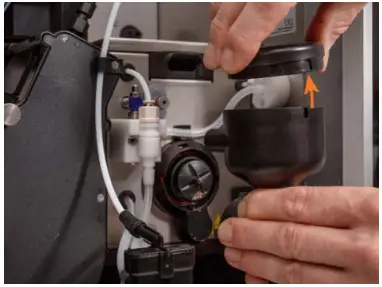
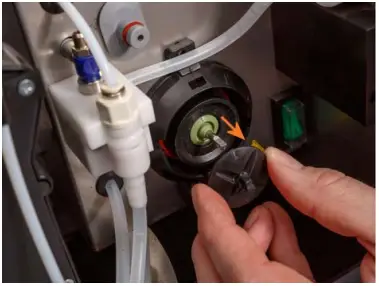
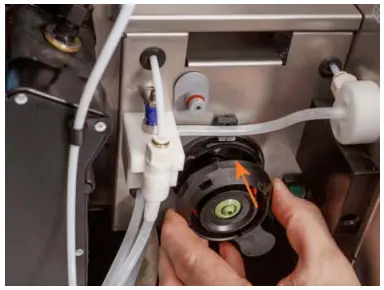
- Turn the whipper base counterclockwise to unlock the mixing bowl

- Remove the mixer bowl
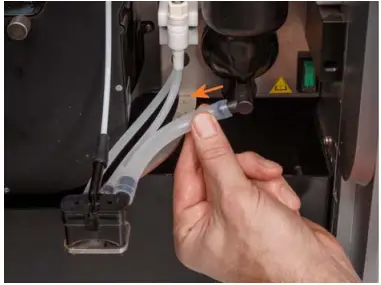
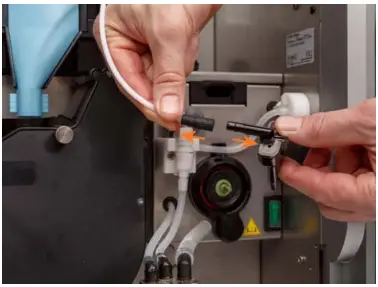
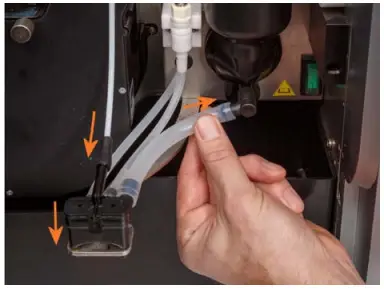
- Remove the hose from the mixing bowl

- Remove the hose and coffee splitter
- Remove the coffee house and coffee splitter

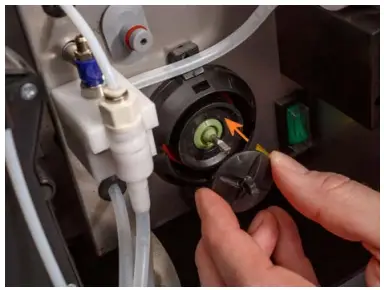
- Remove the whipper impeller

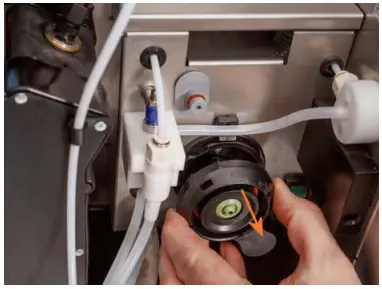
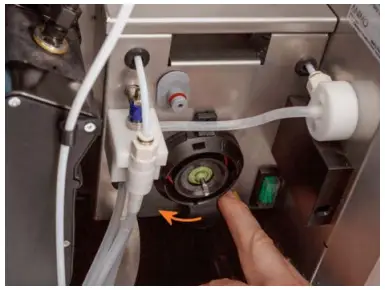
- Turn the whipper base further clockwise

- Remove the whipper base
- Remove the dust tray
- Clean and rinse parts – or replace from hygiene kit
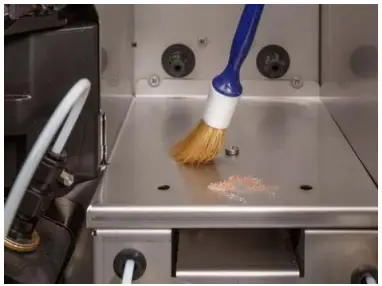
- Clean the canister area using the brush (found on the left side of the machine)

- Replace the dust tray

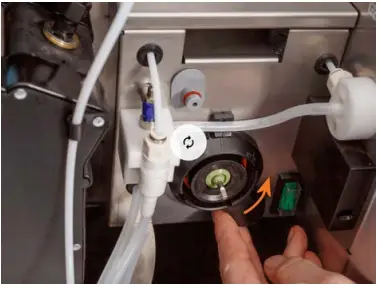
- Replace whipper base
- Rotate whipper base anticlockwise

- Replace the whipper impeller
- Attach hoses to the coffee splitter and replace the coffee splitter in its holder

- Make sure the canister connects to the motor on the back
- And the front falls into the hole

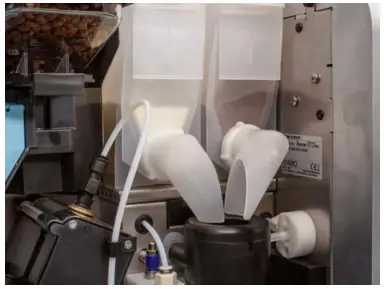
- Rotate the canister chutes downwards into the mixing bowl
- Ensure they are angled correctly – wipe any dust from the metalwork
- Close the lid
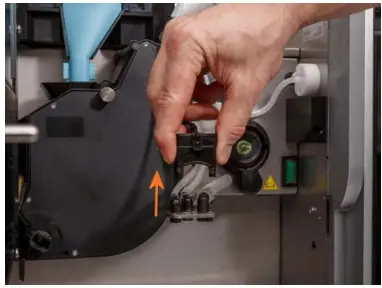
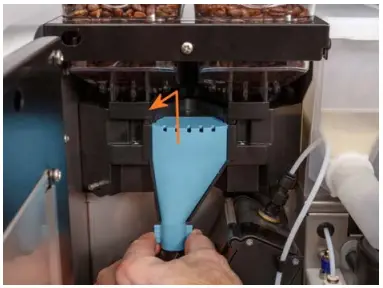
- Remove the bean Funnel

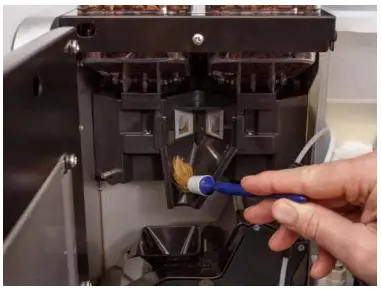
- Clean the funnel and the grinder entrance using the brush
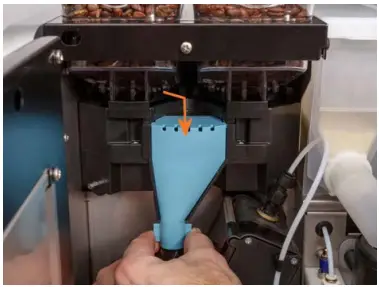
- Clean the bean funnel back in its position
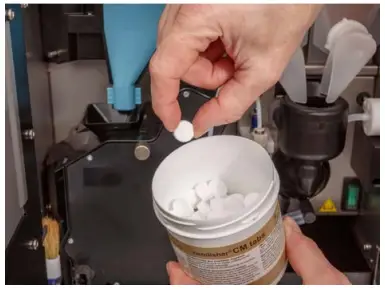
- If the machine asks you to add a cleaning tablet, follow the screen instructions*
- Get one Westomatic cleaning tablet from the package
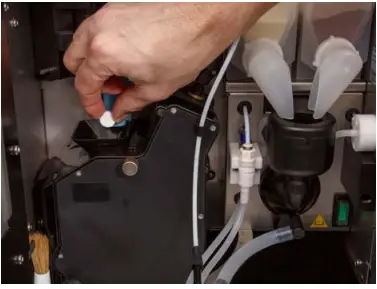
- Drop the tablet into the brewer

- Close the machine, place an empty container below the outlet

- Press NEXT→ to continue – the machine cleans itself – Press NEXT again
- For the empty waste water container, clean the back cover with a damp cloth


*brewer cleaning is asked depending on your previous cleaning history
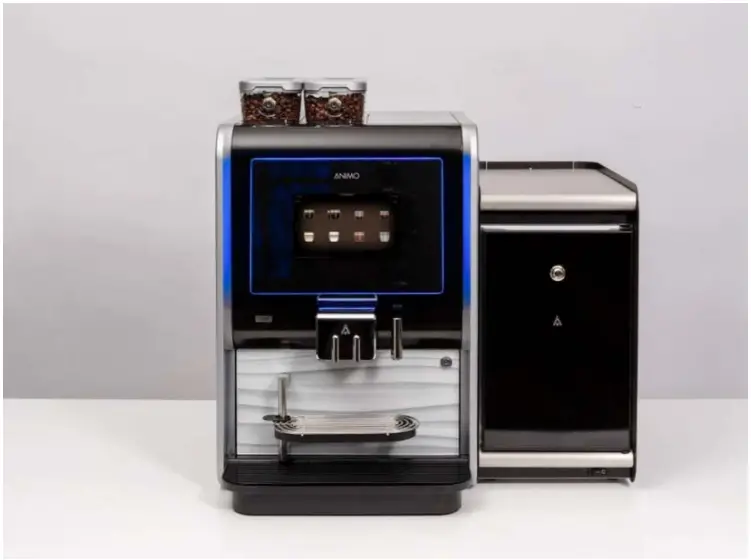
FRESH MILK CLEANING:
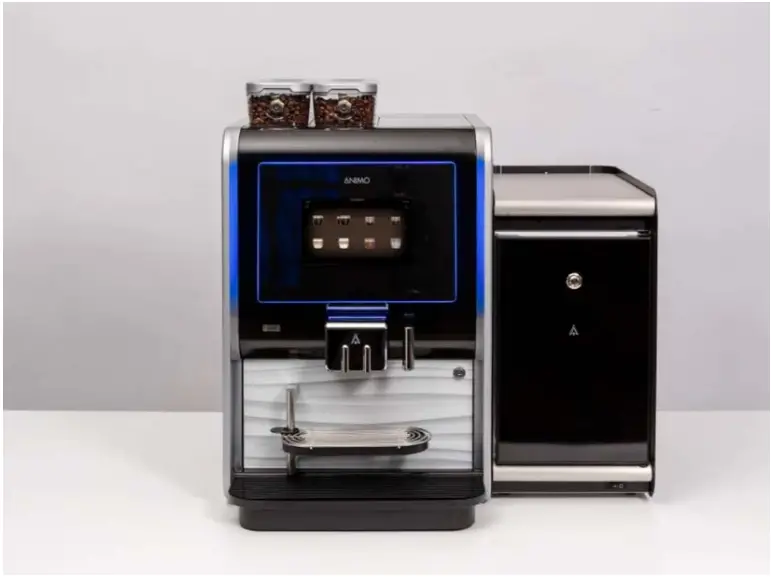
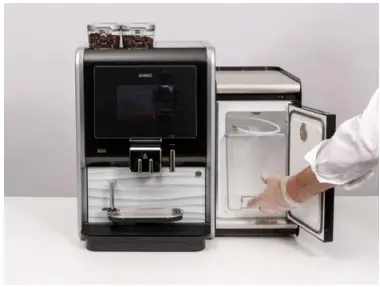
These instructions show the steps for Cleaning the Fresh Milk Fridge:
- The Fresh Milk Fridge must be cleaned every day
- The Primo will remind you to clean the fridge at a pre-set time each day – the machine won’t work unless this is done
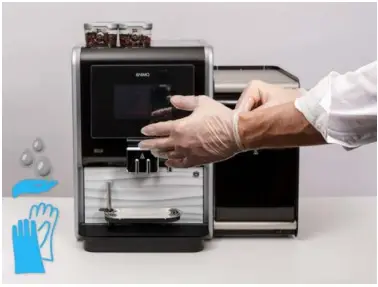
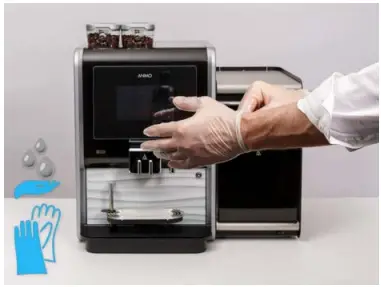
- Before you start – wash your hands or wear gloves
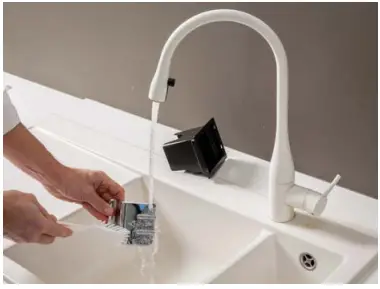
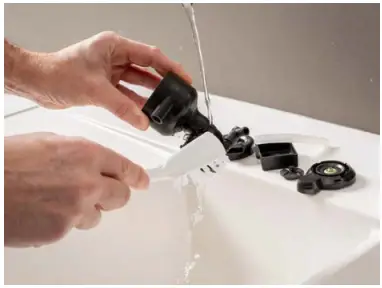
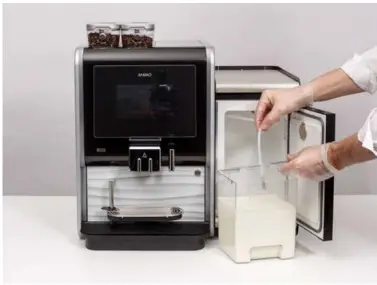
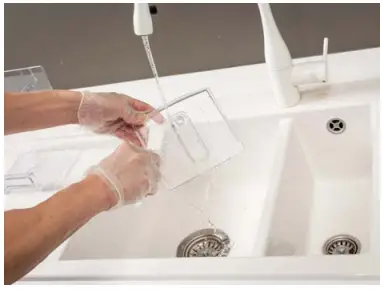
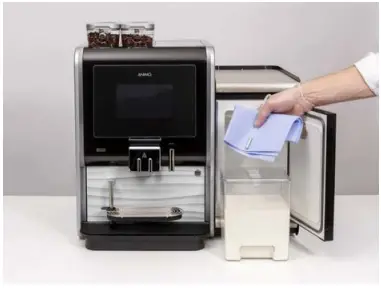
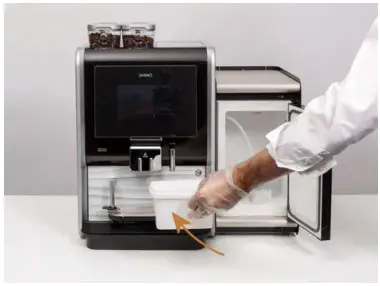
- Open the milk cooler, remove the hose and wipe clean

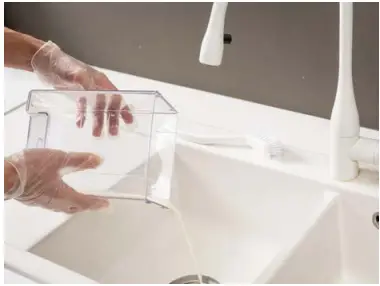
- Empty the milk canister

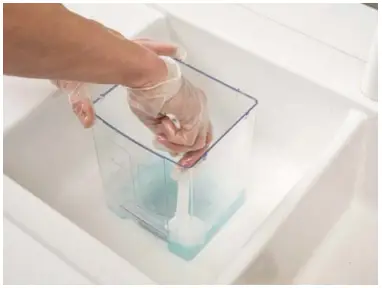
- Clean the canister with dishwasher detergent
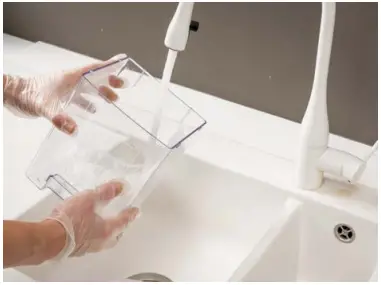
- Rinse with thoroughly clean water
- Ensure you clean the lid thoroughly with detergent too

FRESH MILK LINE CLEANING:
These instructions show the steps for Cleaning the Fresh Milk Lines:
For this process you will need:
- Westomatic Milk Line Cleaner
- Measuring Jug
- Fresh Water
- Cleaning wipes

- On the touchscreen: Select the machine menu
- Select CLEAN MILK SYSTEM Follow machine instructions
- Before you start – wash your hands or wear gloves
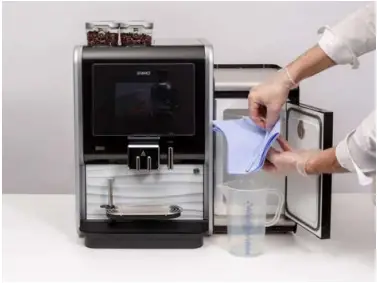
- Open the fridge, remove the hose and wipe press NEXT → on the screen
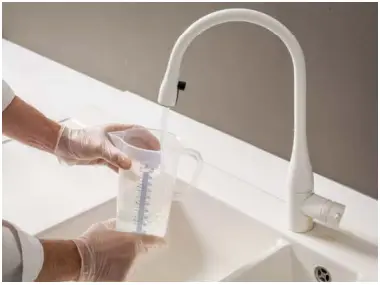
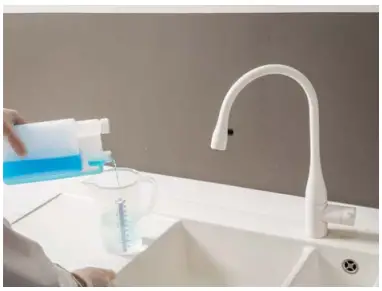
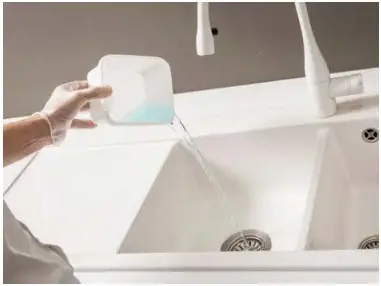
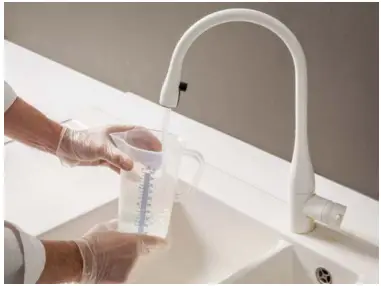
- Fill a measuring jug with 500ml of clean water

- Use 30ml of Westomatic Milk Line cleaner. Press NEXT on the screen

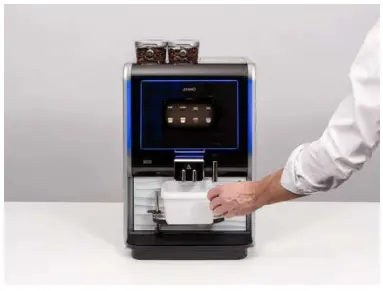
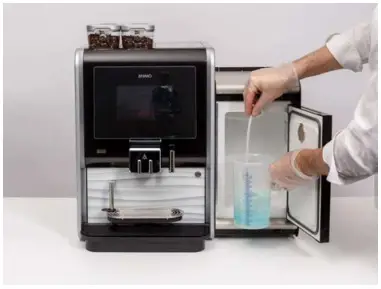
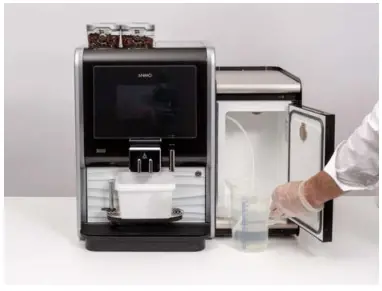
- Place the hose in the jug and press NEXT on the screen
- Place container under the outlet Hot water is dispensed – press NEXT on the screen

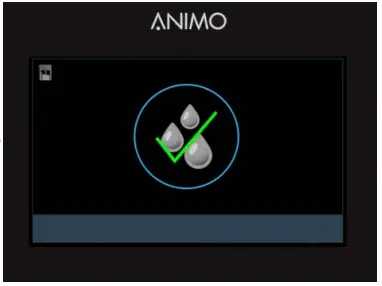
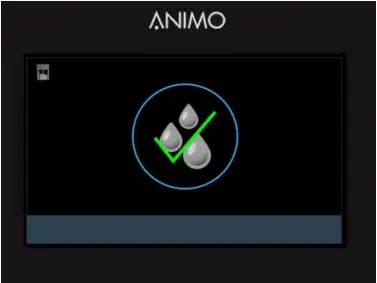
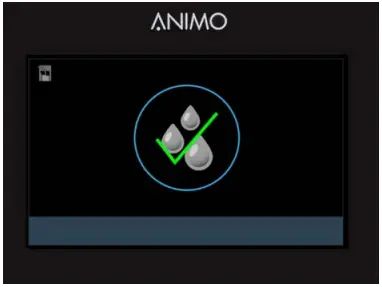
- The system cleans the lines – This takes about 4 minutes

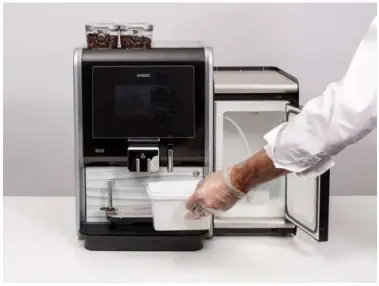
- Empty the container
- Replace the container back under the outlet and press NEXT on the screen
- Remove and clean hose, and press NEXT on the screen
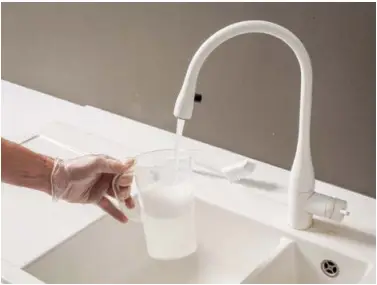
- Clean the measuring jug with dishwasher detergent
- Fill measuring jug with 1 liter of clean water
- Place the hose in the jug, and press NEXT on the screen
- The system cleans the lines – This takes about 4 minutes – Hot water dispensed
- Remove the container, press NEXT on the screen
- The cleaning process is stored HACCP cleaning schedule. Press X to continue

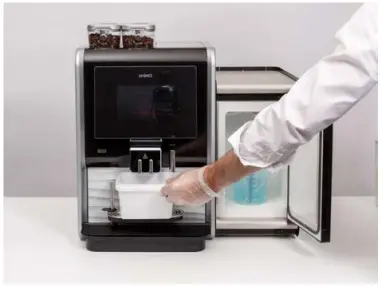
- Clean the milk container with dishwasher detergent
- Place the milk container back into the fridge with a hose

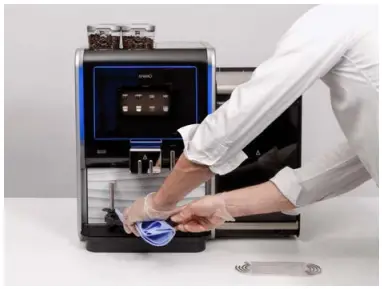
- Clean drip tray and cover behind
- Clean drip tray using a damp cloth

- The machine is ready to use


 CONTACT
![]()
![]()
![]() Westomatic Vending
Westomatic Vending
Services Ltd,
Units7- 8 Forde Court,
Block 4 Forde Road,
Newton Abbot,
TQ12 4BT![]() +44 ( 0 ) 1626323100
+44 ( 0 ) 1626323100![]() [email protected]
[email protected]![]() www.westomatic.com
www.westomatic.com


