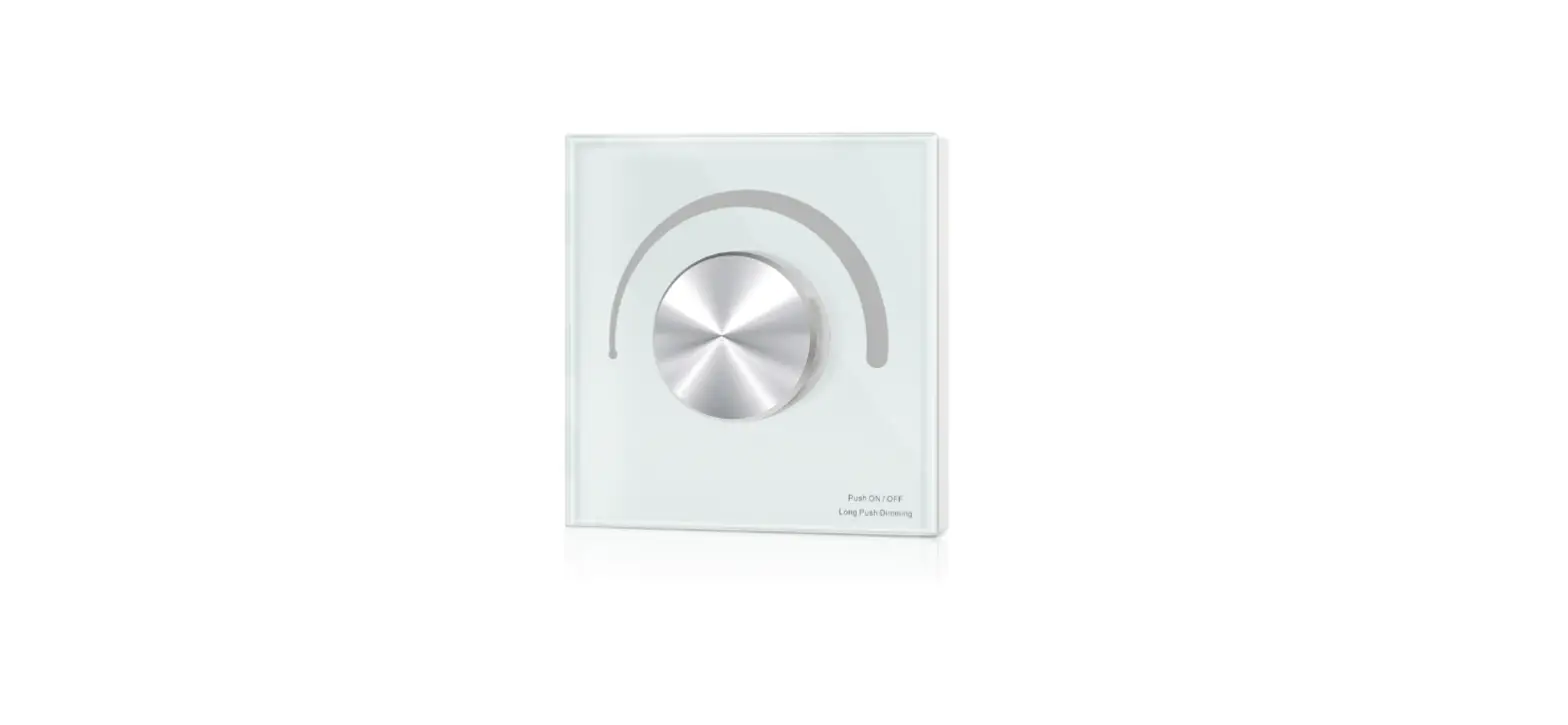
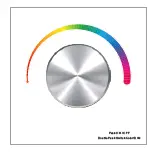
SKYDANCE T1-K Wall Mounted Rotary Panel
Model No: T1-K, T2-K, T3-K
1-3 color/Glass panel/Rotary dimming/DC input/3 channel constant voltage PWM output/Wireless remote control
Features
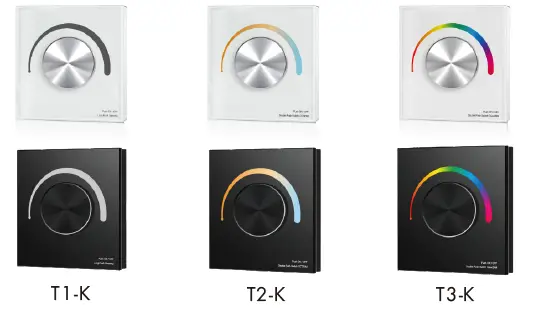
- Rotary panel single color, dual color or RGB PWM constant voltage controller.
- Rotate knob to change RGB color, color temperature or brightness.
- 256 levels 0-100% dimming smoothly without any flash.
- Compatibility with RF 2.4G single zone or multiple zone remote control.
- PWM frequency 2KHz or 8KHz selectable.
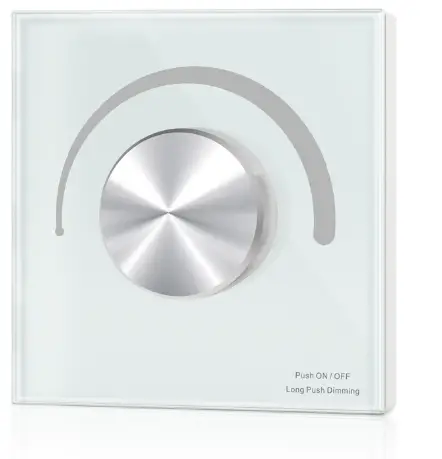
- Push/Rotate with LED indicator.
- White & Black glass panel available.
Technical Parameters
| Input and Output | |||
| Model No. | T1-K | T2-K | T3-K |
| Input voltage | 12-48VDC | 12-48VDC | 12-48VDC |
| Input current | 12.5A | 10.5A | 12.5A |
| Output voltage | 3 x (12-48)VDC | 2 x (12-48)VDC | 3 x (12-48)VDC |
| Output current | 3CH,4A/CH | 2CH,5A/CH | 3CH,4A/CH |
| Output power | 3 x (48-192)W | 2 x (60-240)W | 3 x (48-192)W |
| Output type | Constant voltage | Constant voltage | Constant voltage |
| PWM frequency | 2K/8KHz | 2K/8KHz | 2K/8KHz |
| Light type | Single color | Dual color | RGB |
| Safety and EMC | |
| EMC standard (EMC) | ETSI EN 301 489-1 V2.2.3 ETSI EN 301 489-17 V3.2.4 |
| Safety standard(LVD) | EN 62368-1:2020+A11:2020 |
| Radio Equipment(RED) | ETSI EN 300 328 V2.2.2 |
| Certification | CE,EMC,LVD,RED |
| Environment | |
| Operation temperature | Ta: -30 OC ~ +55 OC |
| Case temperature (Max.) | Ta: +85 OC |
| Package | |
| Size | L112 x W112 x H60mm |
| Gross weight | 0.220kg |
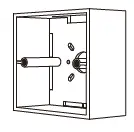
Mechanical Structures and Installations
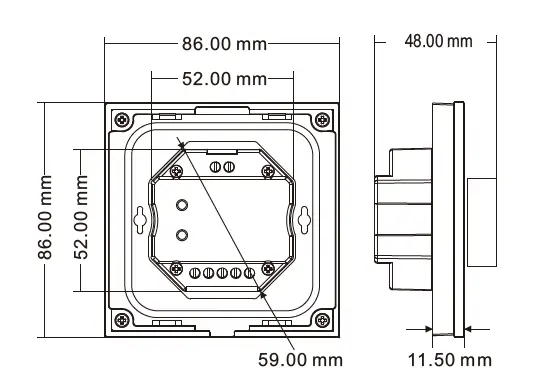
Typical base as below
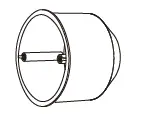
- European style

- 86 size
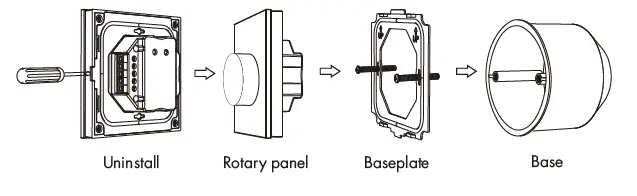
Installation diagram
Match Remote Control (two match ways)
The rotary panel controller can also match with the RF remote (optional). The end users can choose suitable match/delete ways. Two options are offered for selection:
Use Knob
Match
Turn on light, turn off, immediately push the knob for 5s, then press on/off key (single zone remote) or zone key (multiple zone remote) of the RF remote with in 5s. The LED indicator fast flash 3 times means match is successful.
Delete
- Turn on light, turn off, immediately push the knob for 10s, delete all matched RF remote.
- The LED indicator fast flash 6 times means all matched remotes were deleted.
Use Power Restart
Match
Switch off the power, then switch on power, repeat again, and immediately short press on/off key (single zone remote) or zone key (multiple zone remote) 3 times on the remote. The light blinks 3 times means match is successful.
Delete
Switch off the power, then switch on power, repeat again, immediately short press on/off key (single zone remote) or zone key (multiple zone remote) 5 times on the remote. The light blinks 5 times means all matched remotes were deleted.
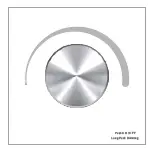
Knob function
T1-K Single color dimmer
- Push: Turn on or off light.
- After turn on light:
- Rotate: Rotate knob to adjust brightness (2.5 turns, 50 levels).
- Long push(1-6s): Continuous 256 levels of brightness adjustment.
T2-K Dual color temperature

- Push: Turn on or off light.
- After turn on light:
- Rotate: Rotate knob to change color temperature or brightness (2.5 turns, 50 levels).
- Push twice: Switch between color temperature or brightness adjustment.
- Long push(1-6s): Continuous 256 levels brightness adjustment.
T3-K RGB
- Push: Turn on or off light.
- After turn on light:
- Rotate: Rotate knob to change RGB color (3 turns, 60 colors) or brightness (2.5 turns, 50 levels).
- Push twice: Switch between RGB color or brightness adjustment.
- Long push(1-6s): Continuous 256 levels saturation or brightness adjustment.
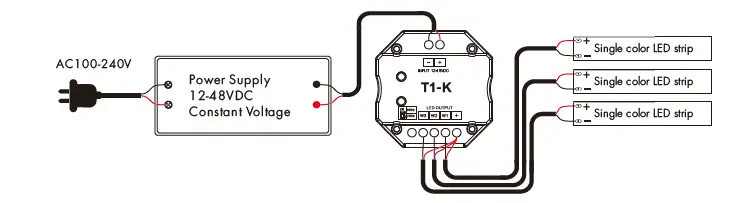
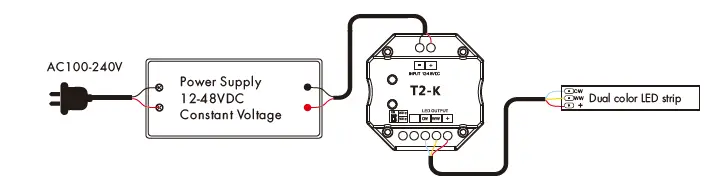
Wiring diagram
T1-K
T2-K
T3-K

PWM frequency setting
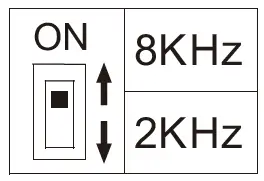
- We can select 2KHz or 8KHz PWM frequency by one DIP switch.
- Higher PWM frequency, will cause lower output current, higher power noise, but more suitable for camera(No flickers for video).


 Wall Mounted Touch Panel User Manual")


 Rotary Glass Panel Rf Remote Controller User Manual")


