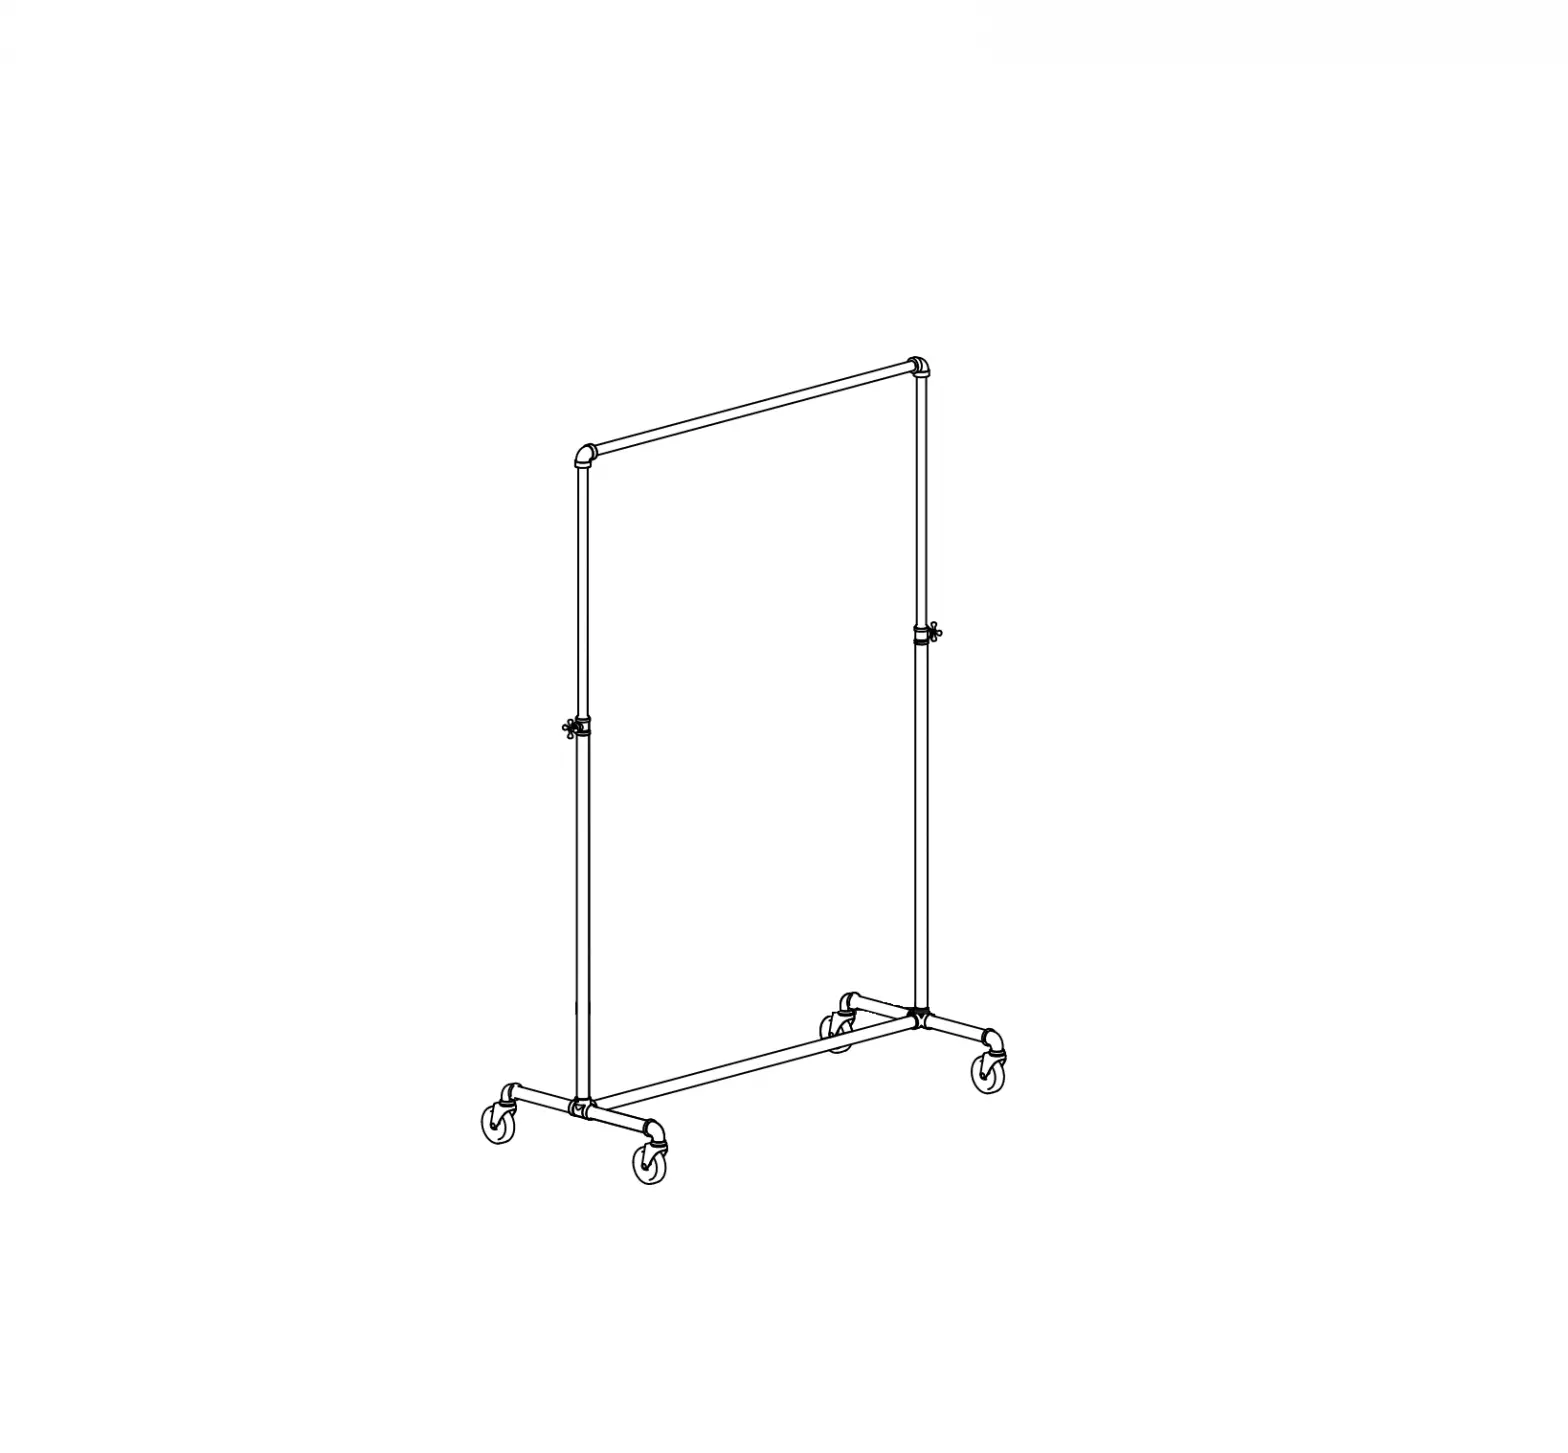
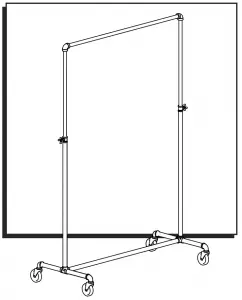
ULINE Pipe Clothing Rack Single Rail
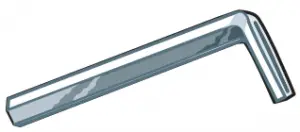
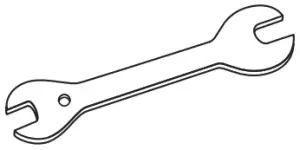
TOOLS INCLUDED
|
|
PARTS
|
|
|
|
| Top Upright x 2 |
Bottom Upright x 2 | 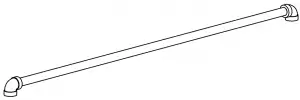 Hangbar x 1 | 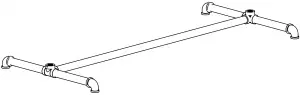 Base x 1 |


ASSEMBLY
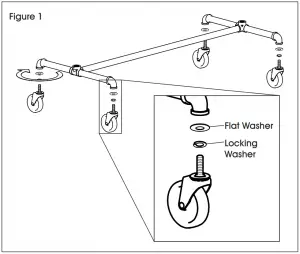
- Screw the four casters with flat washers and locking washers into the base using provided wrench. (See Figure 1)

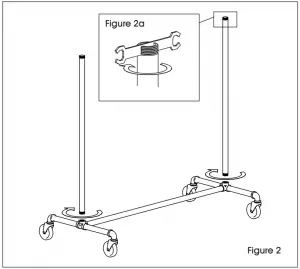
- Thread each bottom upright into the base. (See Figure 2) To fully secure uprights, place included wrench into pipe slots and tighten fully. (See Figure 2a)
 NOTE: Ends with slots should be facing up.
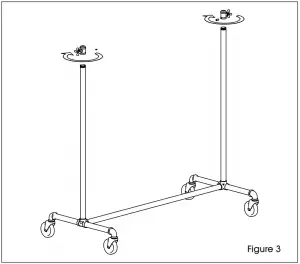
- Screw an adjustable connector to the top of each bottom upright. Make sure connectors are facing out. (See Figure 3)

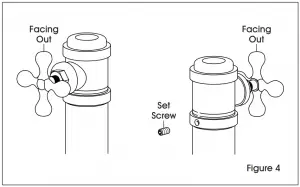
- Tighten set screws using Allen wrench to lock adjustable connectors in place. (See Figure 4)

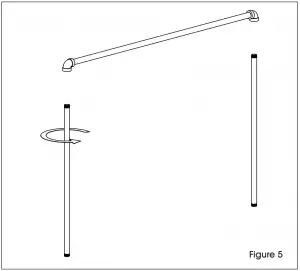
- Twist each top upright into hangbar. (See Figure 5)NOTE: Ends with slots should be facing down.

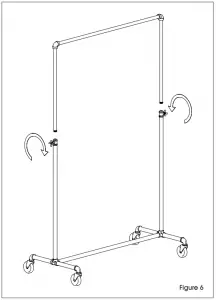
- Loosen adjustable connectors and insert hangbar with top uprights from step 5. Drop to desired height and lock into position by retightening connectors. (See Figure 6)


1-800-295-5510
www.uline.com


