ULINE Basket Truck Replacement Liner
TOOL NEEDED
|
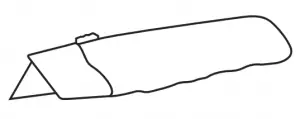 Utility Knife
ASSEMBLY
LINER REMOVAL
(IF LINER IS RIVETED TO FRAME)
- Using a utility knife, start by slicing the liner casing (from top to bottom) around each corner and frame rod. Make sure the liner is completely detached from the frame rods.
- Cut completely around the top of the black hem of the liner above the rivets (be sure to cut through all layers).
- Cut the liner around each of the metal rivets.
- Cut through any remaining material to remove the liner from the basket truck frame.

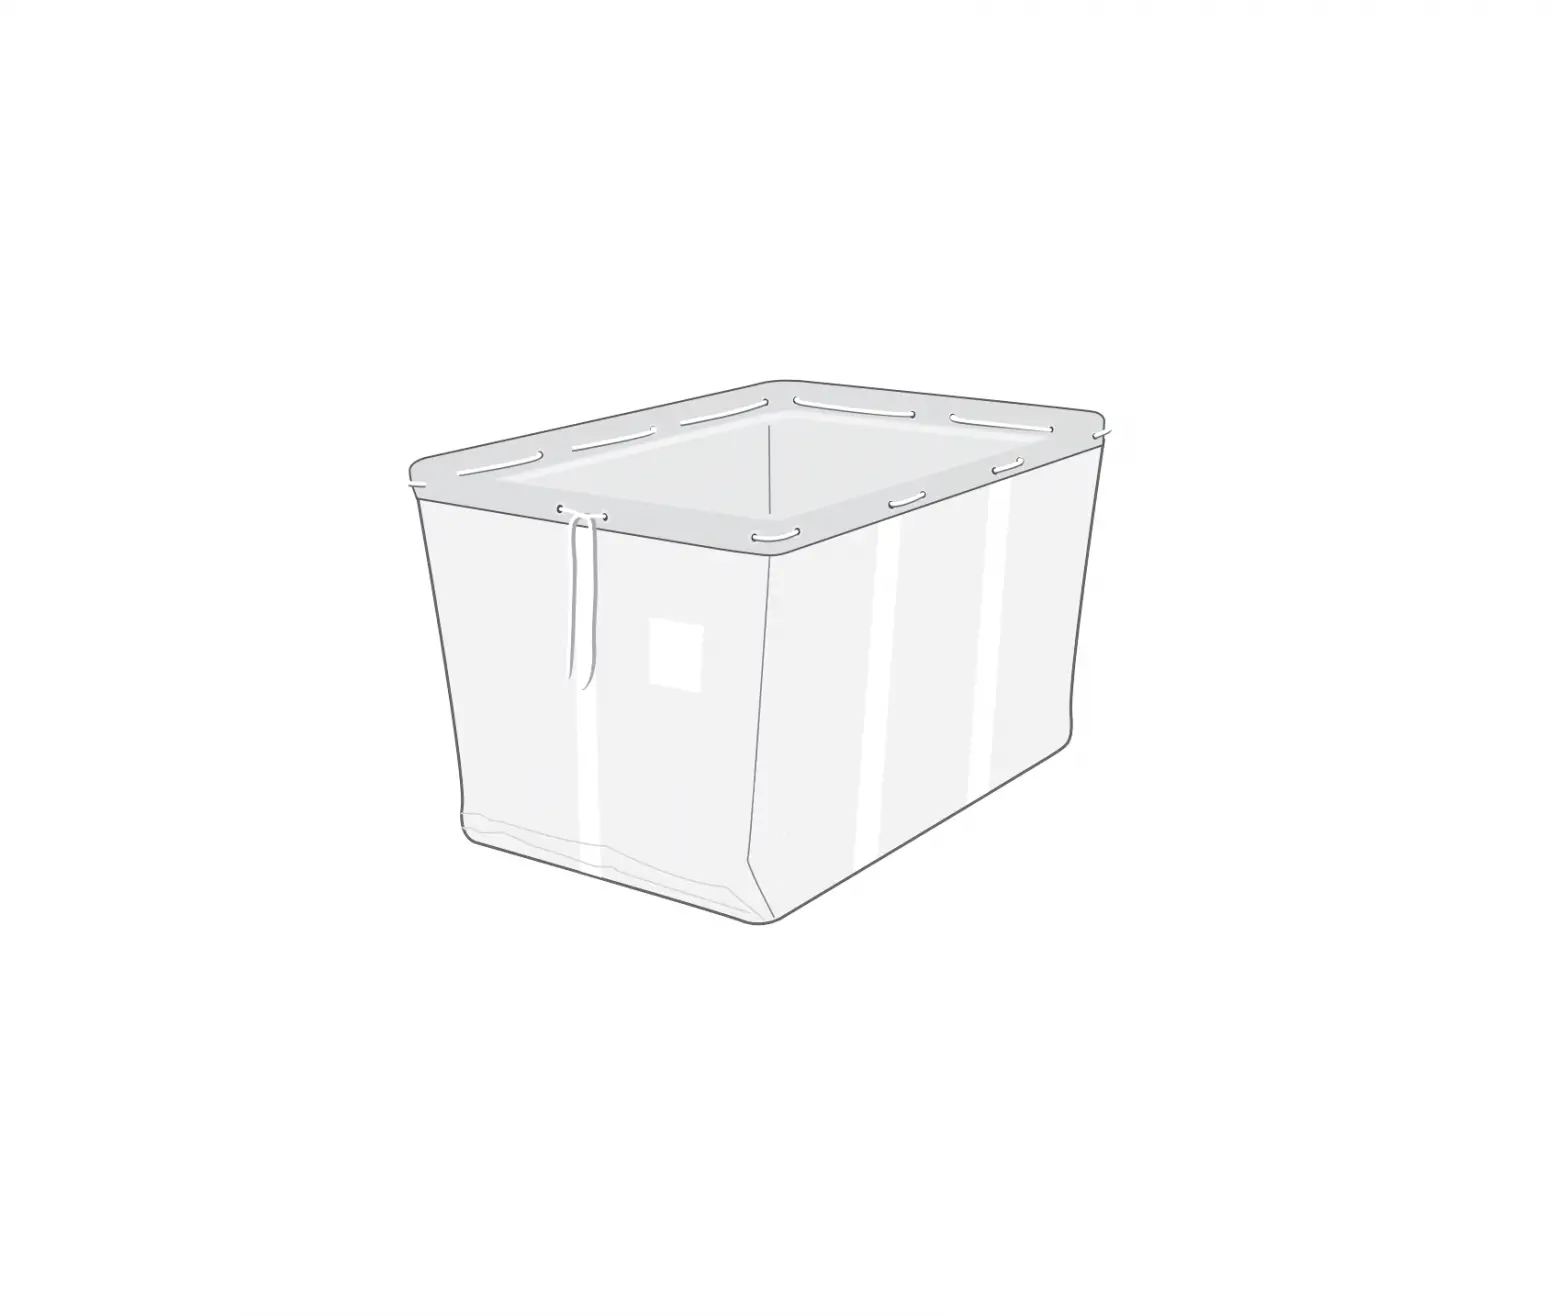
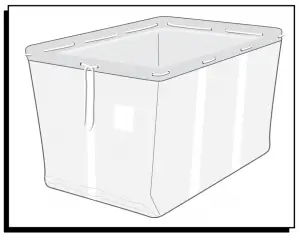
LINER INSTALLATION
- Remove the replacement liner and rope from poly bag.
- Unfold the liner and insert into frame. When inserting the liner, be sure:
• The black hem is facing inward.
• The Uline pocket is facing outward on the narrow end of the basket truck. NOTE: 6 and 24 BU basket truck pocket is positioned in the center. NOTE: 10 through 20 BU basket truck pocket is positioned on the right side of the center frame rod.
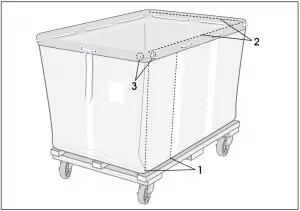
 - Fold the black hem over the frame so the grommets are aligned on the inside and outside.
- On a narrow end of the truck, begin threading the rope from the center grommets. Start threading from the outside to the inside. Continue outward from the center.
- As you approach the corners, thread the rope from the inside to the outside. The rope should go around the corners on the outside.
- Continue around the perimeter. You should end with both ends of the rope on the outside.
- Pull the rope around the basket truck as tight as possible. Tie the two ends using a double knot. Trim the rope as necessary.

1-800-295-5510
www.uline.com


