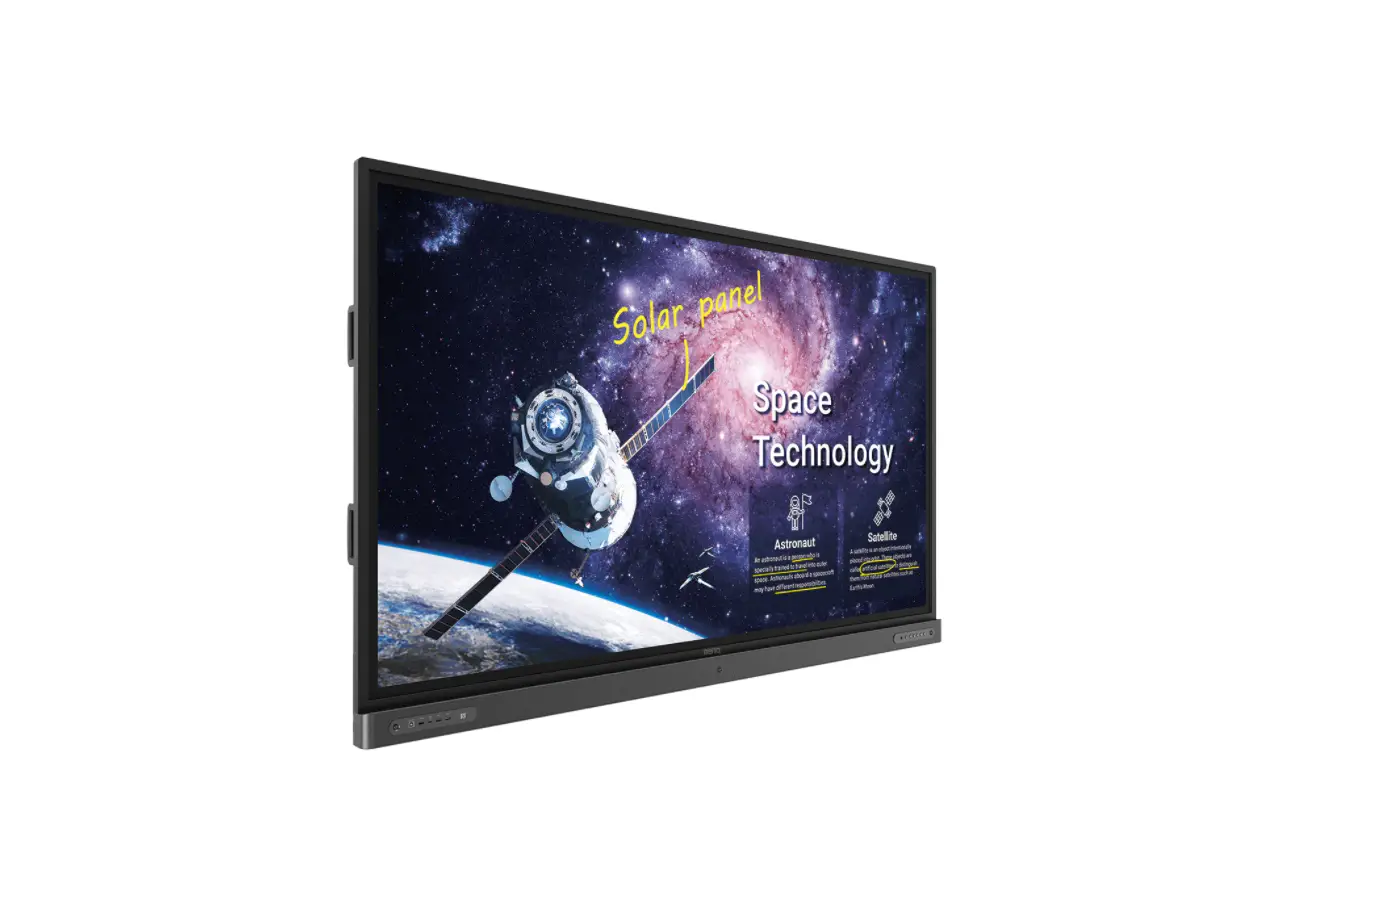
BenQ Interactive Flat Panel RP8602 Instructions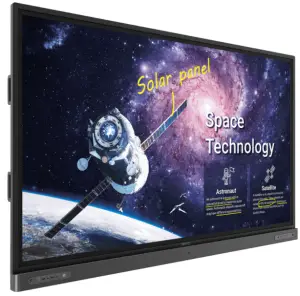
Disassembly Tools
| Tool | picture |
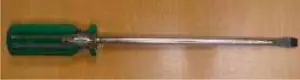
| Philips Screwdriver for M3 screw |
|
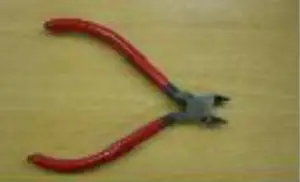
| nosed pliers | 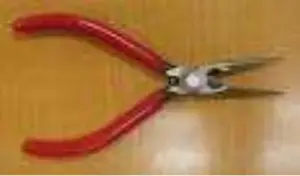 |
| Diagonal Cutting Pliers |
|
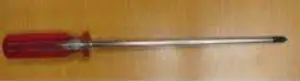
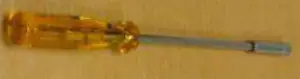
| Slotted screwdriver |
|
| Six Point Sockets |
|
| Philips Screwdriver for M2.5 screw | 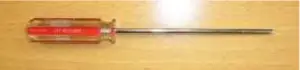 |
| knife | 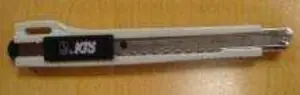 |
Disassembly process
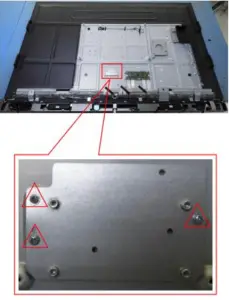
| Dismantle 4 pieces of M8 x 20mm P head flat tail ,elastic pad black galvanized machinery screws. |
|
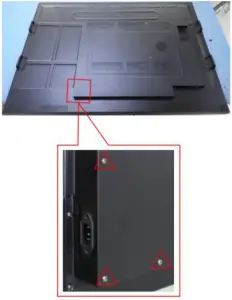
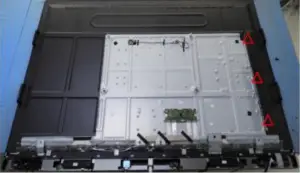
| Dismantle 3 pieces of M3 × 6mm meson head nickel plating mechanical screws. |
|
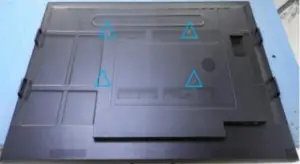
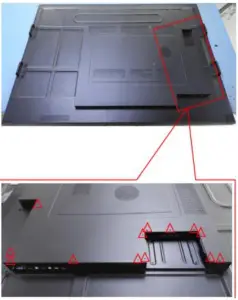
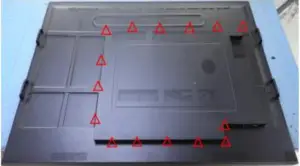
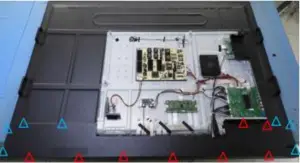
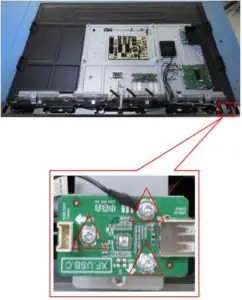
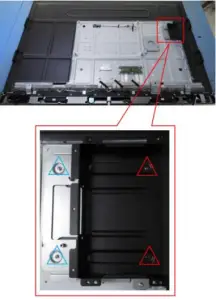
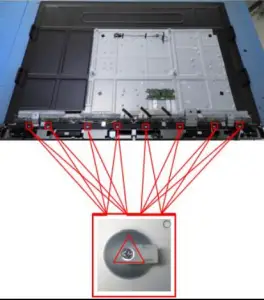
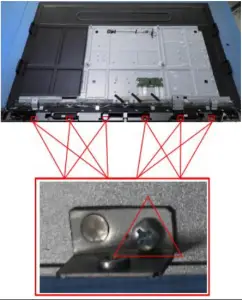
| Dismantle 16 pieces of M3 × 6mm meson head nickel plating mechanical screws. |
|
|
|
|
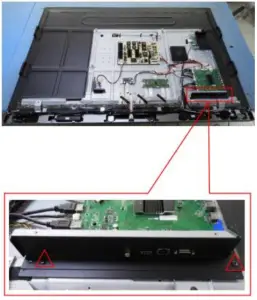
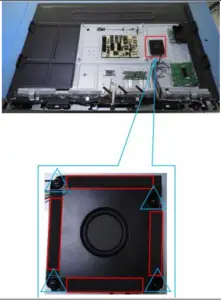
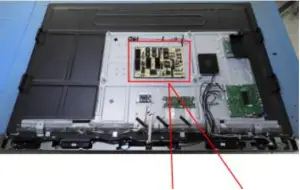
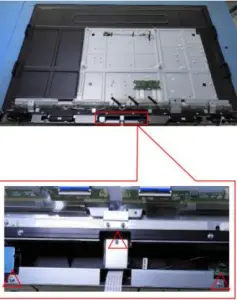
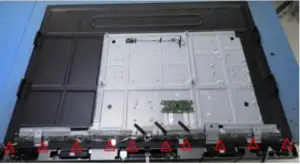
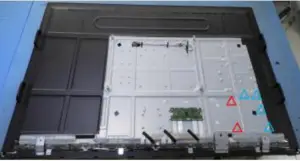
| 3. Remove the AC bracket. | 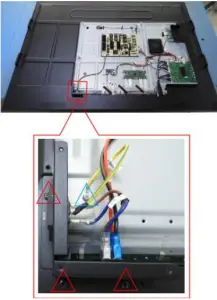 |
|
|
|
|
|  |
|
|

|
|
|  |
|
|
|
|
|  |
|
|
|
|
|  |
|
|
|
|
|
|
|
|
|  |
|
|
Disassembly Time
Total time: about 35 minutes


