![]() PN-HY501 Dismantle Instruction
PN-HY501 Dismantle Instruction
LCD MONITOR
MODEL
PN-HY501
Dismantle Instruction
Scope
This document describes dismantling instruction according to Annex VII of Directive 2012/19/EU.
Tools for dismantling
Below tools are required to dismantle this product.
- Screw Driver
- Nipper
Dismantle Procedure
This product can be dismantled by below steps.
- Remove Back covers (section 4)
- Remove Printed circuit boards (section 5)
- Remove Battery (section 6)
- Dismantle LCD (section 7)
- Remove Electrolyte Capacitors (section 8)
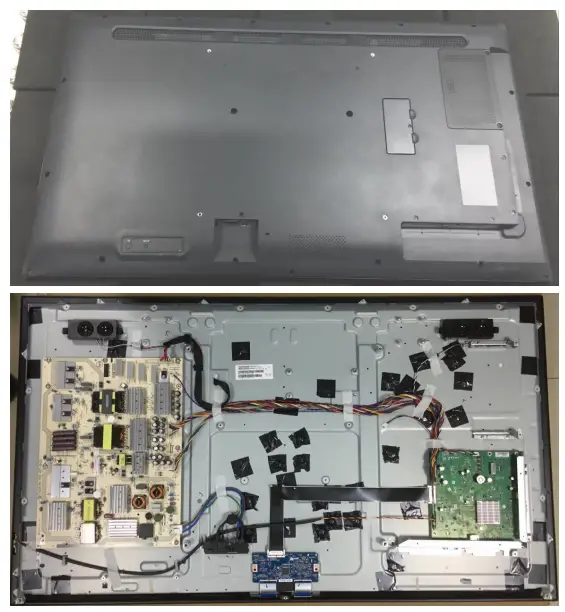
Back covers
Back cover can be removed by a screwdriver.
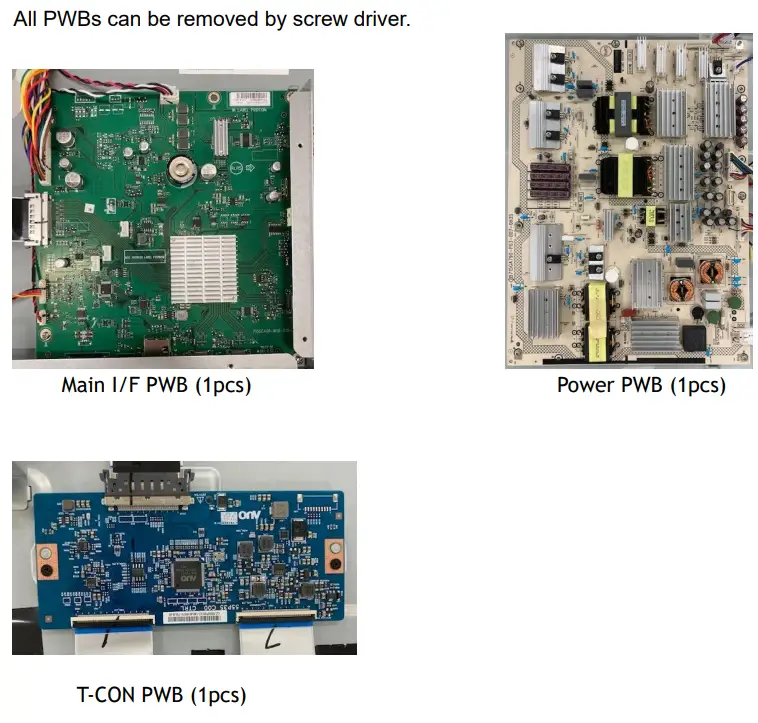
Printed circuit boards
Battery
This model uses only AAA battery for remote control.
Battery can easily be removed.

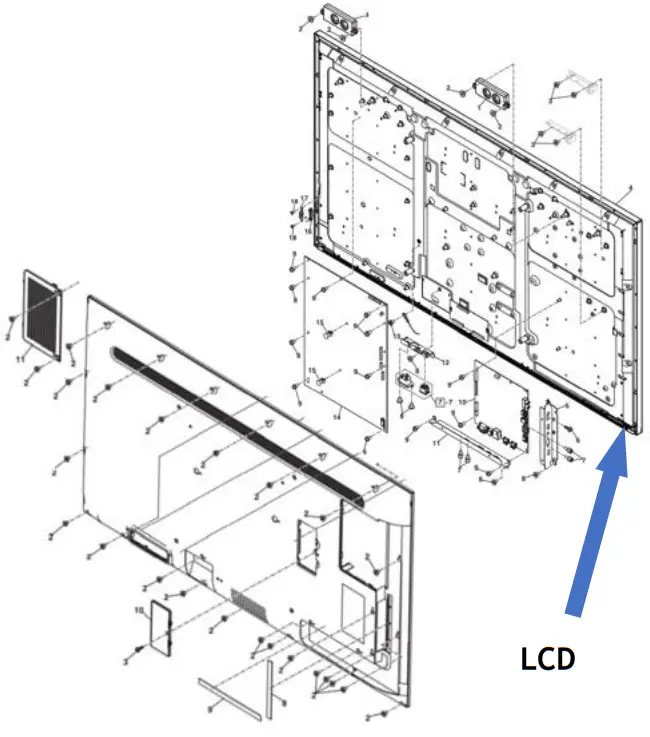
LCD Module
– LCD Dismantle procedure
- Remove Rear cover
- Remove PWBs
- Remove the Cables
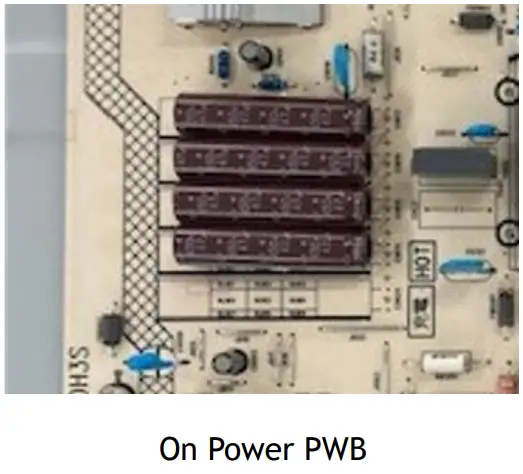
Capacitors
Electrolyte Capacitors which diameter/height is larger than 25mm are installed on Power PWB.
These capacitors can be removed by using a nipper to cut the leads.
 Parts List
 Parts List
Parts described in Annex VII of directive 2012/19/EU are as below.
| Parts | Note |
| LCD | 50inch LCD module |
| Printed Circuit Boards | Main I/F PWB Power PWB T-CON PWB |
| Battery | AAA battery |
| Electrolyte capacitors (height >25mm, diameter >25mm) | On Power PWB |
| External electric cables | 2 kinds of Power Cord – for EU – for UK |
PN-HY501 Dismantle Instruction


