Contents hide
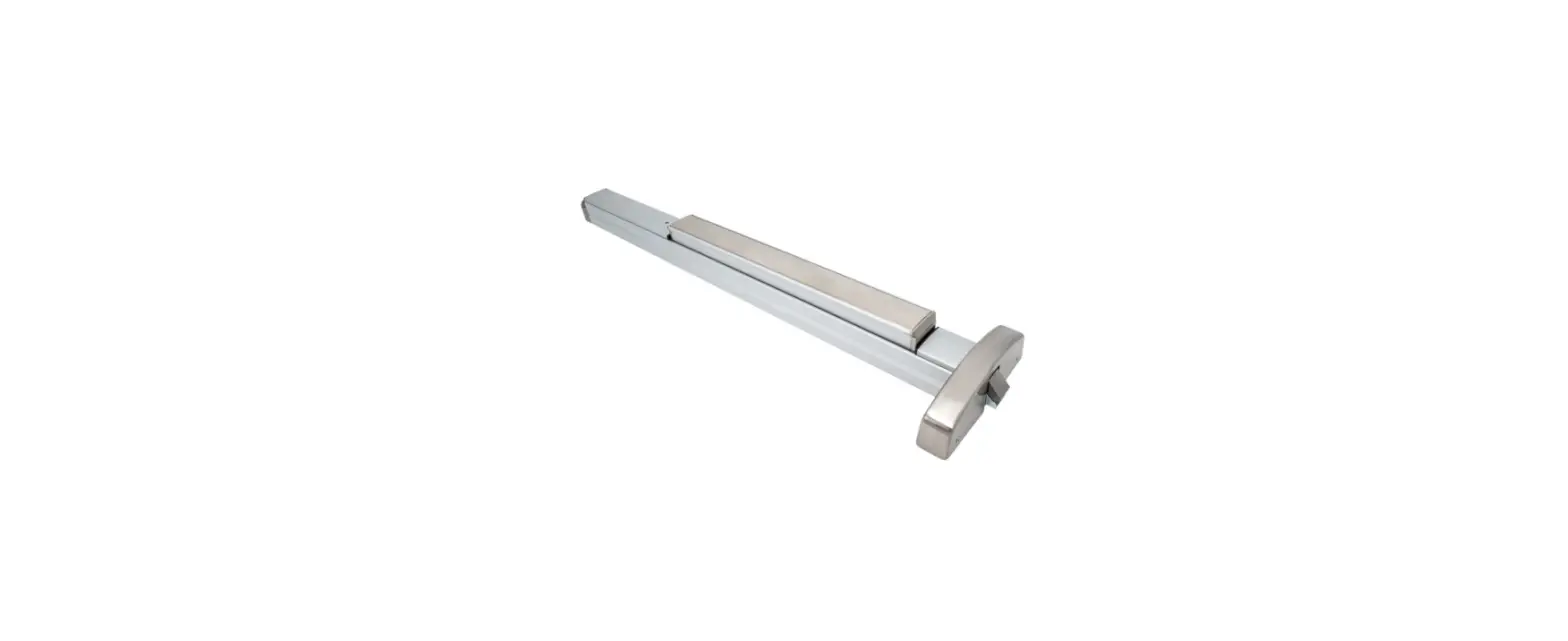
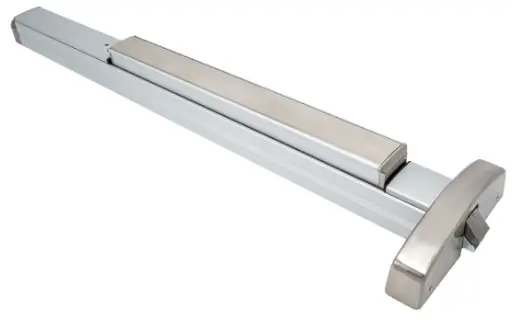
PDQ 63-6400 Retrofit
REMOVE DEVICE FROM DOOR AND REMOVE FILLER PLATE
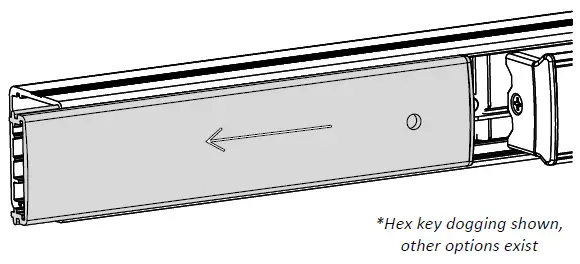
- Slide filler plate away from pushbar
- If plastic filler plug remains inside main rail, remove and reinstall into filler plate
REMOVE EXISTING DOGGING ASSEMBLY
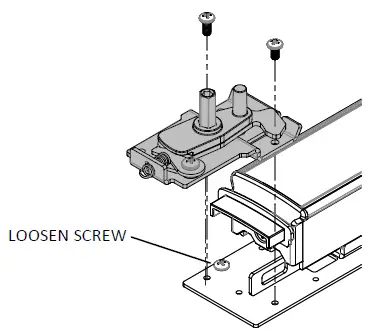
- • Remove (2) screws that are securing dogging plate, if applicable
- If no dogging is present, remove locking screw
- Discard dogging plate
REMOVE CHASSIS HEAD FROM PUSHBAR

- Slide rail away from chassis head, head filler will disengage from rail
- Remove rail from pushbar assembly
INSTALL TRIGGER PLATE
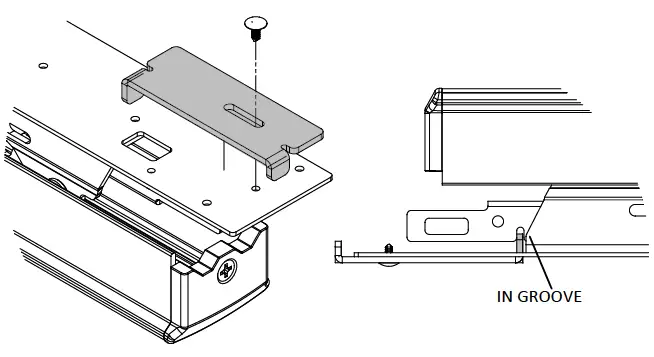
- Install trigger plate on bottom of pushbar assembly
- Verify trigger arm is within groove in linkbar
- Install Christmas tree rivet to secure trigger plate
INSTALL ALARM KIT/ SS TO BACKPLATE
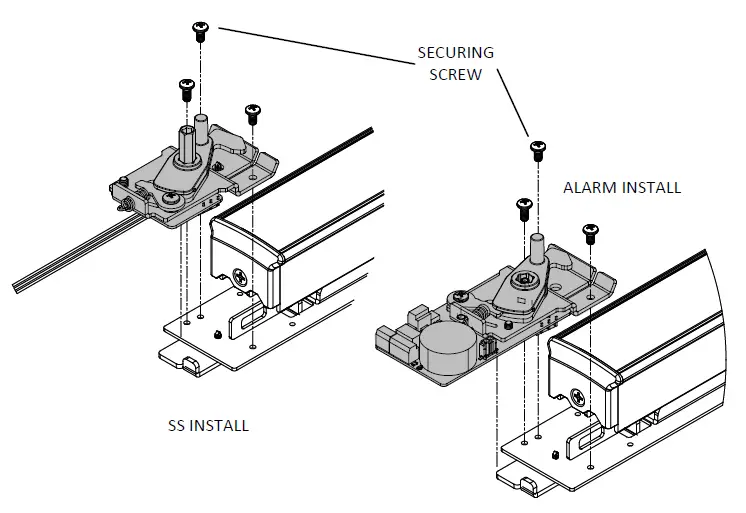
- Secure dogging assembly to backplate
- Slide pushbar assembly into rail and install securing screw
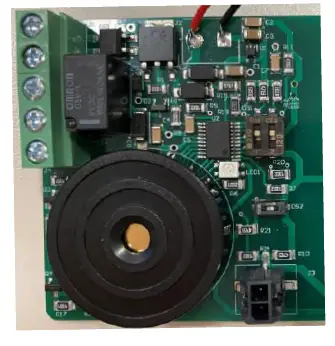
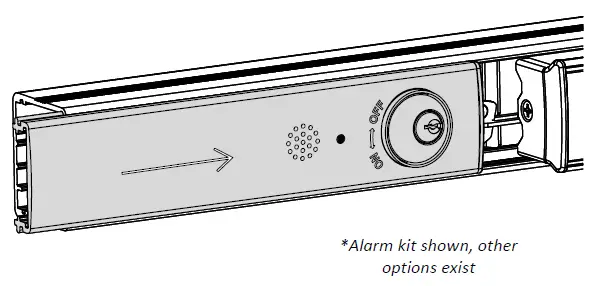
CALIBRATE ALARM / WIRESS
- Refer to Alarm kit instructions for calibration instructions
- Refer to electrical specification datasheet for SS
Visit pdqlocks.com for most recent revision
| 63/6400 Pinout | |
| Function | Color |
| MLR | Black |
| MLR | Black |
| REX (COM) | Yellow |
| REX (N/O) | Red |
| REX (N/C) | Gray |
| LM (COM) | Black |
| LM (N/O) | Brown |
| LM (N/C) | Blue |
REINSTALL CORRECT FILLER PLATE
- Reinstall filler plate
- Reinstall device on door
639421 Rev0 – 6-14-22


