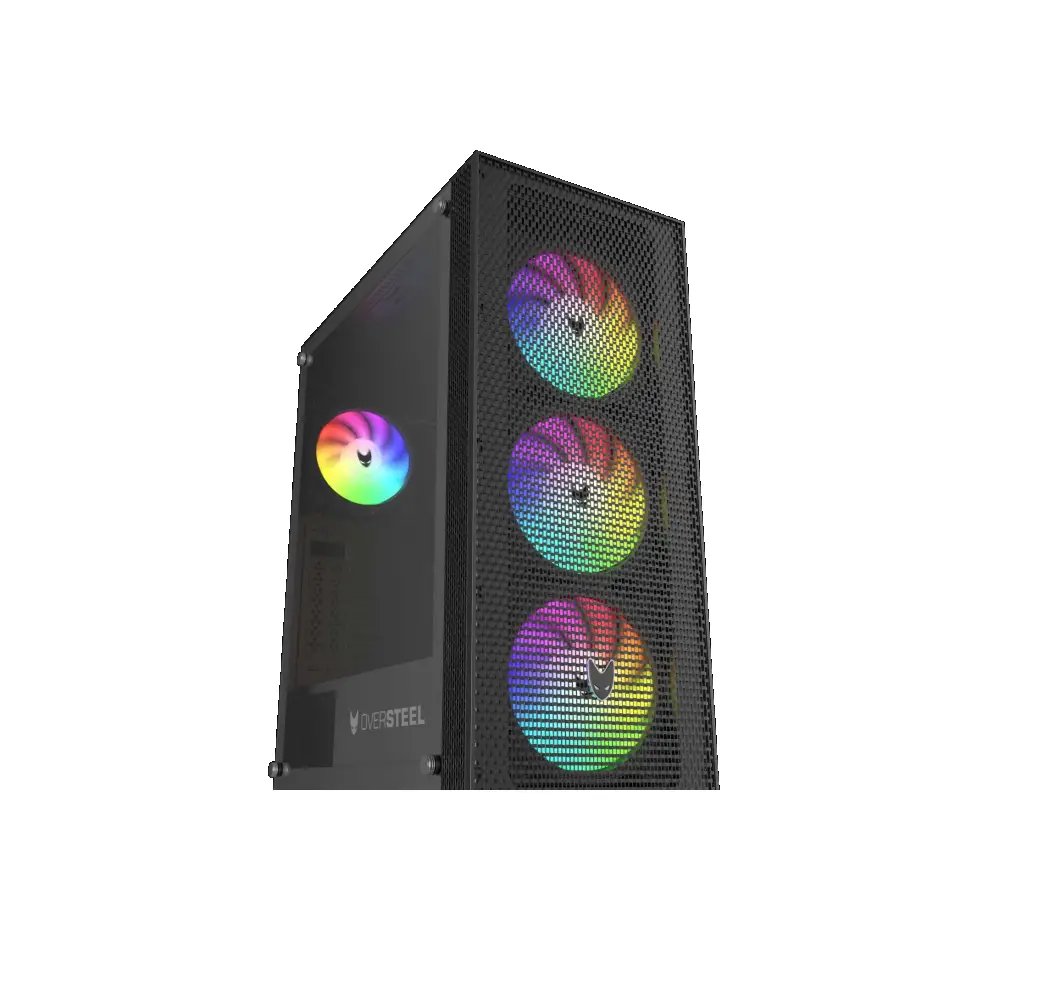
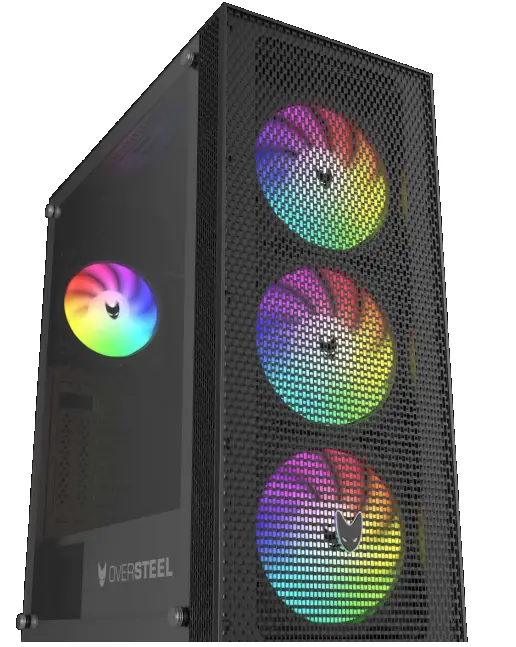
OVERSTEEL AZURITE RGB Gaming PC Case
TECHNICAL SPECIFICATIONS
| MODEL | AZURITE |
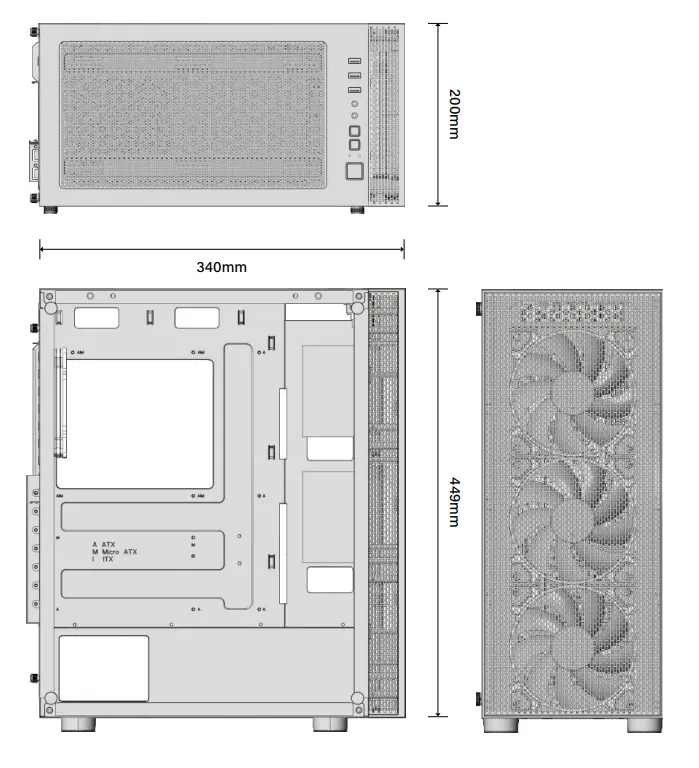
| DIMENSIONS (L x W x H) | 340mm x 200mm x 449mm |
| MATERIAL | Steel 0,5mm SPCC, tempered glass |
| FANS LOCATION | Front: 3x 120mm 3x 140mm (3x A-RGB included) Rear: 1x 120mm (1x A-RGB included) Top: 2x 120mm 2x 140mm |
| WATER COOLING | Front: up to 360mm radiator Top: up to 240mm radiator Rear: up to 120mm radiator |
| DRIVE BAYS | 4x 2,5″ + 2x 3,5″/2,5″ |
| EXPANSION SLOTS | x7 + 2 |
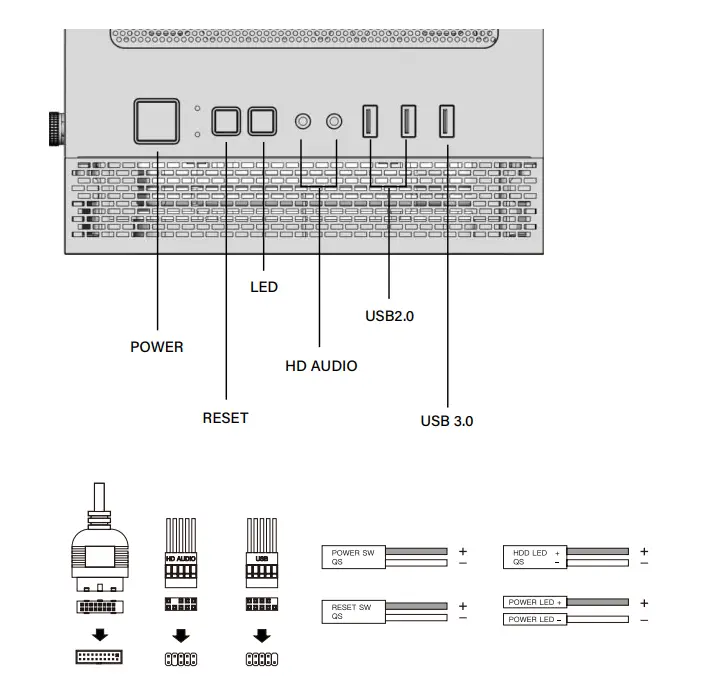
| FRONT I/O | USB 3.0 x1 USB 2.0 x2 Headphone/Microfone x1 Power Reset/LED |
| DUST FILTER | 1x Top 1x Bottom |
| MOTHERBOARD | TYPE ATX, MicroATX, ITX |
| POWER SUPPLY | ATX up to 180mm (not included) bottom position |
| VGA (GPU) | Up to 340mm (not included) |
| CPU COOLER | Up to 174mm (not included) |
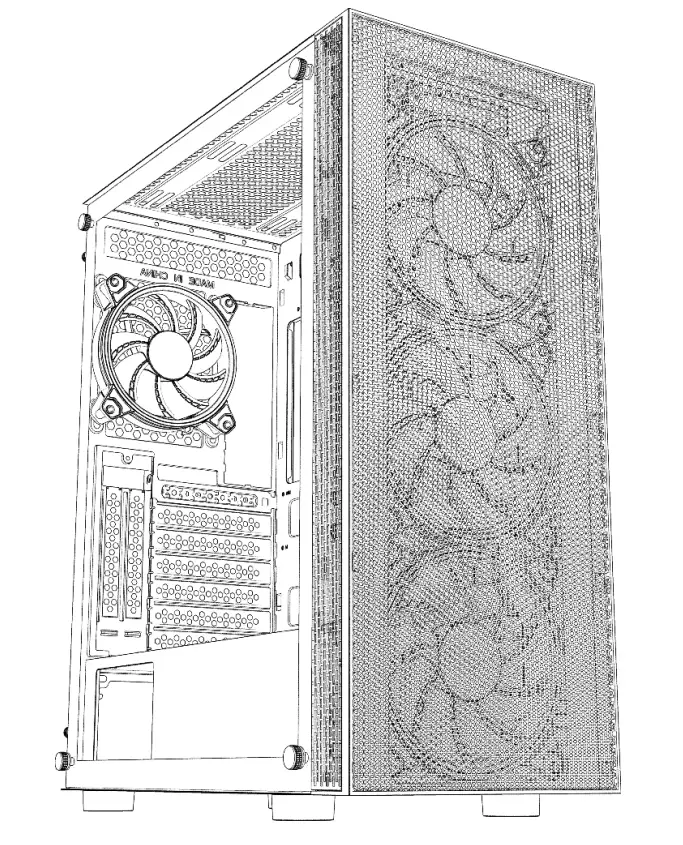
PC CASE GENERAL DIAGRAM
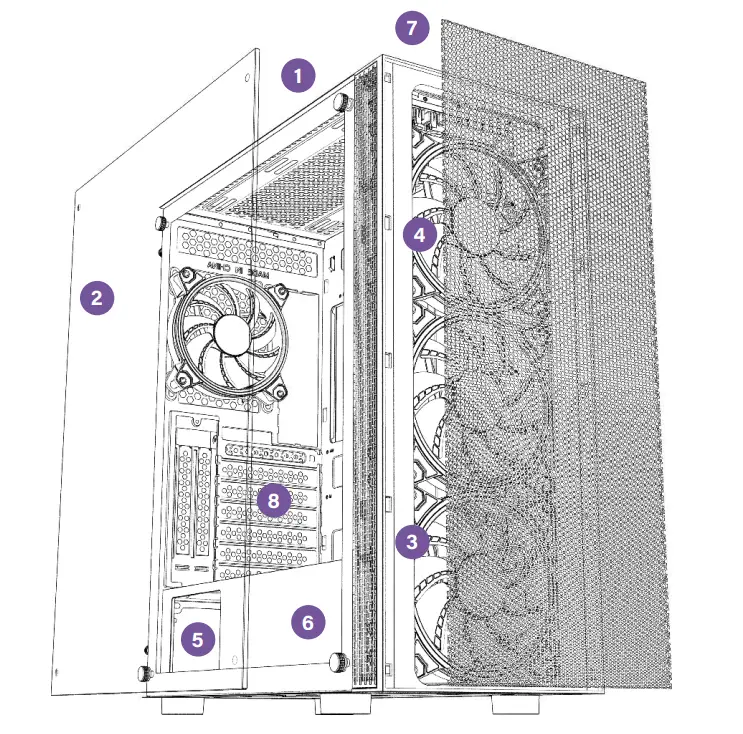
- Magnetic dust filter
- Side tempered glass
- Back metal side
- 120mm RGB fan
- PSU enclosure bay
- HDD/SSD Enclosure Bay
- Front panel I/O
- PCI expansion bays
FRONT PANEL I/O AND MOTHERBOARD CONNECTORS
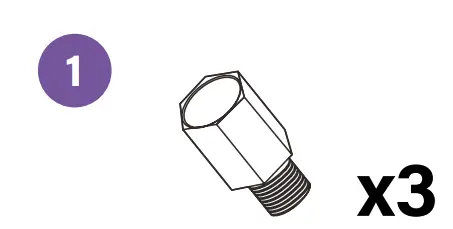
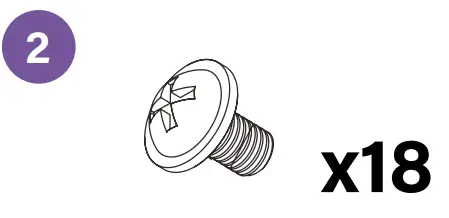
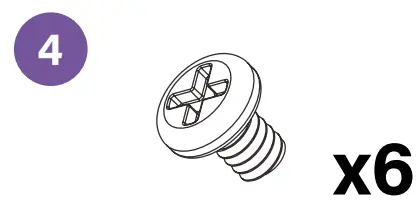
ACCESORY BAG
- Motherboard standoffs

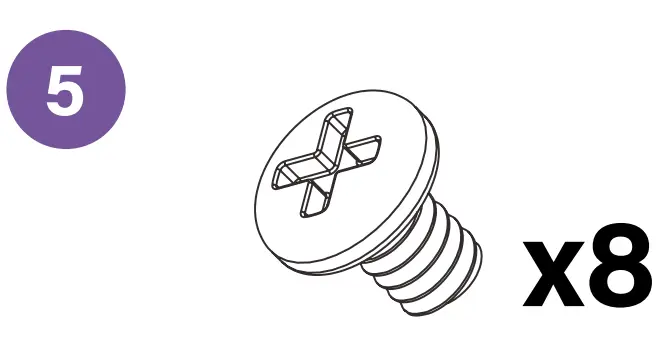
- Motherboards /SSD Screws

- PSU Screws

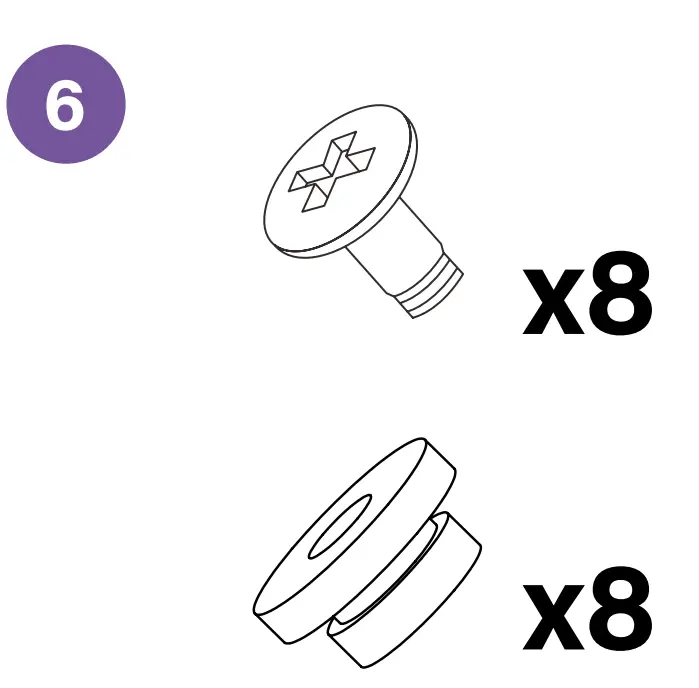
- HDD Screws

- Fan Screws

- HDD Enclosure screws

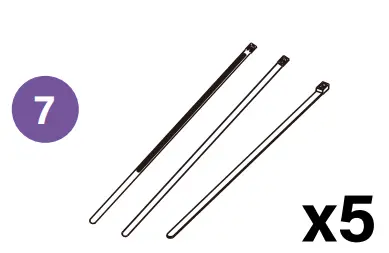
- Zip ties


BASIC INSTALLATION
A Disassemble the side panel and the front panel
B Install the power supply
C Install the motherboard
D Install HDD/SSD
E Install GPU and expansión slot (PCI)
F Install fan and radiator (optional)
G RGB Fanhub Controller installation
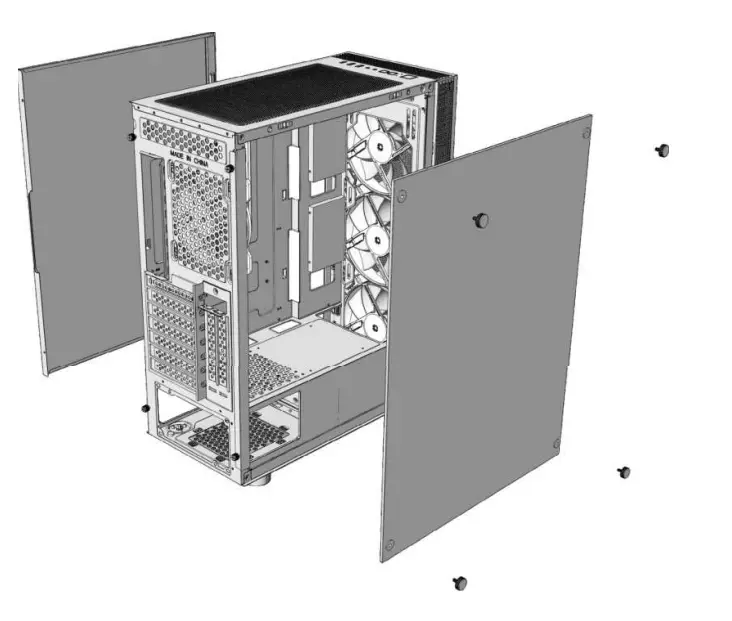
Disassemble the side panel and the front panel
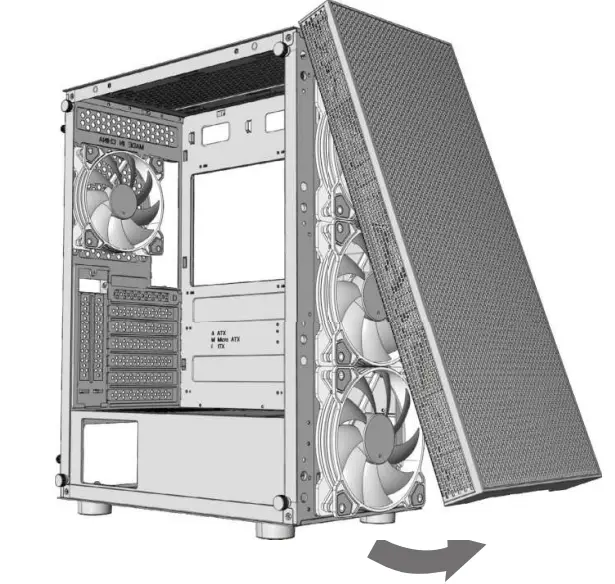
Take out the screws before disassembling side panel Remove the side panels before disassembling the front panel
![]() Special attention to the tempered glass side panel. Handle with care
Special attention to the tempered glass side panel. Handle with care
Install the power supply
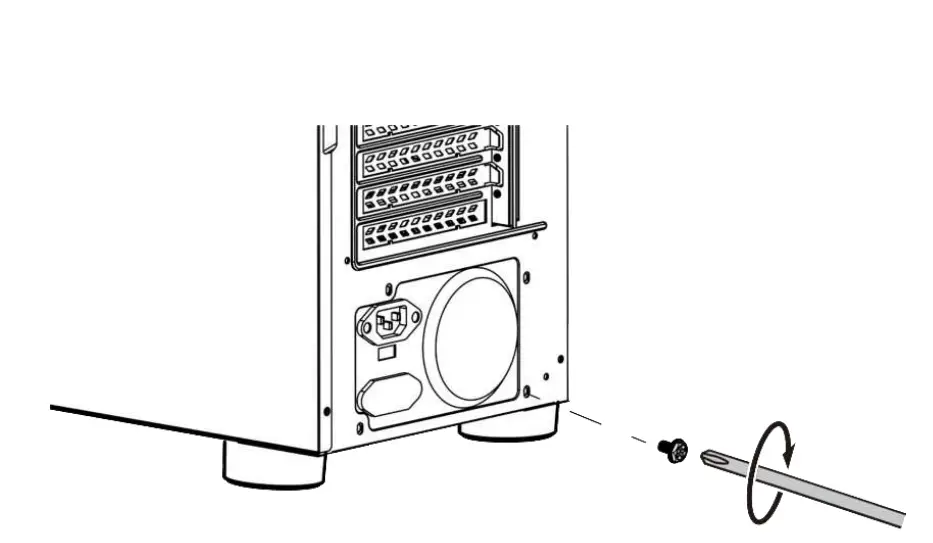
Make sure the screw holes for PSU and the PC case are alligned before screwing
Install the motherboard
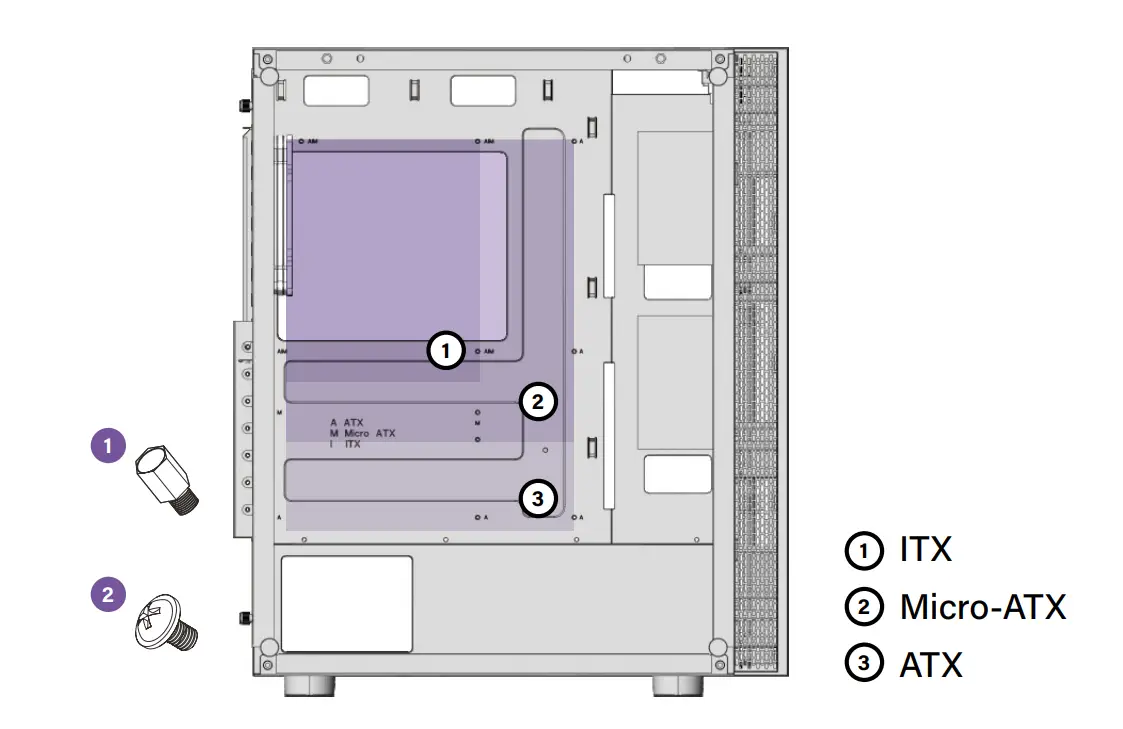
Make sure that the motherboard aims at the copper cylinder and install the standoffs (No.1) before screwing in with the No.2 screws
Install GPU and expansion slot (PCI)

Remove the bafle marked in the picture, make sure the VGA card aims at the motherboard slot and then fix VGA card and case with No.3 screw
RGB Fandub Controller installation
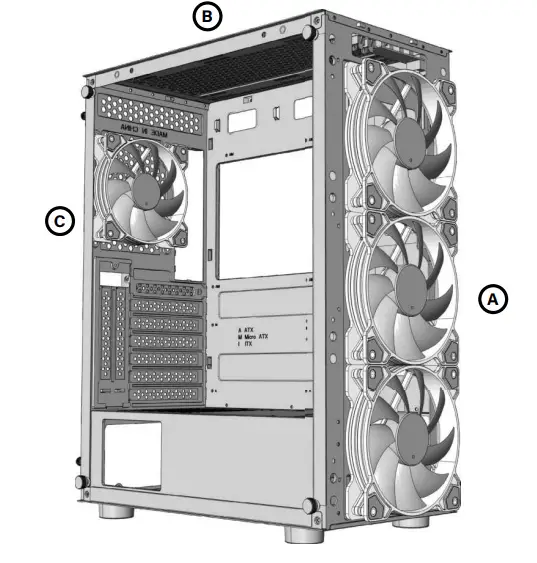
Ⓐ FRONT Fans → 3x 120mm → 3x 140mm Radiator up to 360mm
Ⓑ TOP Fans → 2x 120mm →2x 140mm Radiator up to 240mm
Ⓒ REAR Fans → 1x 120mm Radiator up to 120mm
Install fan and radiator (optional)
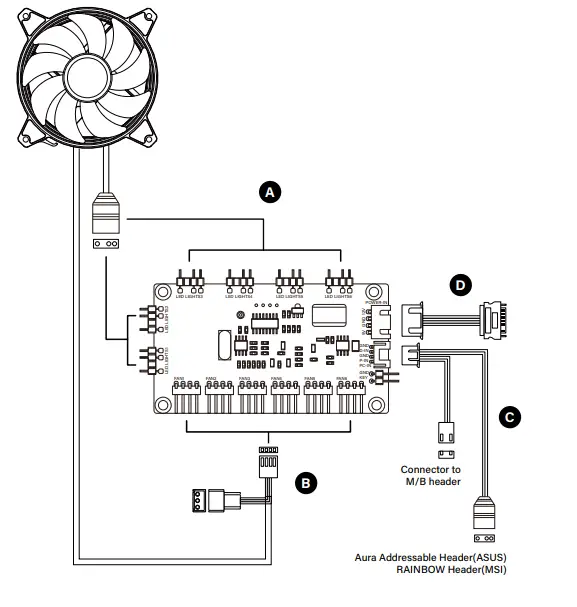
5v 3pin A-RGB Connector
3/4pin power connector
4pin (PWM) connector and 5v 3pin A-RGB syncing for motherboard
SATA connector to PSU power
![]() Controller has 4pin power outputs(PWM), but its also compatible with 3pin. Connect it skipping the first starting from left side
Controller has 4pin power outputs(PWM), but its also compatible with 3pin. Connect it skipping the first starting from left side