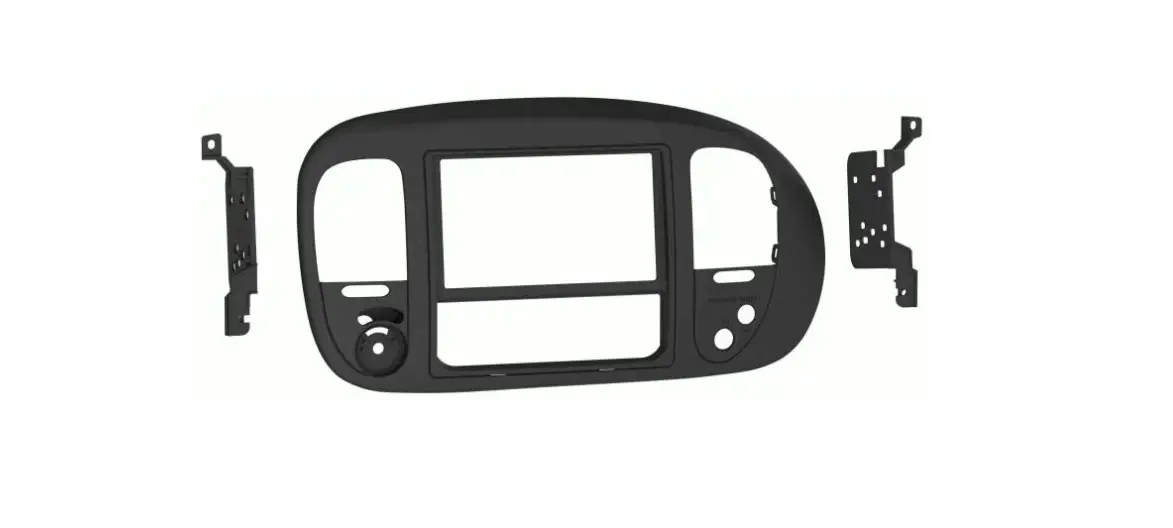
MeTra DP-5859 Dash Panel Kit Installation Guide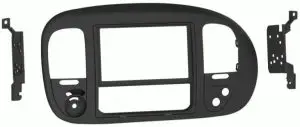
Visit MetraOnline.com for more detailed information about the product and up-to-date vehicle specific applications
WIRING & ANTENNA CONNECTIONS (sold separately)
- Wiring Harness: Please visit metraonline.com for wiring harness options.
- Antenna Adapter: Not required
TOOLS REQUIRED
- Panel removal tool
- Phillips screwdriver
- Socket wrench
- Cutting tool
Attention! Let the vehicle sit with the key out of the ignition for a few minutes before removing the factory radio. When testing the aftermarket equipment, ensure that all factory equipment is connected before cycling the key to ignition.
KIT FEATURES
- DDIN radio provisions. (sub-dash modifications are required)
- Custom textured replacement dash panel to accommodate DDIN radios. Metra suggests painting factory vents black to match the replacement dash panel.
- Multiple trim panels and brackets to cover multiple trim levels and vehicle options.
KIT COMPONENTS
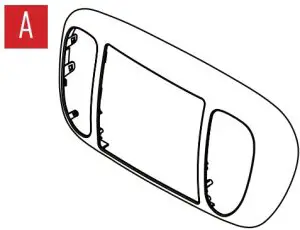
- A) Dash panel

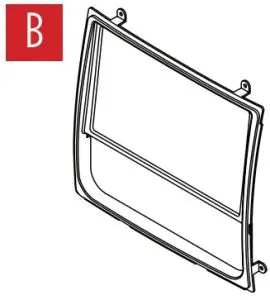
- B) Manual climate panel

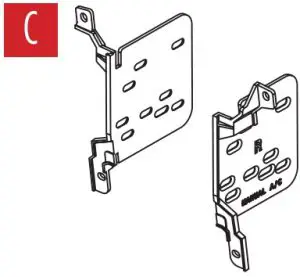
- C) Manual climate brackets

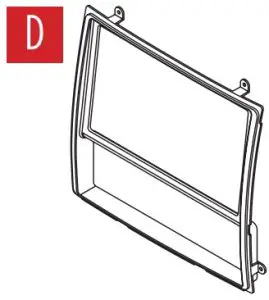
- D) Auto climate panel

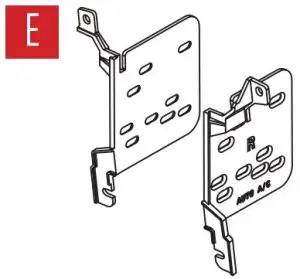
- E) Auto climate brackets

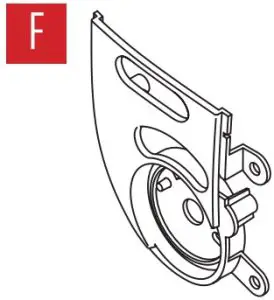
- F) 3-position 4WD switch panel

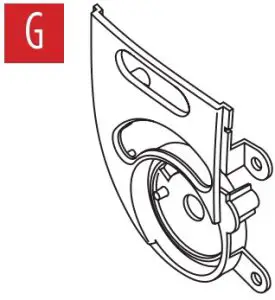
- G) 4-position 4WD switch panel

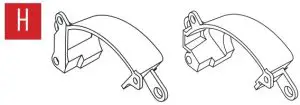
- H) Drive position switch back covers

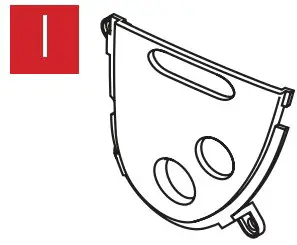
- I) Airbag switch panel

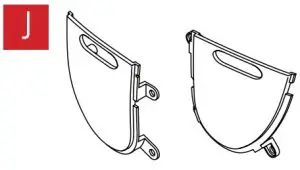
- J) Blank panels (2)

- K) Panel clips (5)

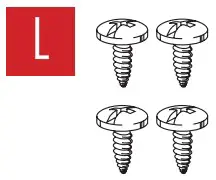
- L) #4 x 3/8” Phillips screws (4)

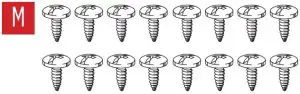
- M) #8 x 3/8” Phillips screws (16)


APPLICATIONS
Ford
- Expedition: 1997-2002
- F-150: 1997-2003
- F-150 Heritage: 2004
- F-250: 1998
Lincoln
- Blackwood: 2002
- Navigator: 1997-2002
DASH DISASSEMBLY
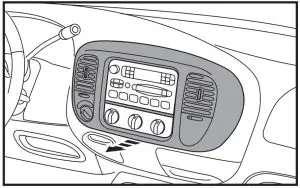
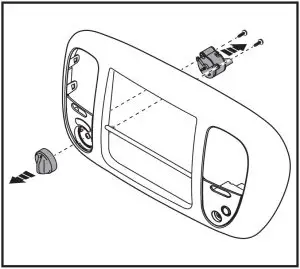
- Unsnap and remove the dash panel. (Figure A)

- Remove the factory radio using Metra’s 86-5618 radio removal tools.
- Remove the climate controls (recommended for sub-dash cutting). (Figure B)

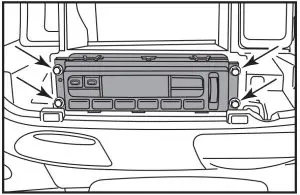
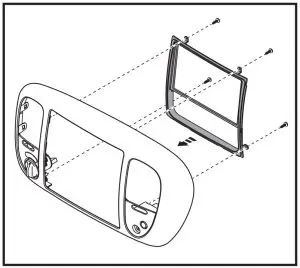
- Remove (2) 7/32” screws and unsnap the factory vents from the dash panel. (Figure C)
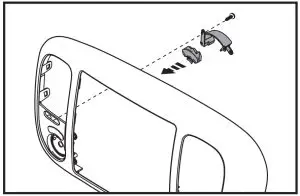
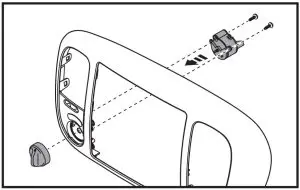
If equipped, there is a 3-position or a 4-position drive position switch. Remove switches from factory dash panel: - Remove 4wd knob from front. (Figure D)
- (2) 5.5mm screws from the switch. (Figure D)

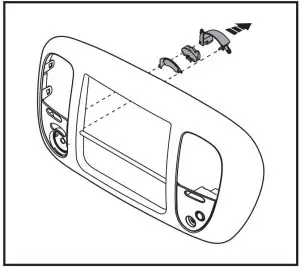
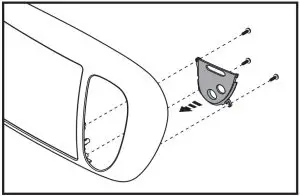
- Grind down 3 tabs to remove the light pipe cover and drive position graphic with icons. Note: Be careful not to cut into the factory drive position graphic, it will be re-used along with the factory light pipe. (clear plastic) (Figure E)
- Carefully remove the drive position graphic. (Figure E)

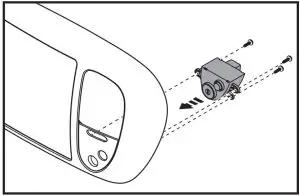
- If equipped, remove the factory passenger airbag indicator and switch. (Figure F)

KIT PREPARATION
If equipped with the factory drive position switch:
- Snap the drive position switch panel into place and secure with (2) factory screws (extra hardware is provided if needed). (Figure A)

- Place the graphic into the drive position switch panel (either 3 position or 4 position). (Figure B)

- Place the factory light pipe (clear plastic) into position and then the back cover. (Figure C)
- Secure the switch with the remaining factory screws (extra hardware is provided if needed) Install the knob from the front. (Figure D)

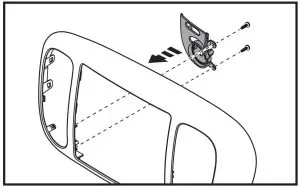

If equipped with the factory passenger airbag switch:
- Snap the airbag switch panel into place and secure with the factory hardware (extra hardware is provided if needed). (Figure E)
- Secure the factory switch into place using the factory hardware. (extra hardware is provided if needed). (Figure F)
Select either the manual climate or auto climate trim panel and brackets.
- Secure the appropriate climate panel to the dash panel using the (4) supplied #4 x 3/8” screws. (Figure G)

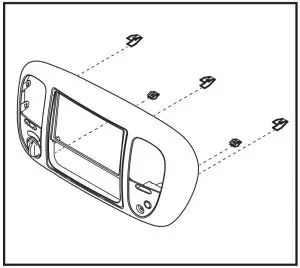
- Attach the (5) supplied panel clips to the radio housing. (factory panel clips can be used) (Figure H)
- Metra recommends painting the vents matte black to better match the replacement dash panel.
- Attach the vents to the radio housing using the factory hardware (Figure I)
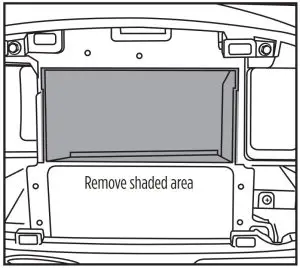
- Cut sub dash area. Top and sides.
- Remove rear support. Might need to trim the sub dash bracket (radio opening) (Figure J)
- Install the climate controls back into the sub dash.
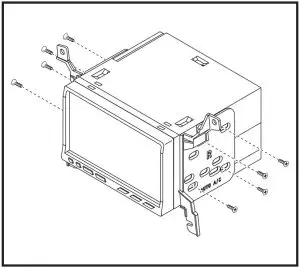
KIT ASSEMBLY
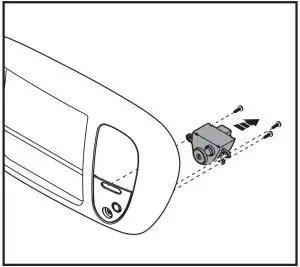
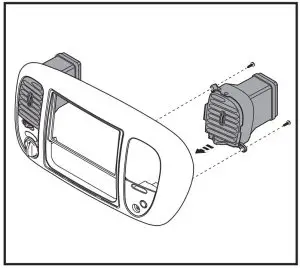
- Attach the appropriate radio brackets to the radio using screws supplied with the radio, and then secure into the dash opening. (Figure A)
- Locate the factory wiring harness and antenna connector in the dash, and complete all necessary connections to the radio. Metra recommends using the proper mating adapter from Metra and/ or AXXESS. Re-connect the negative battery terminal and test the radio for proper operation.
- Snap the radio trim panel over the radio and reassemble the dash in reverse order of disassembly
Customer Support
![]() Contact our Tech Support line at: 386-257-1187
Contact our Tech Support line at: 386-257-1187![]() Or via email at: [email protected]
Or via email at: [email protected]
 KNOWLEDGE IS POWER
Enhance your installation and fabrication skills by enrolling in the most recognized and respected mobile electronics school in our industry.
Log onto www.installerinstitute.edu or call 386-672-5771 for more information and take steps toward a better tomorrow.
Metra recommends MECP certified technicians

Scan QR Code More Detail: