![]()
| MODEL | AU-A1ZB2WDM, AU-A1ZB2WDM1P, AU-A1ZB2WDM2P |
| VOLTAGE (V) | 220-240V AC |
| RESISTIVE MAX LOAD | 250W |
| INPUT CURRENT | 1.04A |
| OUTPUT VOLTAGE | 220-240V 50Hz AC |
| AMBIENT TEMPERATURE LIMITS | -20°C~+50°C |
| IP RATING | IP20 |
| PROTOCOL | Zigbee 3.0 |
| CONDUCTOR TYPE & SIZE | Twin and Earth 0.75~2.5 mm2 (UK) |
| FREQUENCY BAND | 2400 MHz – 2483.5 MHz |
| MAX OUTPUT RF POWER | 13 dBm/mW |
| INSULATING MATERIALS | PTI 175 |
| GLOW-WIRE TEMPERATURE | 650°C |
| PROTECTIVE DEVICE | 1A fuse on output |
| RATED IMPULSE WITHSTAND VOLTAGE | 1.5 KV |
| RATED POWER | LED: 250W | HV Halogen: 250W, | Electronic Transformer: 250W |
| MIN. LOAD OF LIGHTING (SUBJECT TO DEVICE POWER FACTOR < 0.9) | Typical LED 10W (Depending on the input characteristics of the load) |
| DIMMING RANGE | 0-100% |
| ADDITIONAL FEATURES | Trailing edge dimming mode |
- Installation must be carried out in accordance with the latest edition of the Wiring Rules by a qualified/competent electrician.
- Hereby, Aurora Limited declares that the radio equipment type AU-A1ZB2WDM is in compliance with Directive 2014/53/EU. The full text of the EU declaration of conformity is available at the following internet address:
www.auroralighting.com/ProductDetail/AU-A1ZB2WDM
USING THE APP TO CONNECT THE SMART ROTARY DIMMER TO THE HUB
- Download the AOne App from the App Store.
- Follow instructions on the AOne App to send the hub into pairing mode and pair your devices (further details below).
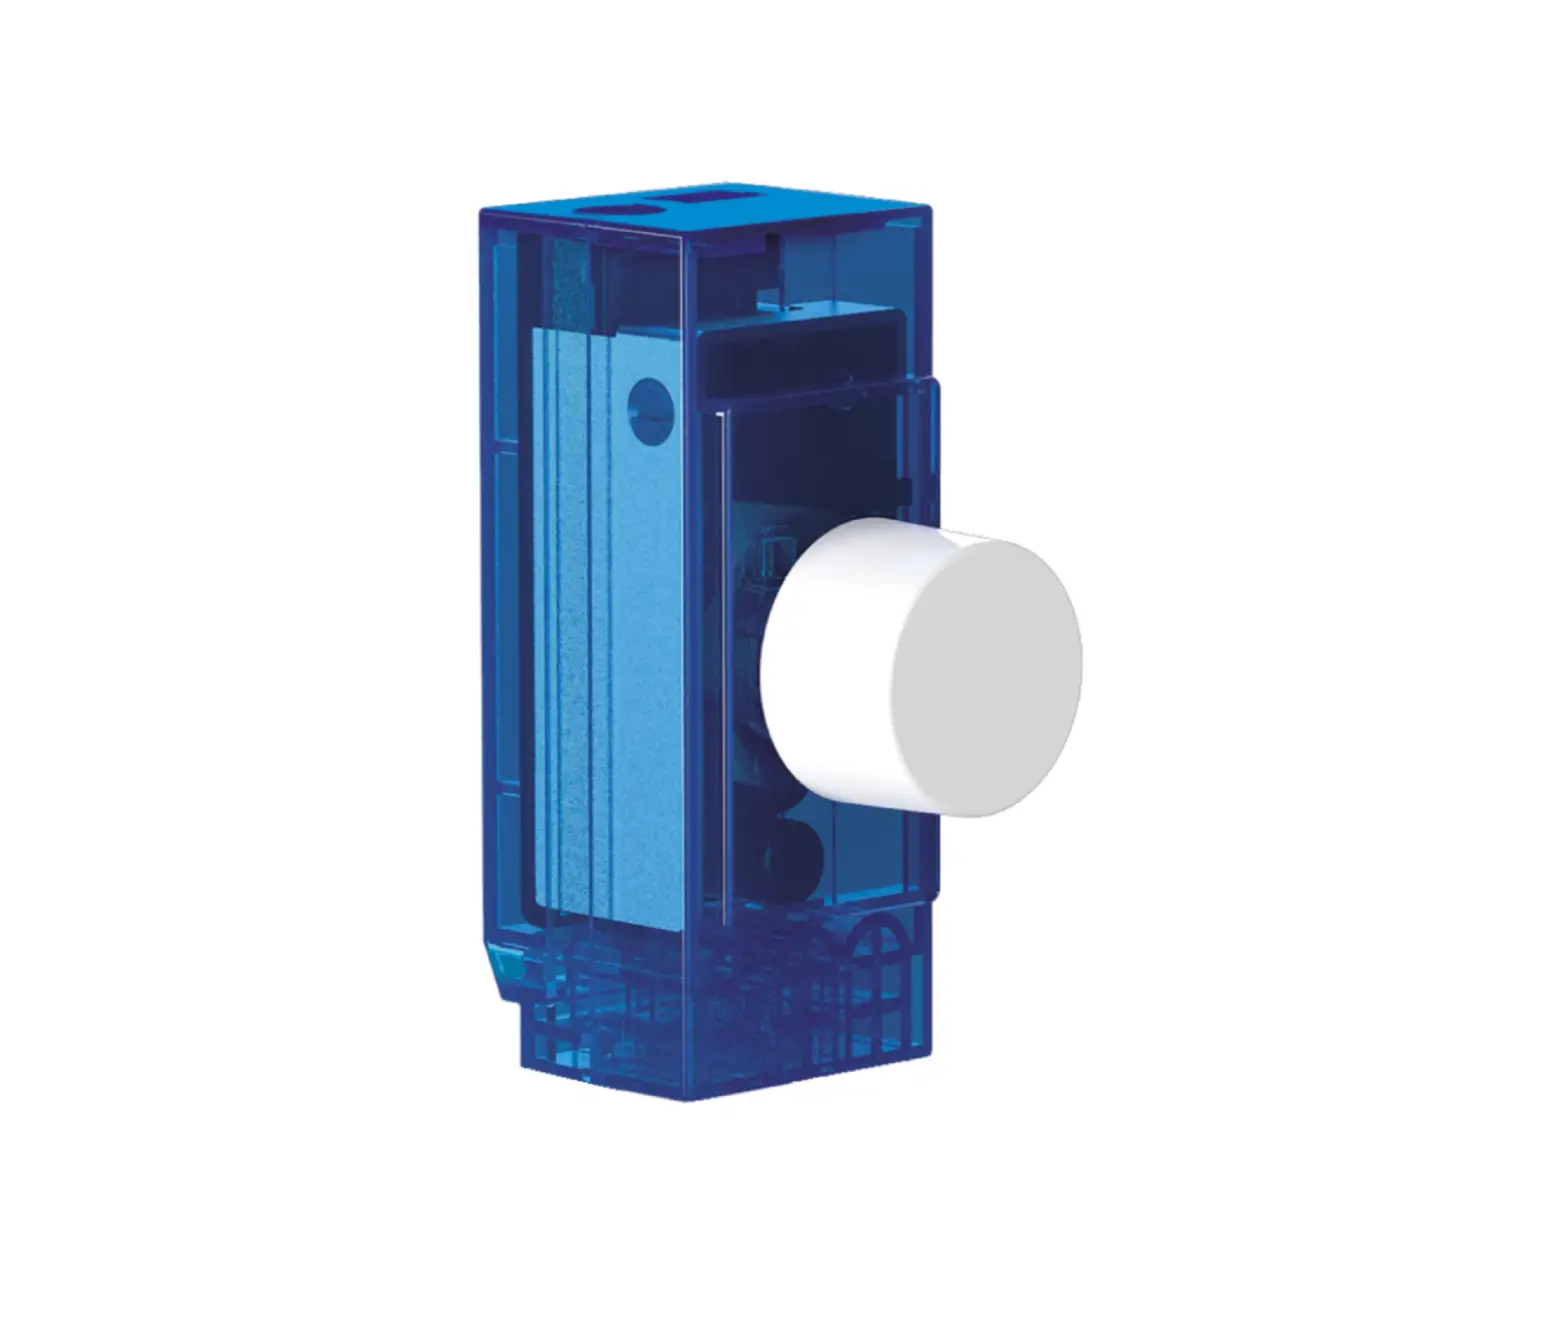
- The dimmer will enter pairing mode once it has power. To re-pair the dimmer manually, push and hold the knob for 6 seconds.
The connected load, and the red LED indicator behind the dimmer knob will flash twice to indicate it has entered pairing mode.
The connected load, and the red LED indicator behind the dimmer knob will flash a third time to indicate that it has paired with the hub.
The dimmer can then be controlled using the AOne App.
IMPORTANT INFORMATION:
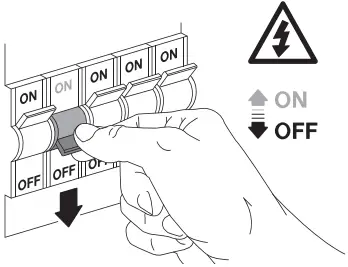
- Do NOT operate the master/slave switch when power to the product is on
- Read and remove the warning label to access the master/slave switch
- The blue LED backlight may be switched off in the app if required
1
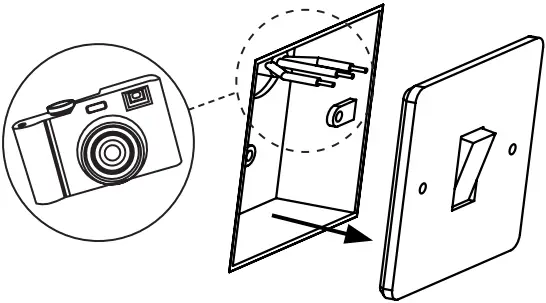
2 Before starting work; Take a photo of existing wiring and terminals.
Minimum depth of backbox must be 25mm
3 If you have purchased a module only, skip to step 5

4

5 Optional: If you have purcahsed a module only and/or wish to use your existing faceplate, remove the faceplate that comes installed on the dimmer and follow the existing faceplate install guide:

In order to wire the dimmer, please check the back page of this install guide and follow the appropriate wiring diagram.
6A ONE WAY WIRING
6B TWO WAY WIRING

7 If you wish to adjust the minimum dimming level do not fully screw the dimmer into the backbox

8

9 Minimum Dimming Adjustment
To adjust the minimum dimming level of the connected load(s):
- Switch the load on.
- Turn on the MASTER dimmer fully anti-clockwise. The load may turn off or possibly flicker.
- With a terminal screwdriver adjust the Trim Pot to set the minimum brightness of the load. Clockwise to increase the brightness, anti-clockwise to reduce the brightness.
- Tighten faceplate screws and fit faceplate when the Minimum Dimming Adjustment is complete.
KEEP FINGERS AND TOOLS CLEAR OF WIRES & WIRING TERMINALS WHILST POWER IS ON

- Master mode
- Slave mode
- Trim Pot
10 Download / control through the AOne App


Read and remove the warning label to access the Master/Slave switch.
Warning: DO NOT operate the Master/Slave switch while the device is powered. If you ignore this warning your device will be irreparably damaged.

- Switch on left side:
Master mode - Switch on right side:
Slave mode
6A ONE WAY WIRING / MAINS MASTER

1-Way Switching
Each lighting circuit is controlled by one switch.
Connect the Live (Brown/Red) wire to the terminal marked L.
Connect the Switch Live (Blue/Black) to the terminal marked C.
For 1 way switching the middle terminal connection is not used.
6B TWO WAY WIRING / MAINS MASTER AND SLAVE

2-Way Switching
2-Way lighting circuits have two switches controlling the same lights from two different locations. This is commonly used at the top and bottom of staircases or at the entry and exit doors to a room.
For 2-way switching appliations BOTH existing switches/dimmers must be replaced with Aurora Zigbee Smart Rotary dimmers.
Remove one of the existing switches, taking note of the wiring.
Ensure that the Live (Brown or Red) wire is inserted into the terminal marked L and the Switched Live (Blue or Black, to your lights) is inserted into the C terminal.
Document Version: AU-A1ZB2WDM_1P_2P_V1_18
Environmental Protection (W.E.E.E.) – Aurora’s WEEE Reg.No. WEE/BG0130YX (UK Only)
 Waste Electrical & Electronic Equipment Regulations (WEEE) requires that any of our products showing this marking (left) must not be disposed of with other household or commercial waste. Aurora does not levy any WEEE disposal charges to its customers for affected WEEE related products. To prevent possible harm to the environment or human health from uncontrolled waste disposal, please separate any such product from other waste types and recycle it responsibly at your local facilities. Check with your Local Authority, Recycling Centre or retailer for recycling advice. If, when you purchased any Aurora product, your supplier included a WEEE disposal fee, you should then contact your supplier for advice on his take back of the product for the correct disposal.
Warranty
See www.auroralighting.com/warranty for full details of warranties and Extended Warranty Terms and Conditions. The warranty is invalid in the case of improper use, tampering, and removal of the Q.C. date label, installation in an improper working environment or installation not according to the current edition of the National Wiring Regulations. Should this product fail during the warranty period it will be replaced free of charge, this is subject to correct installation and return of the faulty product. Aurora does not accept responsibility for any installation costs associated with the replacement of this product. This warranty is in addition to the statutory rights in your country of purchase. Aurora reserves the right to alter specifications without prior notice.
References
 Oslo Sportslager - kvalitet - service - kunnskap i 90 år
 Aurora Lighting - a lighting and technology company tailoring services and solutions to deliver Value Beyond Illumination™
-
Aurora Lighting - a lighting and technology company tailoring services and solutions to deliver Value Beyond Illumination™
-
Product Registration - Aurora Lighting - a lighting and technology company tailoring services and solutions to deliver Value Beyond Illumination™


