qtx Tri-Bar 3 Segment RGB LED Wall Bar
Please read through this manual thoroughly before use, any damage caused by misuse of the product will not be covered by warranty.
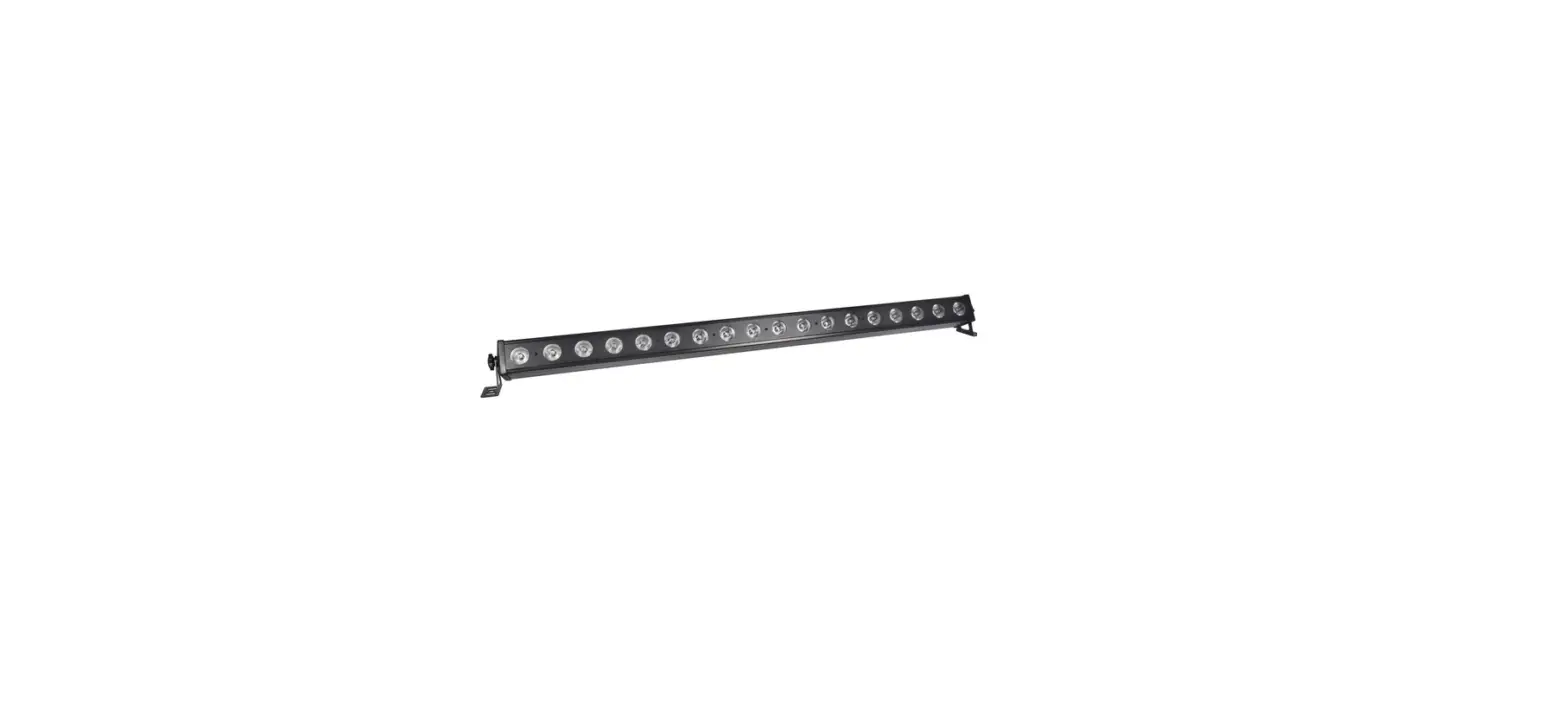
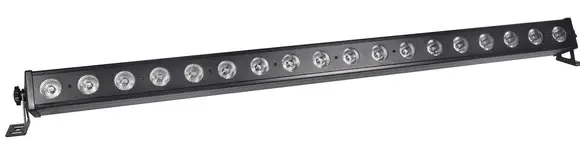
Thank you for choosing the QTX Tri-Bar with 18 high-output RGB LEDs to provide color washes and moving patterns against walls, ceilings or even floors. The 3 groups of 6 LEDs can be controlled by auto or sound-activated modes from preset internal color sequences. Alternatively, the bar can be operated remotely by DMX in either 3, 7 or 13-channel modes and connected to more units if a larger effect is needed.
In the box
Your Tri-Bar should arrive with you in a single carton in good condition. The carton should contain 1 x main unit, 2 fixing stand/brackets with thumbscrews, 1 x UK IEC mains lead and 1 x manual.
Warning:
To prevent risk of fire or electric shock, do not expose the unit to rain or damp environments. In the event of a spillage, disconnect the mains and allow the unit to dry out naturally. Qualified personnel should then check the unit before continuing use. Please do not open cover, contains high voltage. This product is not serviceable or repairable by the end user. Please refer to qualified personnel for service and repair.
Placement
- Use the included mounting brackets to fix to a stand or lighting truss.
- Use secondary safety fixings if mounting overhead.
- Keep away from damp or dusty environments.
- Ensure adequate airflow around the fixture housings.
- Ensure adequate access to controls and connections.
- Do not aim LED or laser output directly into line of sight, as this can result in eye injury.
Cleaning:
- Use a soft cloth with a neutral detergent to clean the casing as required.
- Do not use strong solvents for cleaning the unit.
Side panel controls

- Internal microphone
- Control panel
- LED display
- DMX input
- DMX output
- IEC mains inlet & fuse holder
- IEC mains outlet
Manual control menu:
- Press the “MENU” button to enter the settings menu.
- Press “UP” and “DOWN” buttons to navigate through various setting functions.
- Press “ENTER” button to confirm the desired setting.
| Menu | Function | Description |
| d001 | d001 – d512 | DMX address settings |
| CH3/CH7/CH13 | DMX channel selection | |
| Au | Au00 – Au16 | Automatic modes |
| FL | FL00 – FL09 | Automatic mode strobe – slow to fast |
| SP | SP00 – SP09 | Automatic mode speed – slow to fast |
| So | So01 – So02 | Sound activated modes |
| Sn | Sn01 – Sn09 | Sound activated mode sensitivity adjustment – low to high |
DMX mode:
The Tri-Bar can be controlled by DMX signal, simply connect the DMX signal source to the DMX input on the unit via a balanced XLR lead. Extra fixtures can be controlled by the same DMX signal by looping through the DMX out on the unit. To enter DMX mode, select d001 from the menu and confirm the correct start address and channel selection by using the “UP” and “DOWN” buttons and “ENTER”. The “d” on the LED display will begin to flash once it’s received the DMX signal from the controller. This unit has 3, 7 or 13 DMX channels as indicated in the table below:
3 Channel mode:
| Channel | Value | Function and description |
| 1 | 0 – 255 | Red dimmer (0-100%) |
| 2 | 0 – 255 | Green dimmer (0-100%) |
| 3 | 0 – 255 | Blue dimmer (0-100%) |
7 Channel mode:
| Channel | Value | Function and description |
| 1 | 0 – 255 | Master dimmer (0-100%) |
| 2 | 0 – 255 | Red dimmer (0-100%) |
| 3 | 0 – 255 | Green dimmer (0-100%) |
| 4 | 0 – 255 | Blue dimmer (0-100%) |
| 5 | 0 – 255 | Strobe (slow to fast) |
| 6 | 0 – 009 | Manual dimming |
| 10 – 249 | Integrated effects | |
| 250 – 255 | Sound to light | |
| 7 | 0 – 255 | Speed adjust (slow to fast) |
13 Channel mode:
| Channel | Value | Function and description |
| 1 | 0 – 255 | Segment 1 red dimmer (0-100%) |
| 2 | 0 – 255 | Segment 1 blue dimmer (0-100%) |
| 3 | 0 – 255 | Segment 1 green dimmer (0-100%) |
| 4 | 0 – 255 | Segment 2 red dimmer (0-100%) |
| 5 | 0 – 255 | Segment 2 blue dimmer (0-100%) |
| 6 | 0 – 255 | Segment 2 green dimmer (0-100%) |
| 7 | 0 – 255 | Segment 3 red dimmer (0-100%) |
| 8 | 0 – 255 | Segment 3 blue dimmer (0-100%) |
| 9 | 0 – 255 | Segment 3 green dimmer (0-100%) |
| 10 | 0 – 255 | No function |
| 11 | 0 – 255 | Strobe (slow to fast) |
| 12 | 0 – 009 | Manual dimming |
| 10 – 249 | Integrated effects | |
| 250 – 255 | Sound to light | |
| 13 | 0 – 255 | Blue dimmer (0-100%) |
Specifications
| Power supply | 110-240Vac, 50/60Hz (IEC) |
| Power consumption | 60W |
| Fuse rating | F3A |
| LED type | 18x 3W RGB 3-in-1 COB |
| Beam angle | 45° |
| Modes | Static colour, colour change, colour fade, auto, sound active, DMX, master/slave |
| DMX channels | 3, 7 or 13 |
| Dimensions | 1150 x 60 x 60mm |
| Weight | 1.850kg |
Troubleshooting
| No power (mains) | Check mains voltage is correct and outlet is switched on |
| Check IEC lead and fuse (if fuse continually blows, refer to your dealer) | |
| No light output | Check control panel mode settings |
| Check DMX settings from controller (dimmer levels, blackout etc.) | |
|
Unresponsive to DMX | Check that unit is in DMX mode and ensure the A on the DMX address flashes to confirm it’s receiving a DMX signal |
| Check DMX controller is not set to black out | |
| Check DMX controller is on correct fixture/page | |
| Check master dimmer value | |
| Check correct DMX address is set | |
| Check DMX connection and leads | |
| Overheating/ cutting out | Ensure adequate ventilation and unit is not too close to a heat source |
This product is classed as Electrical or Electronic equipment and should not be disposed of with other household or commercial waste at the end of its useful life. The goods must be disposed of according to your local council guidelines.
Errors and omissions excepted.
Copyright© 2022 AVSL Group Ltd, Unit 2 Bridgewater Park, Taylor Road, Trafford Park, Manchester. M41 7JQ. AVSL (Europe) Ltd, Unit 3D North Point House North Point Bus. Park, New Mallow Road, Cork, Ireland. www.avsl.com 151.593UK User Manual


