![]() The FIRST Name in Towing Products™
The FIRST Name in Towing Products™
INSTALLATION INSTRUCTIONS
Scan for helpful installation tips
http://qr.curtmfg.com/video/56326
![]() WARNING: DO NOT EXCEED PRODUCT RATING OR TOW VEHICLE LAMP LOAD RATING, WHICHEVER IS LOWER
WARNING: DO NOT EXCEED PRODUCT RATING OR TOW VEHICLE LAMP LOAD RATING, WHICHEVER IS LOWER
56326 APPLICATIONS
| Make | Model |
| Cadillac | XT5 |
| GMC | Acadia (excluding Limited) |
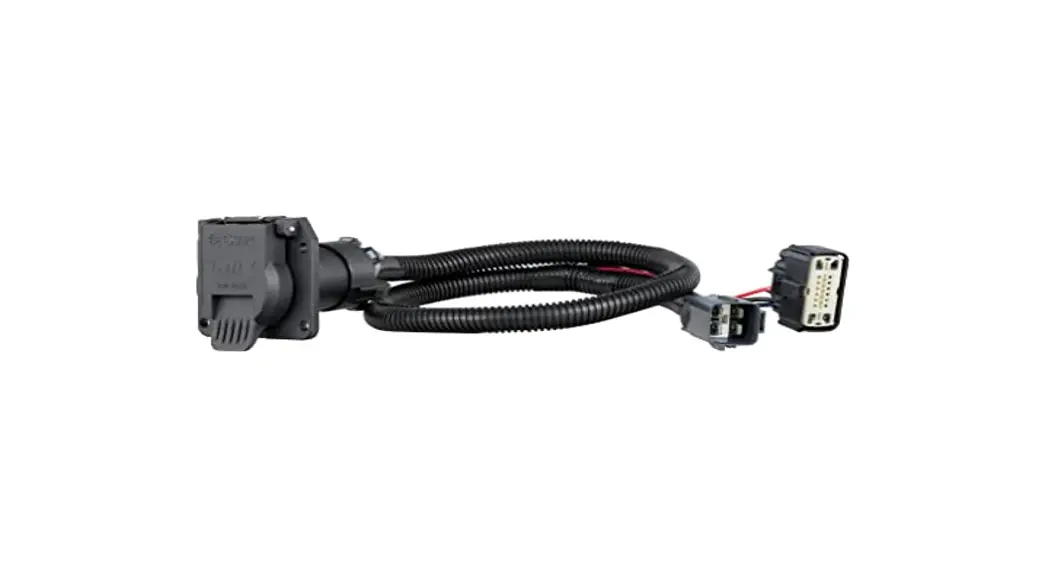
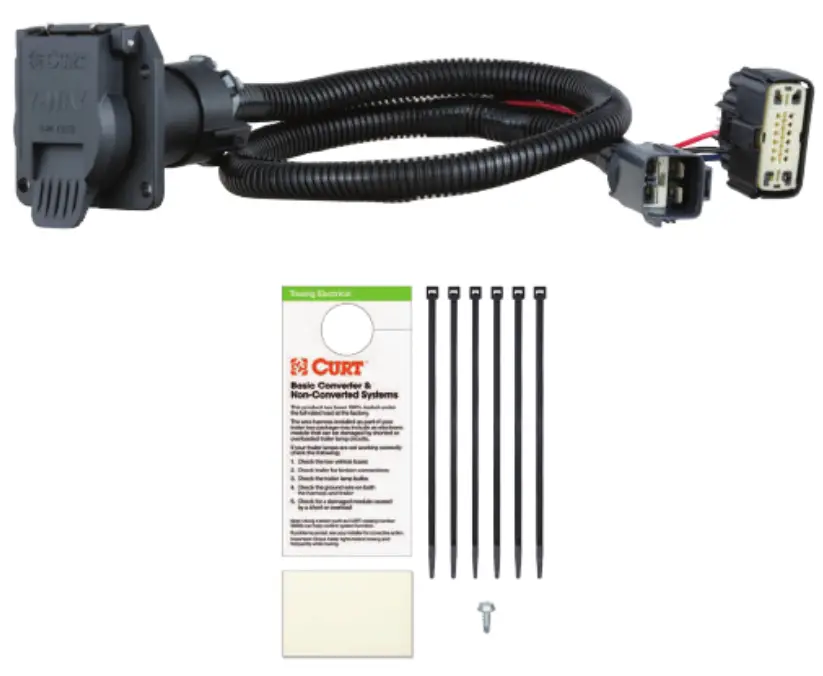
CUSTOM WIRING CONNECTOR
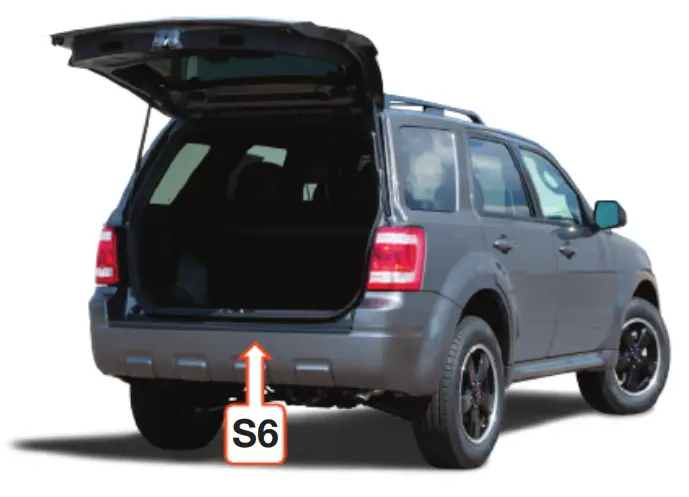
WIRING LOCATION GUIDE
SUVS, MINI & FULL-SIZED VANS (S) Representative vehicle is shown below S6 – Behind the center of the rear bumper
![]() NOTICE
NOTICE
All steps must be followed to ensure the CURT wiring connector will function properly. Once installed test for proper function by using a test light or connecting a properly wired trailer. All connections must be complete for the wiring harness to function. Test and verify the installation of the product with a test light or trailer after installment. For the initial test, reset the electrical system of the vehicle by temporarily removing the vehicle’s key from the ignition.
TOOLS NEEDED
Wire cutter
![]() WARNING
WARNING 
Exceeding the product rating can cause loss of warranty, overheating, and potential fire. Do not exceed product rating or tow vehicle lamp load rating, whichever is lower.
Stop / Turn Light – 10 amps
Taillight s – 10 amps
Backup – 10 amps
Power Circuit – 30 amps
Trailer Brakes: 3 Axles / 6 Brakes – 20 amps
Check vehicle owner’s manual or contact the vehicle manufacturer for more information.
 INSTALLATION / SAFETY INSTRUCTIONS
Step 1
Locate the vehicle battery on the driver’s side under the hood and disconnect the negative battery terminal.
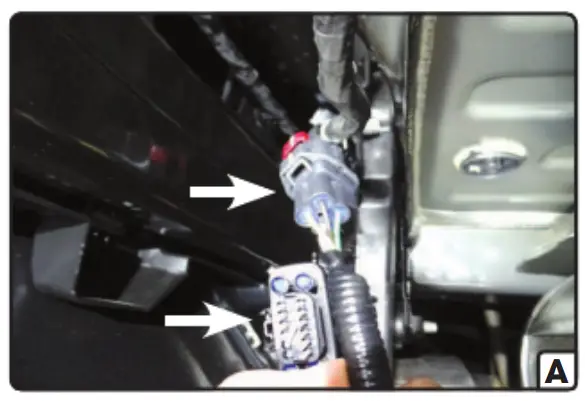
Step 2
Locate the vehicle connector behind the rear bumper in the center of the vehicle. The connector will be similar to that on the CURT wiring connector (A).
Step 3
Separate the vehicle connectors from the weather seal connectors. Take care not to damage the locking tabs.
Step 4
Insert the CURT wiring connector end into the vehicle connector. Make sure the connectors are fully inserted with locking tabs in place.
Step 5
Determine the 7-way mounting location. Route the other end of the wiring connector along the inside of the bumper towards the center of the vehicle and to the 7-way mounting location.
Step 6
Insert the 7-way connector end in between the separated 7-way connectors. Make sure the connectors are fully inserted with locking tabs in place.
Step 7
Reinstall all items removed during install and reconnect the negative battery terminal.
CURTMFG.COM • NEED ASSISTANCE? • 1.877.287.8634 • 56326-INS-RA


