ESL VISION Contractor Panel Series Surface Mount Installation Guide
Compatible Parts
| 1’X4′ |
| MOUNT: ESLC-DP-SMF-14-W FIXTURES: ESLC-DPS-14-U-P-2 ESLC-DP-14-U-P-30-xxK-80-D |
| 2’X2’ |
| MOUNT: ESLC-DP-SMF-22-W FIXTURES: ESLC-DPS-22-U-P-2 ESLC-DP-22-U-P-yy-xxK-80-D |
| 2’X4’ |
| MOUNT: ESLC-DP-SMF-24-W FIXTURES: ESLC-DPS-22-U-P-2 ESLC-DP-24-U-P-yy-xxK-80-D |
Kit Contents
(Available for 1’x4′, 2’x2′ & 2’x4′)
| PART | 1’x4′ | 2’x2′ | 2’x4′ | DIMENSIONS | MATERIAL |
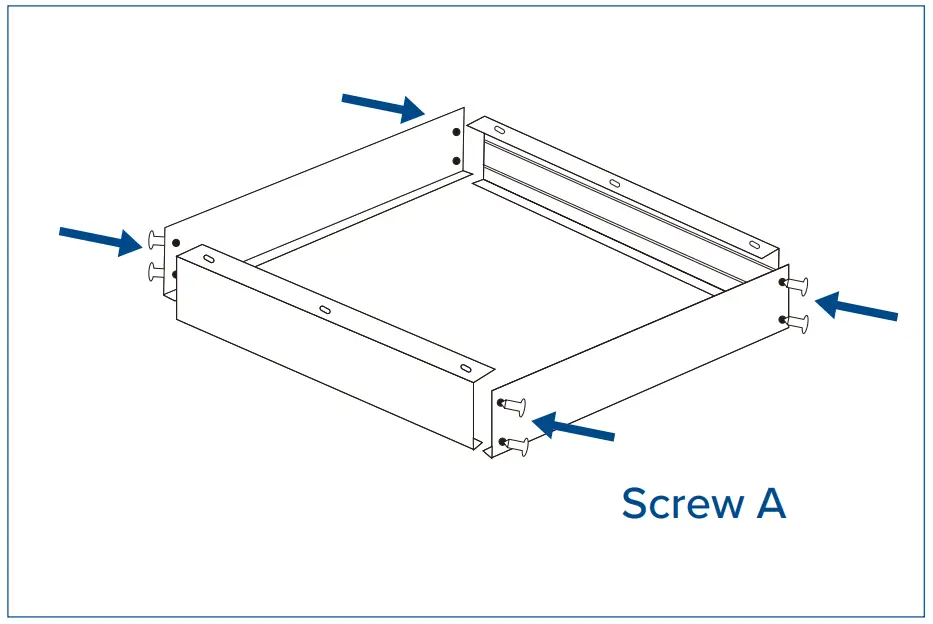
Screw A | 8 | 8 | 8 | 0.04″ x .4″ | Zinc Coated Iron |
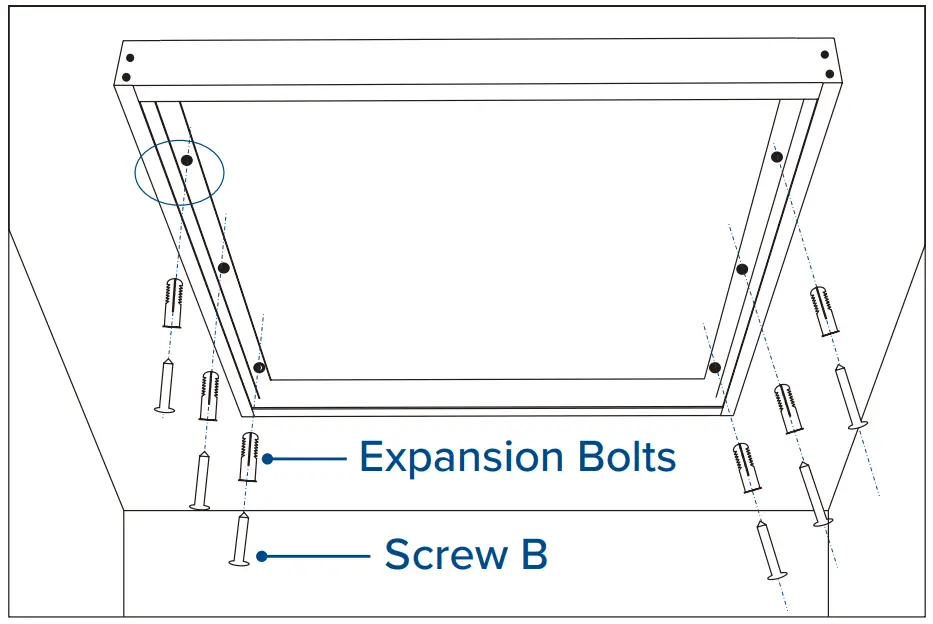
Screw B | 6 | 6 | 6 | 0.16″ x .98″ | Zinc Coated Iron |
Expansion Bolt | 6 | 6 | 6 | 0.24″ x 1.18″ | PVC |
1′ Frame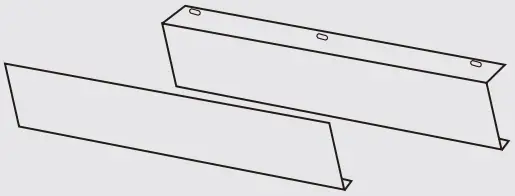 | 2 | 0 | 0 | 12.04” x 2.44” | Aluminum |
2′ Frame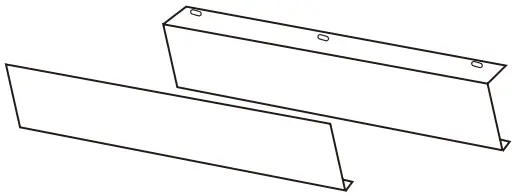 | 0 | 4 | 2 | 24.08” x 2.44” | Aluminum |
4′ Frame | 2 | 0 | 2 | 48.17” x 2.44” | Aluminum |
Installation
- Assemble the four sides with Screw A (total of 8) to create the frame.

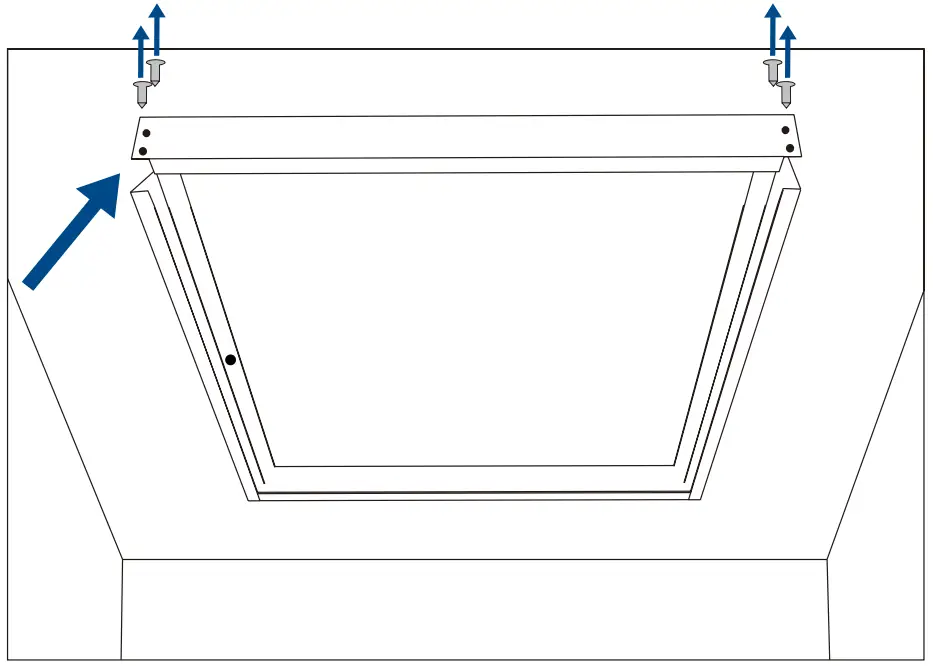
- Fix the frame to the ceiling using Screw B with the Expansion Bolts.
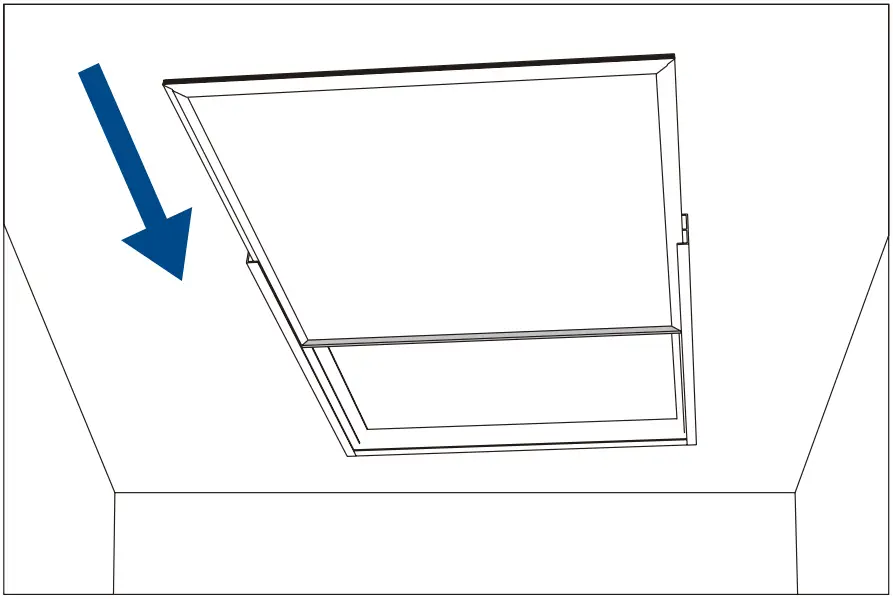
- Once securely mounted to the ceiling, disassemble one end by removing Screw A (total of 4).

- Slide the panel into the frame channel.

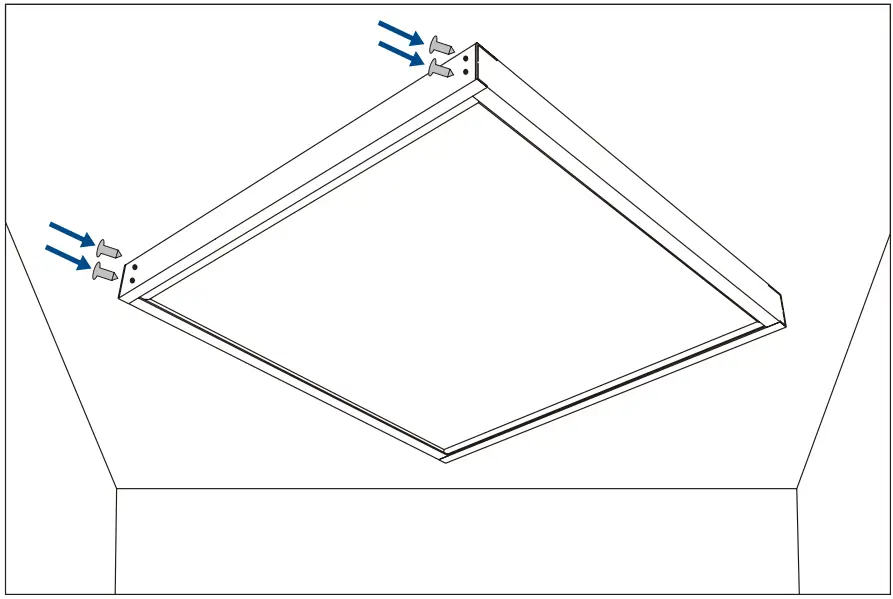
- Reassemble the frame end with the remaking Screw A (total of 4).
CUSTOMER SUPORT
![]() 888.493.5539
888.493.5539![]() [email protected]
[email protected]![]() www.eslvision.com
www.eslvision.com