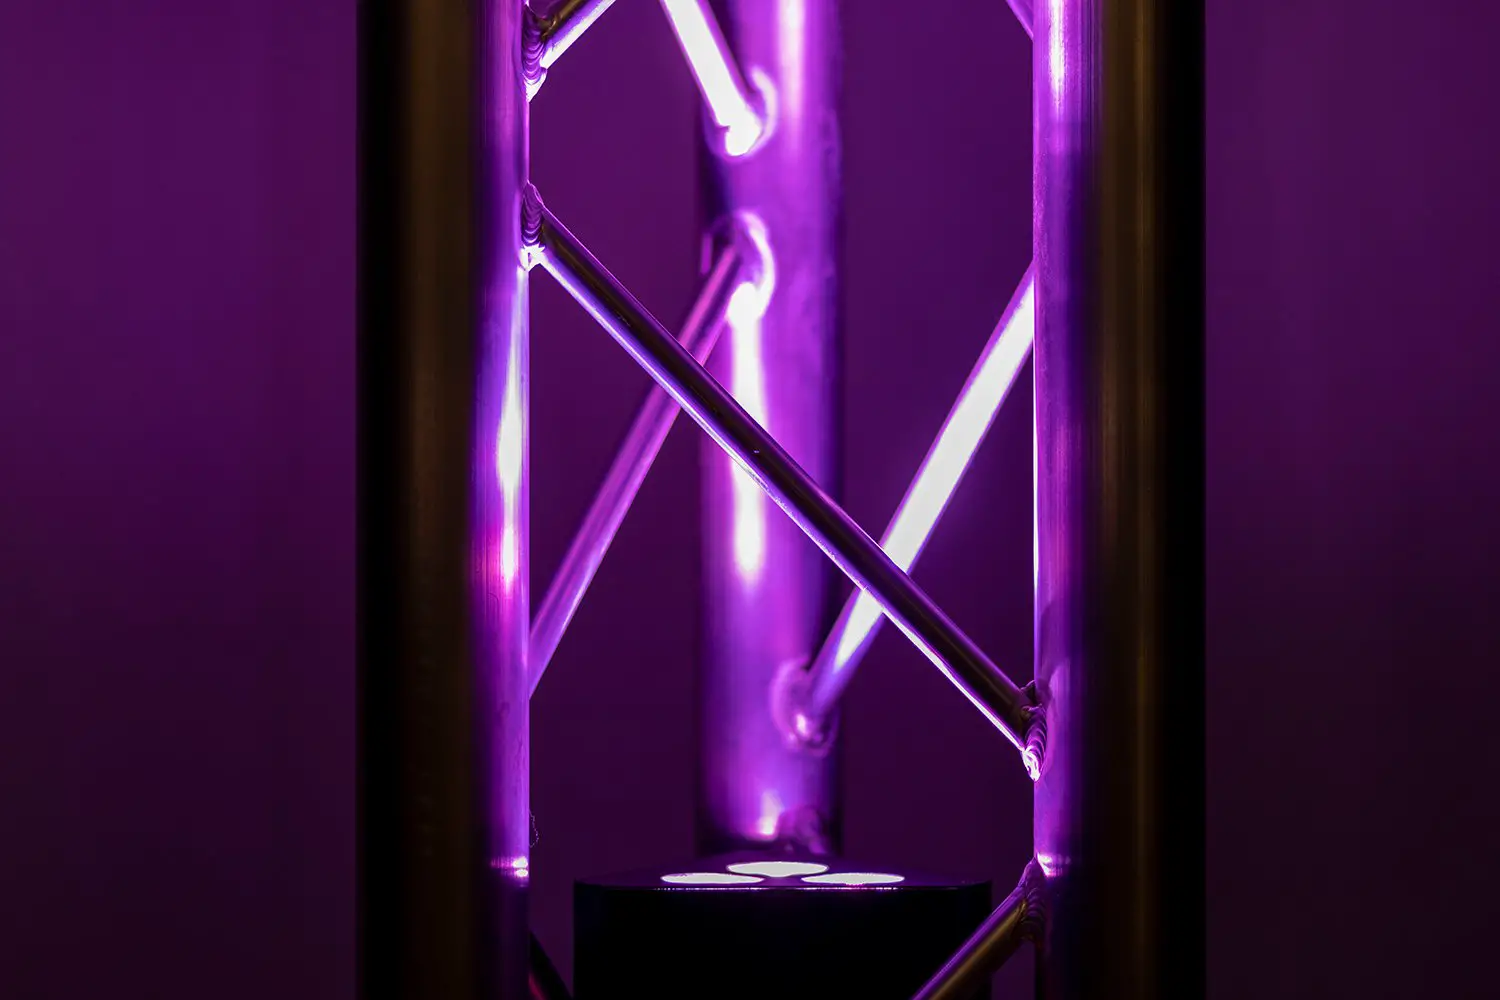
ColorKey CKU-2060 TrussPar QUAD 3 GO
Introduction
Please read these instructions carefully before use. Operating this fixture according to these instructions is important to avoid any possible damage or accidents caused by misuse.
Packing List
- 1x TrussPar QUAD 3 GO
- 1x IR Remote
- 1x Power Cord
- User Manual
Safety
Caution! Opening this unit voids warranty. Contact ColorKey for any service requests.
Warning! To avoid electrical shock, be sure to disconnect power before any service or when moving or setting up the fixture.
Caution! Avoid direct eye exposure with the fixture when on.
- This fixture is for indoor use only.
- This fixture must be installed a minimum distance of 5 meters (16’4″) away from any lighted objects.
- Do not install or operate this fixture near flammable materials.
- This device must be installed, operated, and maintained by a qualified professional.
- Do not touch the fixture with bare hands during operation as the surface temperature of the fixture can exceed 60°C (140°F). Turn off power and wait 15 minutes for the fixture to cool before attempting to touch it.
- Please check if the voltage is in accordance with the rated power before installing.
- Do not operate this fixture if the power cord has been damaged. Turn off fixture and replace with a power cord of similar rating.
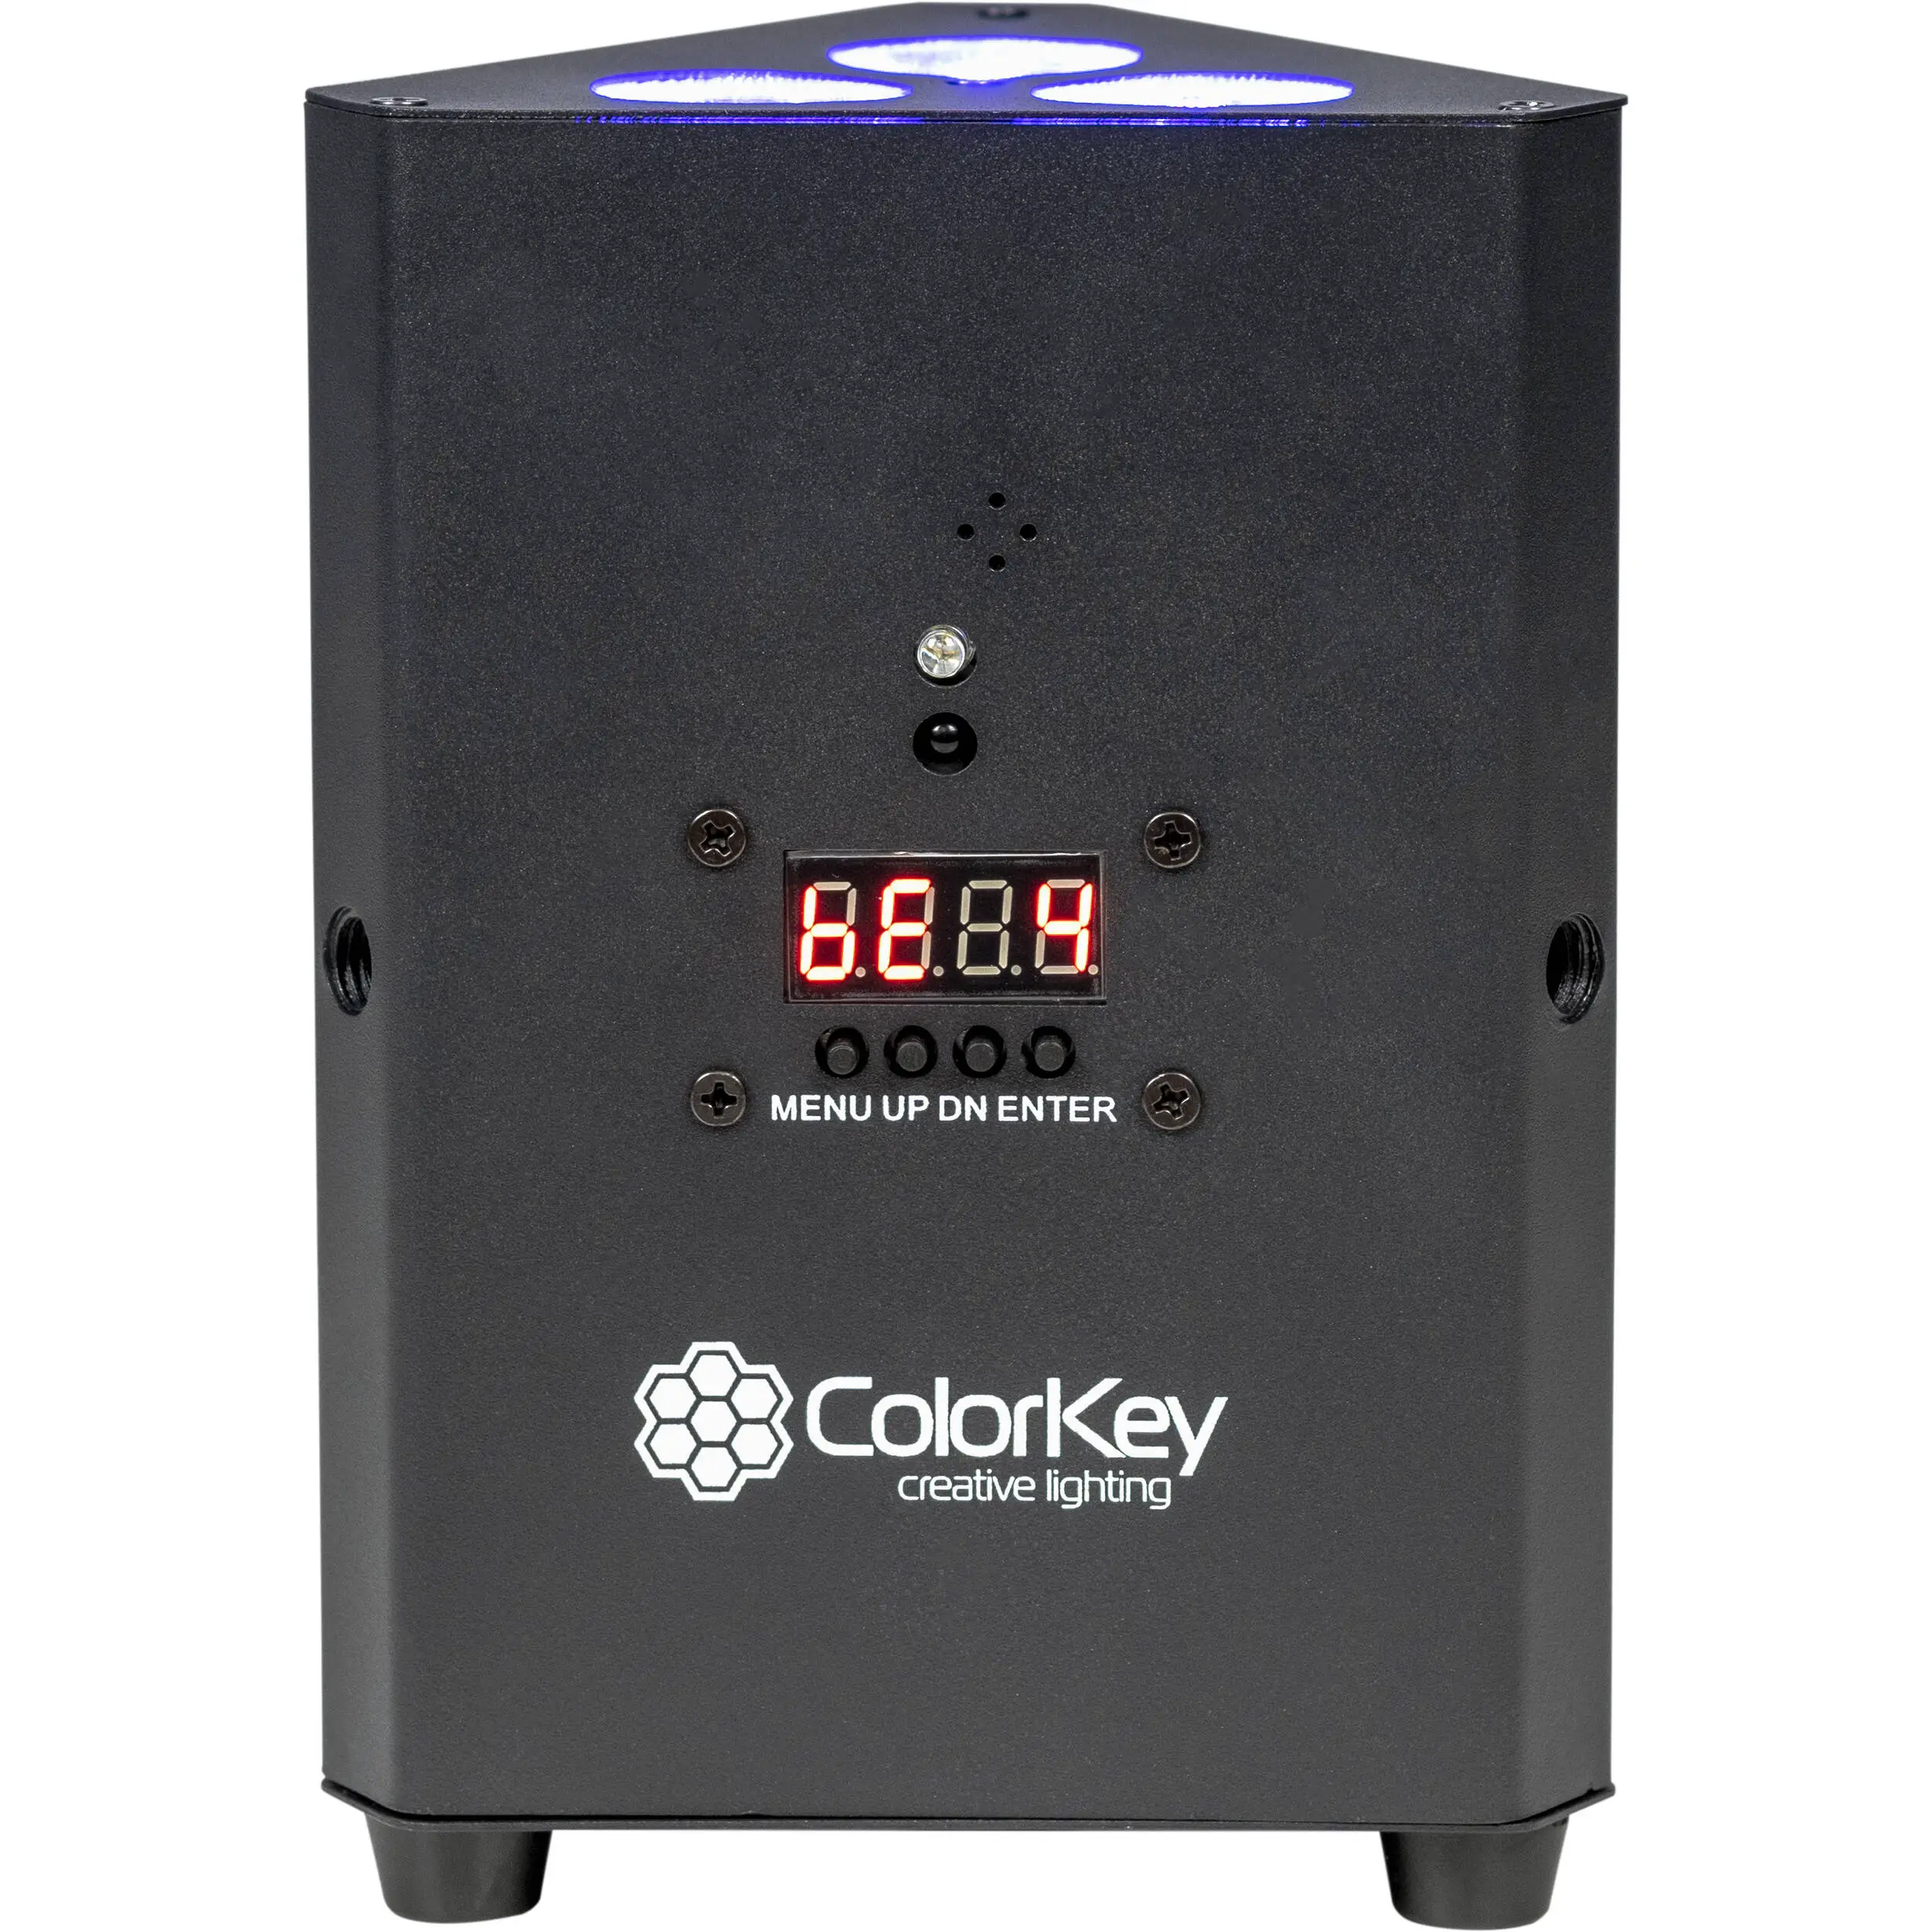
Display Operation
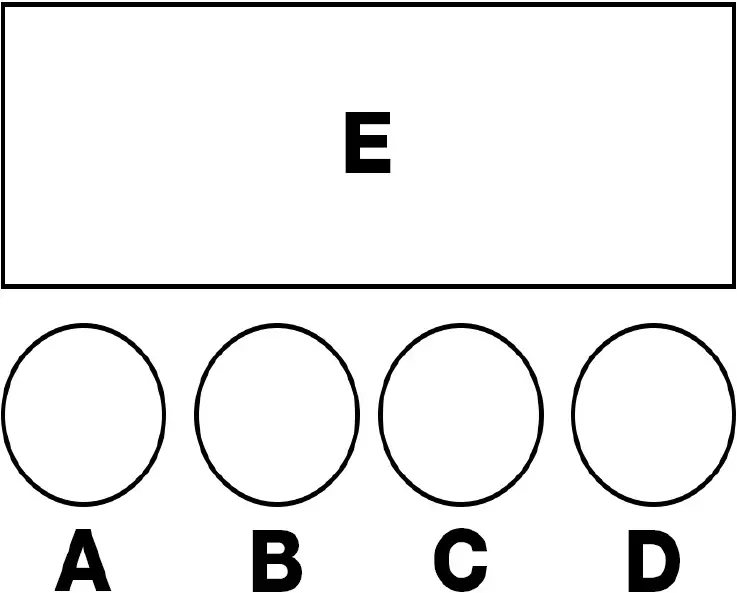
- A: Menu: Select to scroll through menu options
- B: UP: Press to scroll up through menu selections or increase parameters
- C: DN: Press to scroll down through menu selections or decrease parameters
- D: Enter: Select the current menu option
- E: LED Display
No | Display Value | Function and Description |
1 | A 001-512 | Set DMX address in 5CH mode |
2 | H 001-512 | Set DMX address in 9CH mode |
| 3 | CC 00-99 | Set Color Change speed |
| 4 | CP 00-99 | Set Color Fade speed |
5 | DE 00-99 | Set Color Pulse speed |
| 6 | BE 0-4 | Set Sound Active program |
7 | R 0-255 | Set static colors. Mix Red, Green, Blue, and White. |
8 | G 0-255 | |
| 9 | B 0-255 | |
10 | U 0-255 | |
| 11 | ID 00 | DMX512 ID, (00-51), ID=0 close ID, Up/DN can amend DMX 512 after Enter key, when using ID a 5 second delay for light |
12 | U90 | NA |
| 13 | Ir O/F | On/off wireless remote |
14 | From | Slave mode |
DMX Values
5 channel mode
Channel | Value | Function |
1 | 0-255 | Red |
| 2 | 0-255 | Green |
3 | 0-255 | Blue |
| 4 | 0-255 | White |
5 | 000-004 | DMX 512 ID 0 |
005-009 | DMX 512 ID 1 | |
| 010-014 | DMX 512 ID 2 | |
015-019 | DMX 512 ID 3 | |
| 020-024 | DMX 512 ID 4 | |
… | … | |
255 | DMX 512 ID 51 | |
| * | *control 50pc light under DMX address |
9 Channel Mode
CH | Value | Function |
1 | 0-255 | Dimmer (dark to bright) |
| 2 | 0-255 | Strobe (slow to fast) |
3 | 0-55 | DMX 9ch |
| 051-100 | Color Jump | |
101-150 | Color Change | |
| 151-200 | Color Pulse Change | |
201-255 | Sound to Dimmer (Sound Active) | |
4 | 0-255 | Speed (slow to fast) |
| 5 | 0-255 | Red |
6 | 0-255 | Green |
| 7 | 0-255 | Blue |
8 | 3-255 | White |
| 9 | 000-004 | DMX 512 ID 0 |
005-009 | DMX 512 ID 1 | |
| 010-014 | DMX 512 ID 2 | |
015-019 | DMX 512 ID 3 | |
| 020-024 | DMX 512 ID 4 | |
… | … | |
| 255 | DMX 512 ID 51 | |
* | *control 50pc light under DMX address |
Power and Charging

Switch Settings for Use and Charging
“AC POWER” is the power switch- when “AC POWER” is IN (right side pressed down), the light can be powered by an external power source, “BATTERY POWER” is a battery switch, when “BATTERY POWER” is IN, the lamp can be powered by the installed battery. When charging the battery, both buttons must be pressed IN to “CHARGE”. When the light is not in use, battery charging is the highest, with approximately 5 hour’s time to a full charge.
Charging time will be extended if done while the light is in use. From a full charge, the run time is about 6-hours with all colors.
Master/Slave Mode Operation
Master/Slave
Master/Slave mode allows you to connect multiple units together using one (1) unit to control others in a chain. When a fixture is set to ‘Master Mode,’ this unit will always act as a controlling unit until it is switched out of ‘Master Mode’. The Master unit will send out signal via DMX to Slave units which will react in synchronization. When a fixture is set into ‘Slave Mode’, this fixture will receive the Master signal. To avoid master signal and DMX signal interference, do not connect DMX when using Master/Slave mode. If using a DMX run longer than 60 meters and/or over 32 units, a signal amplifier may be required.
Troubleshooting
Problem | Solutions |
| No DMX control |
|
| Fixture does not respond to sound |
|
Technical Information
- Power supply: AC100-240V;50-60Hz
- Light source: 3x10W 4-in-1 LEDs
- Red, Green, Blue, White
- Power consumption: 110W
- Control: IR Remote, DMX512 control, Auto Run, Master /Slave, Sound Active
- Channel: 5/9 channels
- Working temperature: up to 40˚C IP rate: IP20
- Lamp rated life: >50000 Hours Beam angle: 16 degree Dimming: 0-100%
- Features: Sound to Dimmer auto-program & IR remote control
- Battery working time: (+/-) 6 hours Full color, (+/-) 5 hours charge time Product size: 110 x 110 x 135 mm
- Net Weight: 0.8kg
Notice to Consumer: ColorKey offers a 2-year limited warranty. Please visit our website at www.ColorKeyLED.com to register your product.
Please Note: As we continue to work towards improving our products and your experience as a user, we recommend that you check our website periodically for updates to user manuals and specifications at www.ColorKeyLED.com or you may contact us directly at [email protected].
![]()


