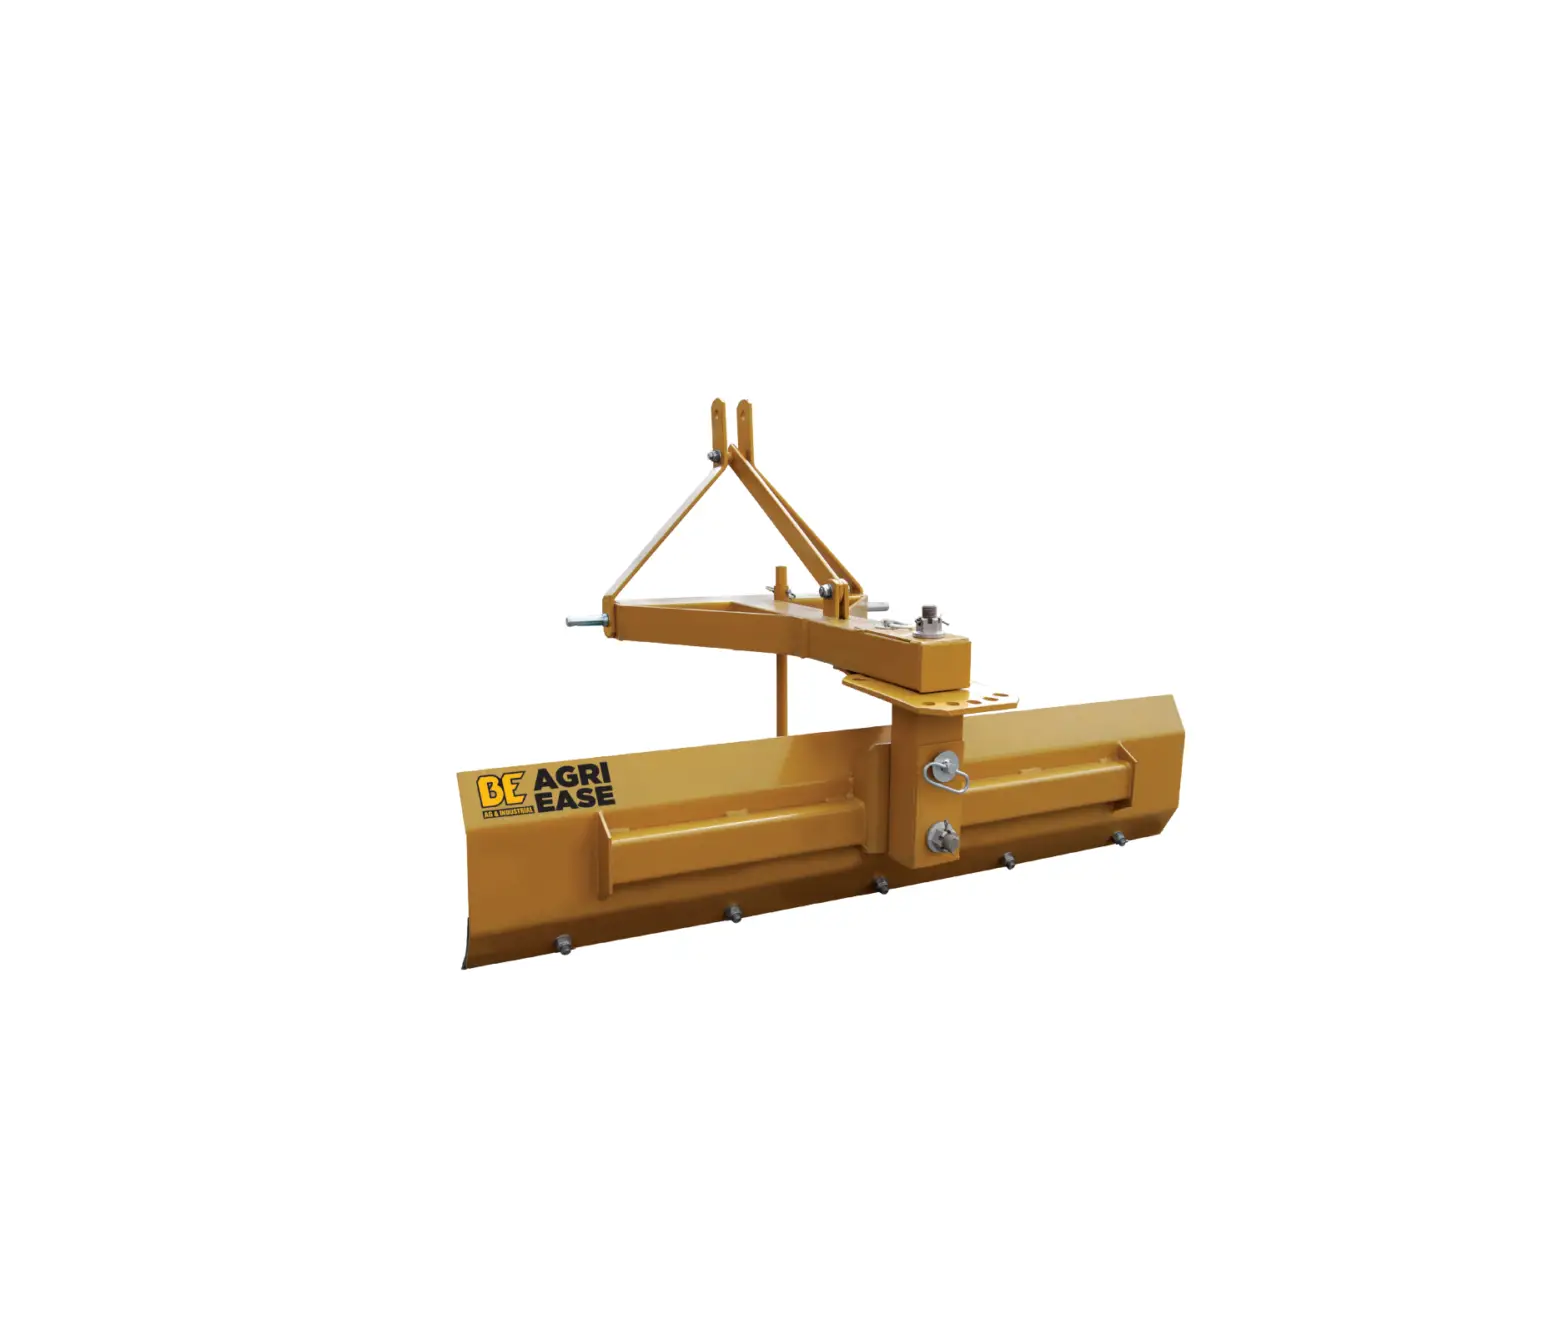
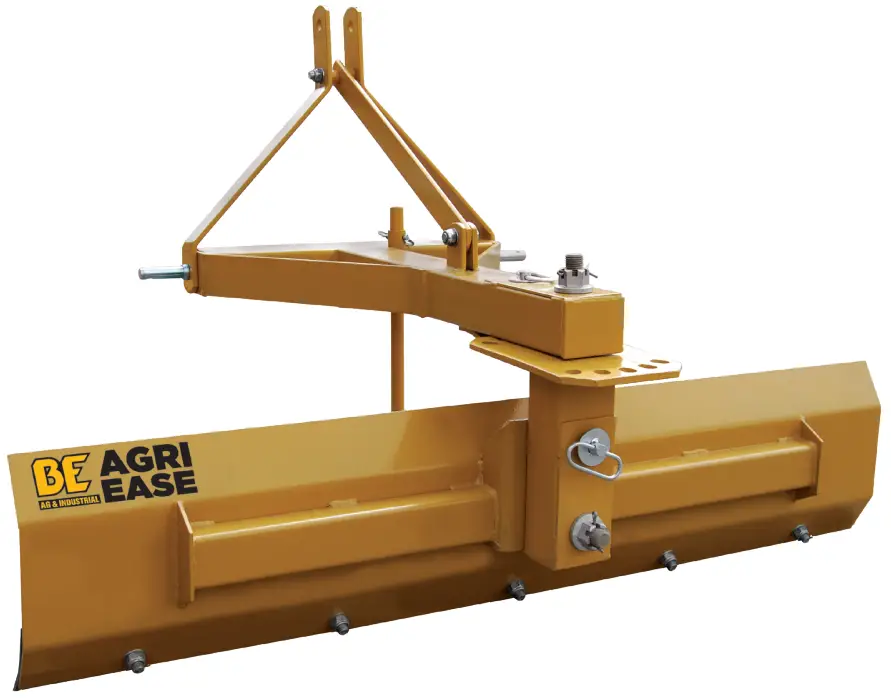
Braber Equipment BE-RBR4G Rear Blade
 CAUTION
THE FOLLOWING SAFETY PRECAUTIONS SHOULD BE THROUGHLY UNDERSTOOD BEFORE ATTEMPTING TO BEGIN ASSEMBLING THE MACHINE
- Select an area for assembly that is clean and free of any debris which might cause persons working on the assembly to trip.
- Do not lift heavy parts ort assemblies. Use crane jack, fork trucks or another mechanical device
- Never put hands or any part of the body under blocked up assemblies if at all possible.
- After completing assembly, thoroughly inspect the machine to be sure that all nuts, bolts hydraulic fittings
or any other fastened assemblies have been thoroughly tightened. - Before operating equipment, if you have any questions regarding the proper assembly or operations, contact your dealer or the manufacturer.
ASSEMBLY
- Unpack the Grader Blade from shipping box and check if there are any parts missing.
- Assembly Cutting Edge (2) to the Moldboard (21).
- Assembly Mounting Weldment (6) to the Moldboard (21).
- Install the Main frame Weldment (15) to the Mounting Weldment (6).
- Then assemble the Side Bar (20) and Brace (12) to Main Frame Weldment (15).
Important safety information
Working with unfamiliar equipment can lead to careless injuries, read this manual and the manual for your tractor, before assembling or operating, to acquaint yourself with the machine. It is the Grade Blade owner’s responsibility, if this machine is used by any person other than yourself, is loaned or rented, to make certain that the operator is instructed in safe and proper use.
Most accidents occur because of neglect or carelessness. Keep all helpers and bystanders twenty-five feet (25’) from an operating box scraper. Only properly trained people should operate this machine.
Personal protection equipment including safety glasses, safety shoes and gloves are recommended during assembly, installation, operation, adjustment, maintenance, reparation, removal or moving the Grader Blade.
Never place any part of your body where it would be in danger if movement should occur during assembly, installation, operation, adjustment, maintenance, reparation, removal or moving the Grader Blade.
Before you operate the Grader Blade, check over all pins, bolts and connections to be sure all are securely in place, replace any damaged or worn parts immediately.
Do not allow anyone who is not familiar with the safety rules and operation instructions to use this Grader Blade.
3-POINT GRADER BLADE PARTS DIAGRAM & PARTS LIST
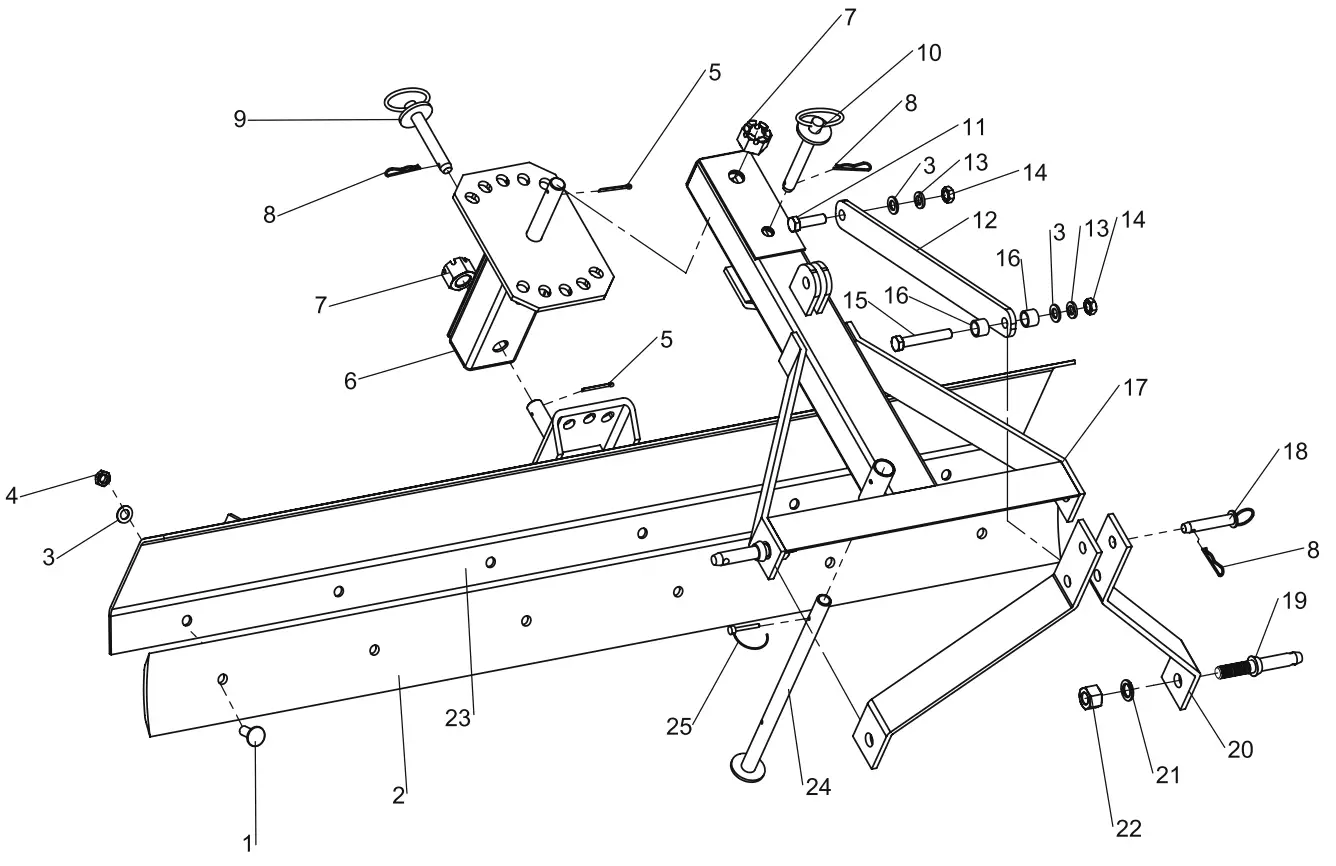
REF | PART NO | DESCRIPTION | SPECIFICATION | QTY |
| 1 | 180401 | Carridge Bolt M16×40 | 4’ | 4 |
180501 | 5’ | 5 | ||
| 180601 | 6’ | 6 | ||
180701 | 7’ | 7 | ||
| 2 | 180002 | Cutting Edge | 1 | |
| 3 | 180403 | Flat Washer 16 | 4’ | 6 |
180503 | 5’ | 7 | ||
| 180603 | 6’ | 8 | ||
| 180703 | 7’ | 9 | ||
| 4 | 180404 | Lock Nut M16 | 4’ | 4 |
| 180504 | 5’ | 5 | ||
180604 | 6’ | 6 | ||
| 180704 | 7’ | 7 | ||
5 | 180005 | Cotter Pin Ø5×50 | 2 | |
| 6 | 180006 | Mounting Weldment | 1 | |
7 | 180007 | Castle Nut | 2 | |
| 8 | 180008 | Hair Pin Ø5 | 3 | |
9 | 180009 | Pin Ø18×120 | 1 | |
| 10 | 180010 | Pin Ø18×150 | 1 | |
11 | 180011 | Bolt M16x55 | 1 | |
| 12 | 180012 | Brace | 1 | |
13 | 180013 | Lock Washer 16 | 2 | |
| 14 | 180014 | Nut M16 | 2 | |
15 | 180015 | Bolt M16 x 100 | 1 | |
| 16 | 180016 | Steel Collar | 2 | |
17 | 180017 | Main Frame Weldment | 1 | |
| 18 | 180018 | Pin Ø19×95 | 2 | |
19 | 180019 | Hitch Pin | 2 | |
20 | 180020 | Side Bar | 2 | |
| 21 | 180021 | Lock Washer 22 | 2 | |
22 | 180022 | Nut M22 | 2 | |
| 23 | 180023 | Moldboard | 1 | |
24 | 180024 | Support Bar | 1 | |
| 25 | 180025 | Lock Pin Ø6 | 1 |
Customer Support
BRABEREQ.COM
[email protected]
PHONE: 604-850-7770
FAX: 604-850-7774
TOLL FREE PHONE: 1-877-588-3311
TOLL FREE FAX: 1-800-665-7334


