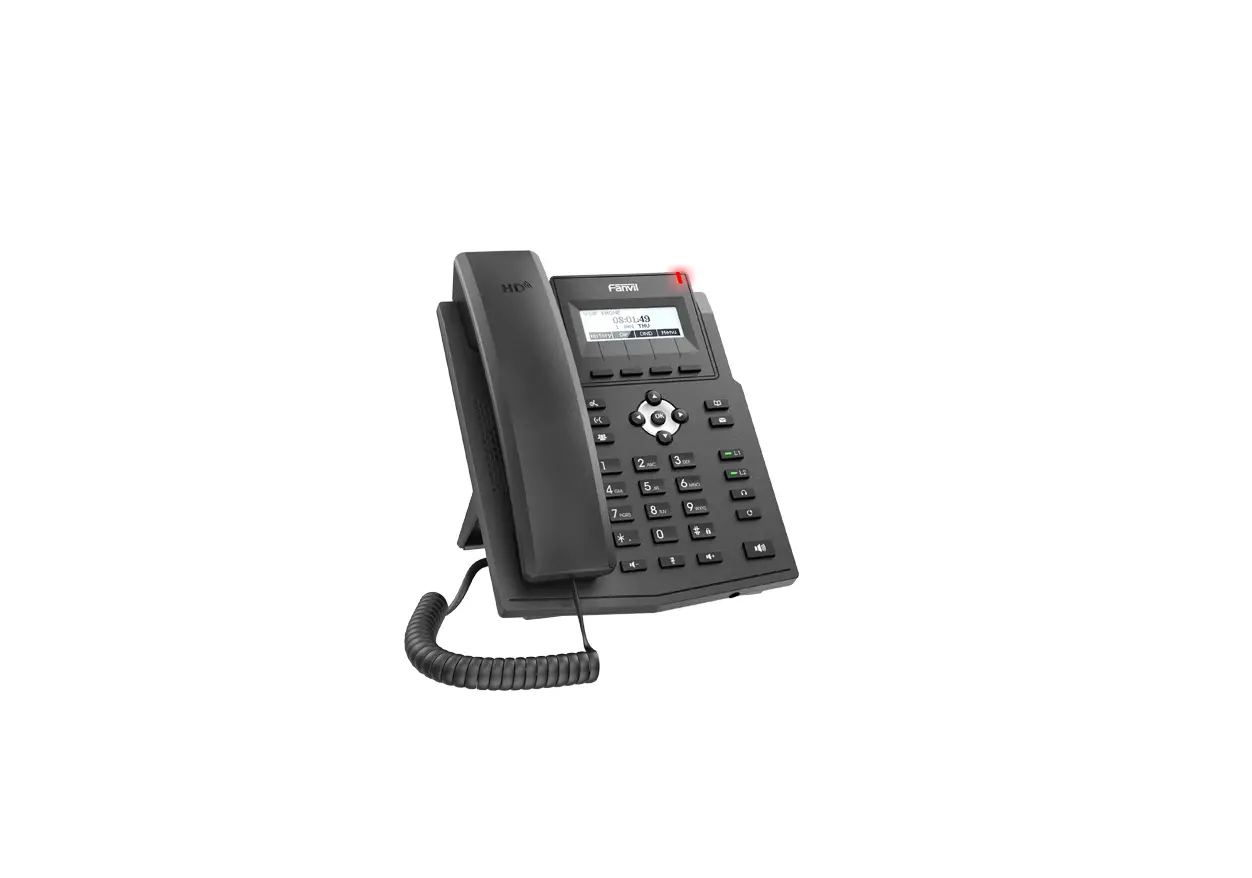
Fanvil X1S Enterprise IP Phone Installation Guide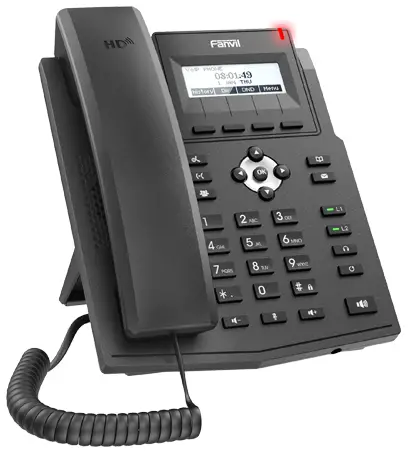
Packaging list
IP Phone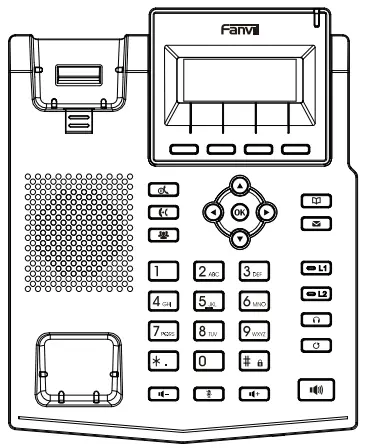
Handset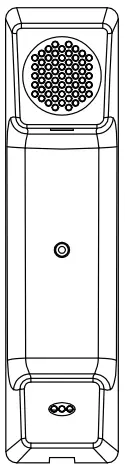
Handset Cord
Stand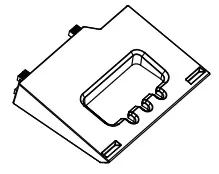
Ethernet Cord
Power Adapter (X1SP is optional)
Quick Installation Guide
Wall Stand (Buy separately)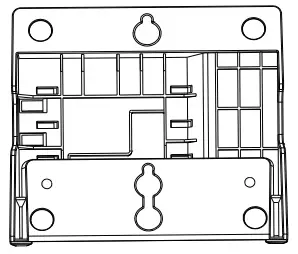
Screen icon
![]() In hands-free mode
In hands-free mode![]() In headset mode
In headset mode![]() In handset mode
In handset mode![]() Mute activated
Mute activated![]() Ringer off
Ringer off![]() Call is on hold
Call is on hold![]() Auto-answering activated
Auto-answering activated![]() Call Forward activated
Call Forward activated![]() Do not disturb activated
Do not disturb activated![]() SIP Hotspot activated
SIP Hotspot activated![]() VLAN activated
VLAN activated![]() VPN activated
VPN activated![]() New SMS
New SMS![]() New VM Messages
New VM Messages![]() Voice Quality Level of call
Voice Quality Level of call![]()
![]() Network storm
Network storm![]() Keypad locked
Keypad locked![]() Forward call(s)
Forward call(s)![]() Missed call(s)
Missed call(s)![]() Received call(s)
Received call(s)![]() Dialed call(s)
Dialed call(s)![]() Internet connected
Internet connected![]() Internet is disconnected
Internet is disconnected![]() No IP address
No IP address
Keys features
![]() Soft keys
Soft keys![]() Message waiting indicator
Message waiting indicator Left and right navigation keys
Up navigation key, Shortcut to call log
Down navigation key, Shortcut to Status
OK key, Shortcut to Menu![]() Hold key, Hold/Resume the call
Hold key, Hold/Resume the call![]() Call transfer key
Call transfer key![]() Conference key
Conference key![]() Phonebook key
Phonebook key![]() Voice messages key
Voice messages key![]() Line keys
Line keys![]() Headset key, Activate/deactivate Headset
Headset key, Activate/deactivate Headset![]() Redial key, Access to redial the last record
Redial key, Access to redial the last record![]() In idle mode: ringer off
In idle mode: ringer off
In communication mode: mute/un-mute a call![]() In idle mode or during ringing: increase or decrease ringer volume
In idle mode or during ringing: increase or decrease ringer volume
In communication: increase or decrease earpiece, headset or hands-free volume![]() Hands-free key, Activate/deactivate hands free
Hands-free key, Activate/deactivate hands free![]() Long press to lock keypad.
Long press to lock keypad.
Enter PIN to unlock keypad
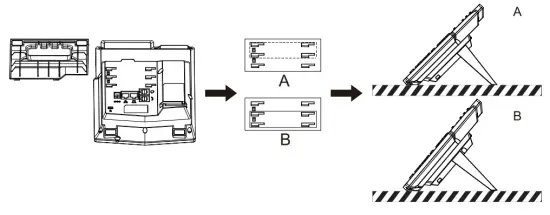
Installation the device
Please follow the instructions in below picture to install the device.
- Bracket desktop installation

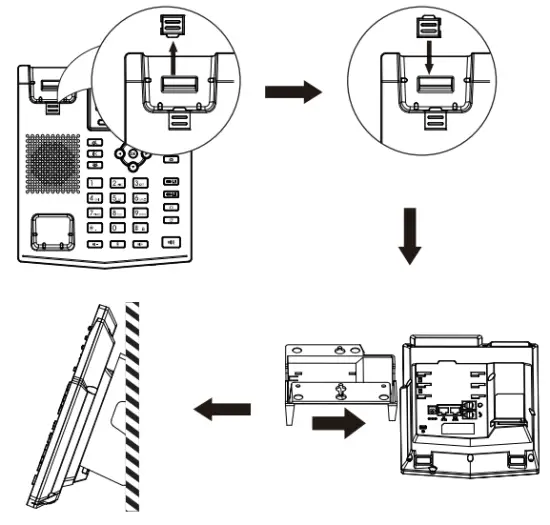
- Wall mounting (Wall Stand need buy separately)

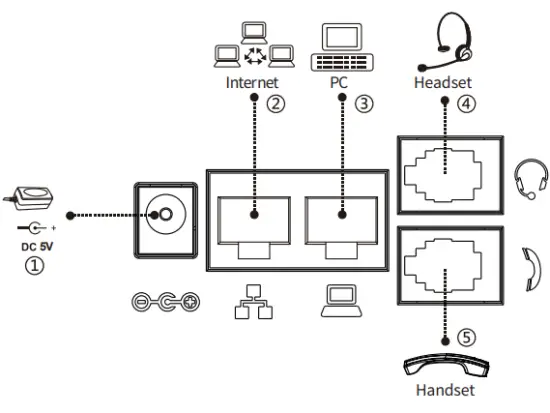
Connecting to the Device
Please connect power adapter, network, PC, handset, and headset to the corresponding ports as described in below picture.
- Power port: connect the power adapter.
- Network port: connecting local area network or Internet.
- PC port: the network port connect to the computer.
- Headset port: connect headset.
- Handset port: connect IP Phone handset.

Configuration
Configuration via Phone
- Press Menu > System (Default password 123)
- Select Network: To configure the Network Settings (IPv4/IPv6/IPv4&IPv6, DHCP/Static/PPPoE)
- Select Accounts: To configure enable the account, fill the SIP server address, port, user name, password etc.
Configuration via Web
- Get the IP address from the phone: Press
 key, or Menu > Status > IPv4 / IPv6.
 - Login: Input the IP address in the web browser. The PC and phone should be in the same IP address segment(The default username and password are both ‘admin’.)
- Configure: Select network/Account etc, and fill the relevant content.
- Save the configuration.
Language setting
- Press Menu key > Settings > Basic Settings > Language.
- Select the desired language and press OK soft key.
Making a call
- Pre-dialing: enter the phone number and pick up the handset.
- Direct dialing: lift the handset and enter the phone number.
- Handsfree: enter phone number and press
 or vice versa.
 - Headset: enter phone number and press
 or vice versa.
 - Designated line: press line key, enter phone number and press dial key.
Accepting a call
- With the handset: pick up the handset.
- With a headset: press .
- With the handsfree: press .
Putting a call on hold
- Press
 key or Hold soft key, caller is put on hold.
 - To retrieve the call press key or Resume soft key.
Note: with more than one active call, select desired call with the ![]() navigator keys and use the corresponding soft key to hold or resume.
navigator keys and use the corresponding soft key to hold or resume.
3-party conference
- Once in line with 1st caller, press
 key or Conf soft key, 1st caller is put on hold.
 - Then call the 2nd number.
- After, 2nd call is established, press key or Conf soft key to
set up the conference.
Call transfer
Attended transfer:
- Press
 key or Xfer soft key during the active conversation, the call is put on hold.
 - Dial the second telephone number.
- When the call is answered, then press key or Xfer soft key to complete the operation.
Blind transfer:
- Press key or Xfer soft key during the active conversation, the call will be on hold.
- Then enter the 2nd telephone number and press key or Xfer soft key.
Call forward
- Press Menu > Features > Call Forward.
- Select the line, the type of forward, enter the destination number and status and OK.
Call Mute
- Press
 to Mute the microphone during the call.
 - Press again to un-mute the conversation.
Call list
- Press
 key or Menu > CallLog > Local Call Logs
 - Scroll through the list using
 .
. - To dial an entry, press Dial soft key or pickup handset or press or .
Phonebook
Access phonebook:
- Press
 or Dir soft key or Menu > Dir > Local Contacts.
 - Select Contacts or Groups.
- To dial an entry, press Dial soft key or pickup handset or
press or .
Add new entry:
- Press Dir soft key > Local Contacts > All Contacts or Groups > Press Add
- Enter name and number and press OK soft key.
Programmable keys
- You can also configure shortcuts for the navigation keys, and which will be available in idle mode.
- Press Menu > Basic > Keyboard, select among the configurable items, and select your desired type and value, press OK key.
Redial
- Press
 key, redial a call number.
Do not disturb
- Press DND soft key, and enable the device do not disturb mode.
- Or press Menu > Features > DND, and select the Mode and Type, and press OK soft key.
Voice mail
- To access your voice mailbox, press
 or Menu > Message > Voice Message, number of messages will be indicated if provided by your server or pbx.
 - Select the line and press Play to call.
Fanvil Technology Co., Ltd
Website: www.fanvil.com
EMail: [email protected] [email protected]
Tel: +86-755-2640-2199 Fax: +86-755-2640-2618
Add: 10/F Block A, Dualshine Global Science Innovation Center,
Honglang North 2nd Road, Bao’an District, Shenzhen, China
Fanvil Technology Co., Ltd
www.fanvil.com