![]() H-5525
H-5525
ISLAND
1-800-295-5510
uline.com
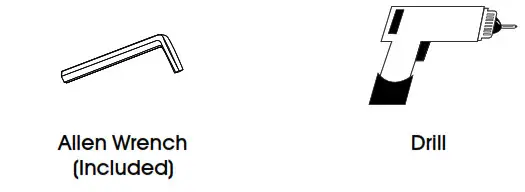
TOOLS NEEDED
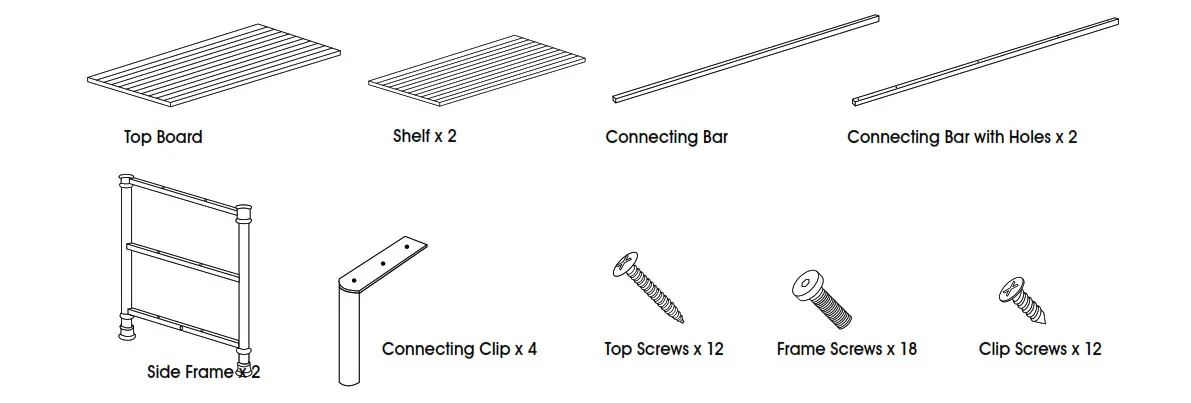
PARTS LIST
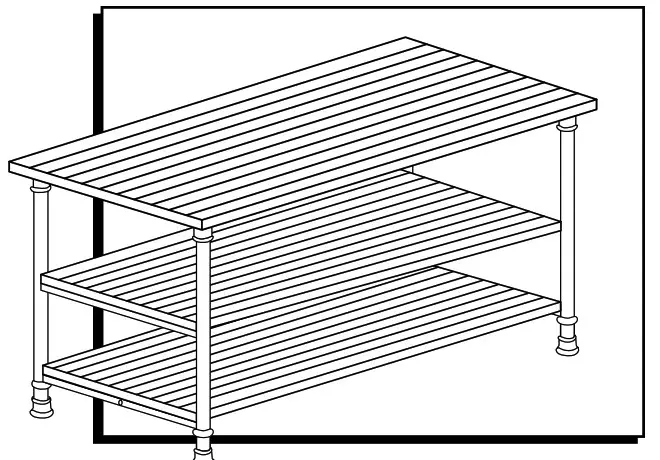
ASSEMBLY
1. Attach side frames to connecting bars using two screws per bar and the enclosed Allen wrench. (See Figure 1)![]() NOTE: Be sure two connecting bars with holes are on top of each side frame with holes facing out, in order to secure the top board.
NOTE: Be sure two connecting bars with holes are on top of each side frame with holes facing out, in order to secure the top board.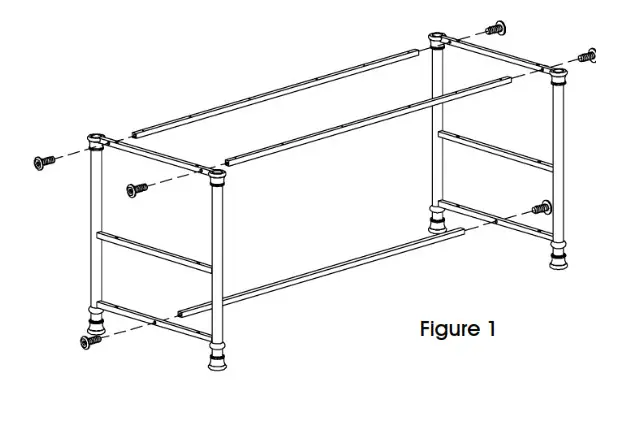
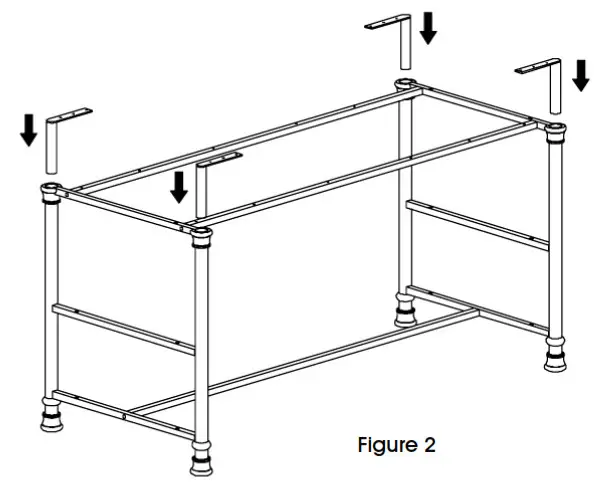
2. Insert the four connecting clips into the hollow part of each table leg. (See Figure 2)
3. Set each shelf on the frame bars and the top board on top. Align holes inside frames with the holes in the bottom of each shelf and top board. Attach side frames to shelves and top board using four frame screws per shelf/top and the enclosed Allen wrench. (See Figure 3)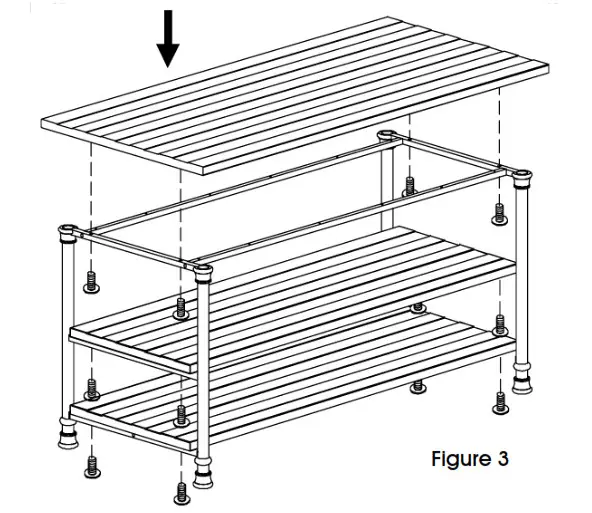 4. Attach the connecting clips from Step 2 to the top board by drilling three clip screws in each corner. (See Figure 4)
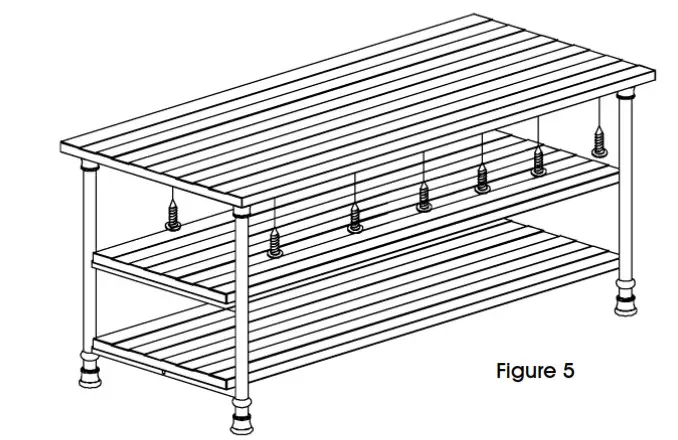
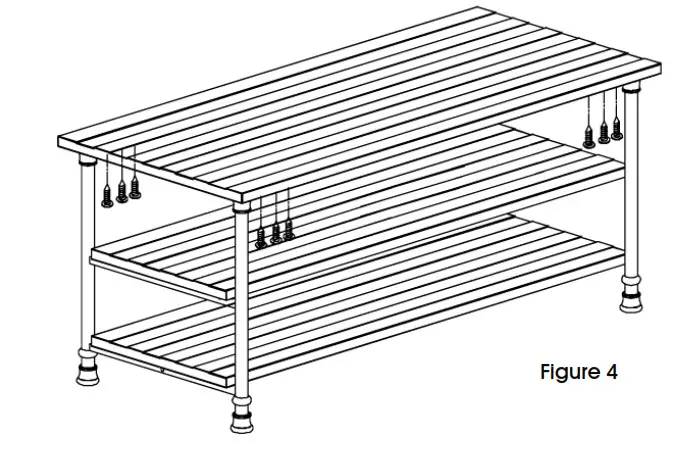 5. Secure the two connecting bars to the top board by drilling six top screws on each side. (See Figure 5)
![]() 1-800-295-5510
1-800-295-5510
uline.com


