EMTEK F20 UL Listed Mortise Lock
Installation Guide
- Install Cylinder Plug
Install cylinder plug by threading it clockwise onto lock body
Note: Notch on cylinder plug must be in the 9 o’ clock position when fully screwed onto lock body. - Install Mortise Lock

See template for door prep specifications - Install Key Cylinder
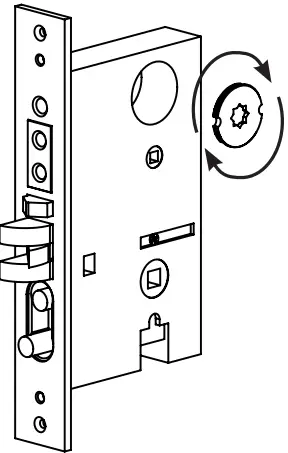
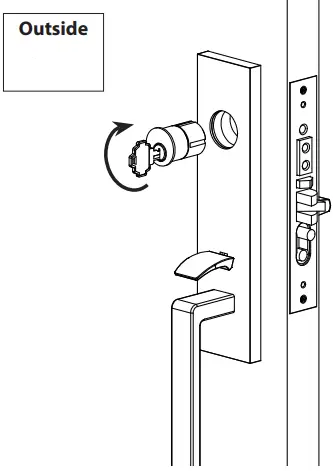
Install key ¾ of the way into the key cylinder and thread it clockwise onto trim plate. Plates and grip vary depending on style.
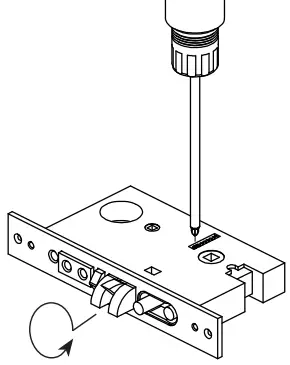
 - Tighten Key Cylinder
After key cylinder is installed, secure cylinder by tightening screw
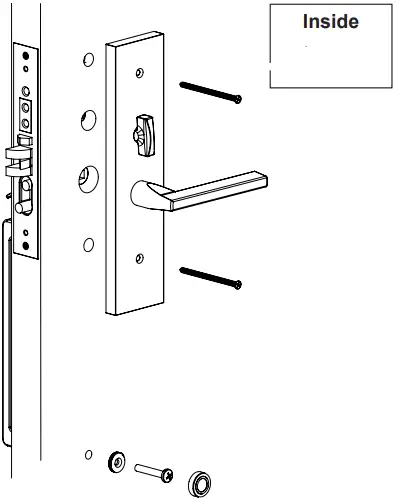
- Mount Inside Trim to Door

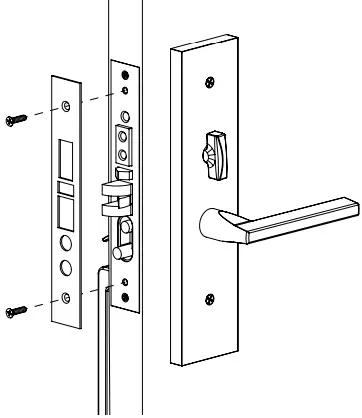
- Install Trim Plate

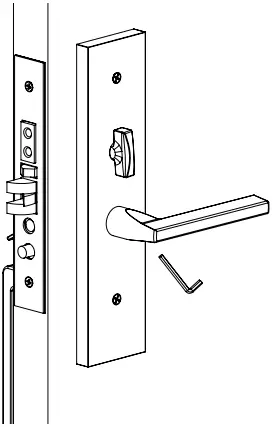
- Tighten Inside Lever or Knob

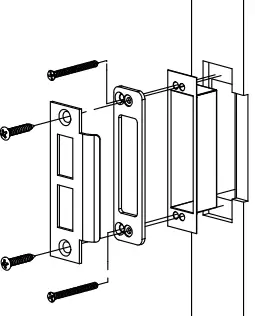
Tighten Lever with 3/32 Hex wrench (provided). - Install Door Jamb

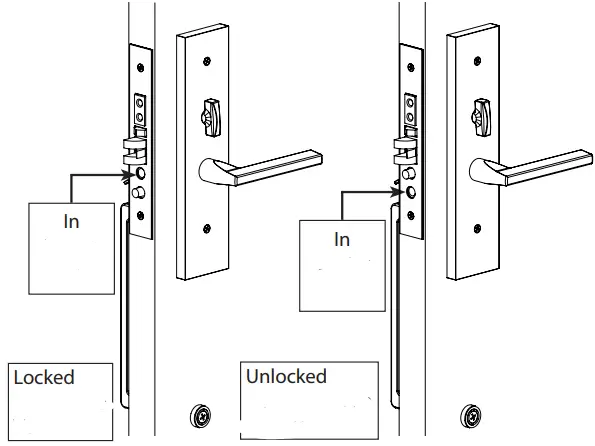
- Passage/Privacy Lock


 Plates and grip vary depending on style.
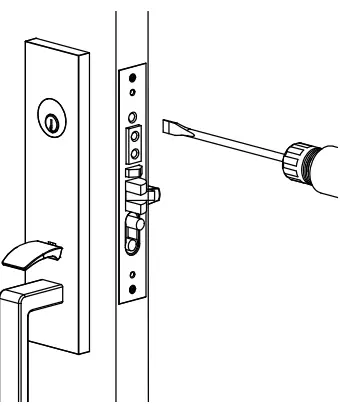
Instructions to reverse swing
- Remove dowel screw. (Replace after reversing swing)
- Pull out and rotate Latch bolt to reverse its direction.