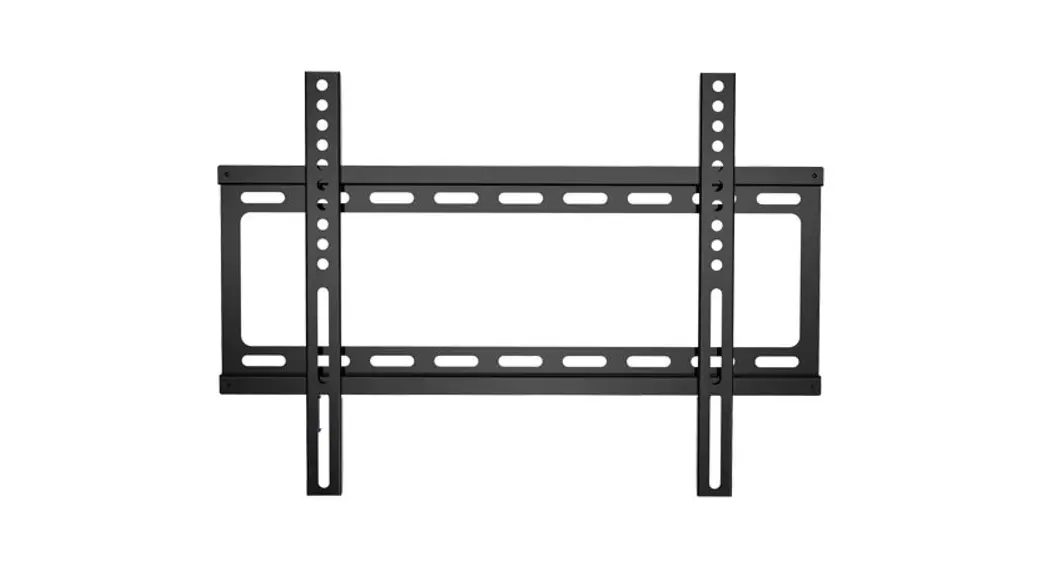
![]() PF AO 43-55 Wall Mount
PF AO 43-55 Wall Mount
Installation Guide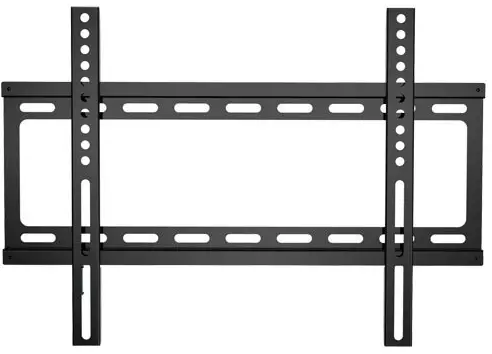
PF AO 43-55 Wall Mount
PF AO Wall Mount Installation
Guide (43”-55”) 
Pre-Setup
![]() Please read entire instruction sheet before you start.
Please read entire instruction sheet before you start.
We do not provide the screws to attach the mount to the walls. Depending on the type of wall you are mounting onto these will have the be sourced yourself.![]() Tools: 1 x Screwdriver, 1 x Drill
Tools: 1 x Screwdriver, 1 x Drill
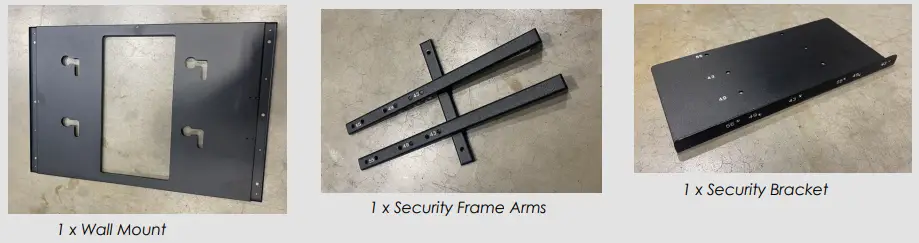
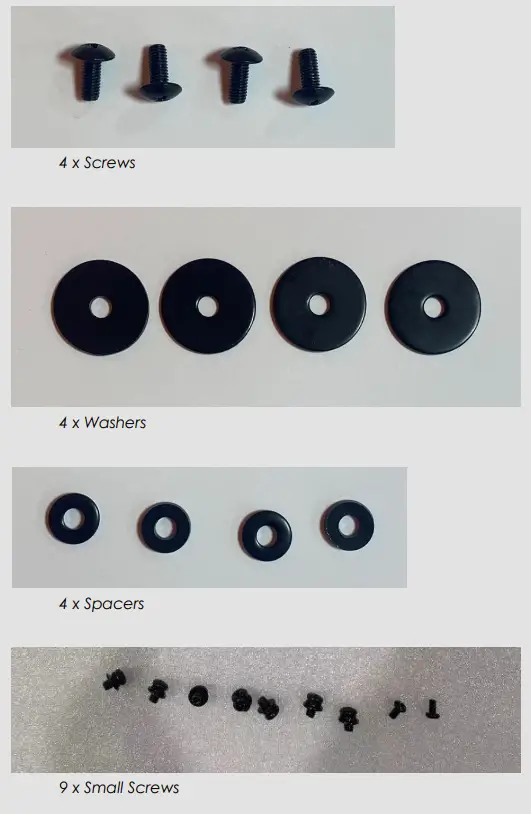
Parts List:
- 1 x Wall Mount
- 3 x Security Frame Arms
- 1 x Security Bracket
- 4 x Screws
- 4 x Washers
- 4 x Spacers
- 9 x Small screws
Instructions
Step 1
Find the 400×200 VESA hole pattern on the back of the screen and remove the four screws.
Step 2
For each screw take a washer and spacer in the formation as shown in the diagram below and attach back onto the rear of the screen using a drill.  SCREW, WASHER, SPACER
Step 3
Repeat this 4 times for each of the screws on the rear.
Step 4
On the wall mount find the side that has ‘Up’ printed. On the opposite side of the bracket find the holes for the security bracket.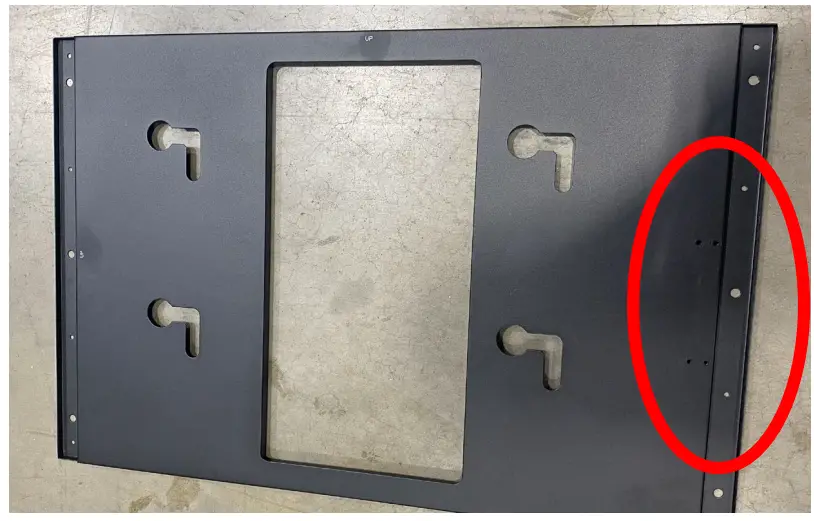 Step 5
Construct the security frame using the arms making sure to line up the screws depending on the size of your screen so it looks like below. 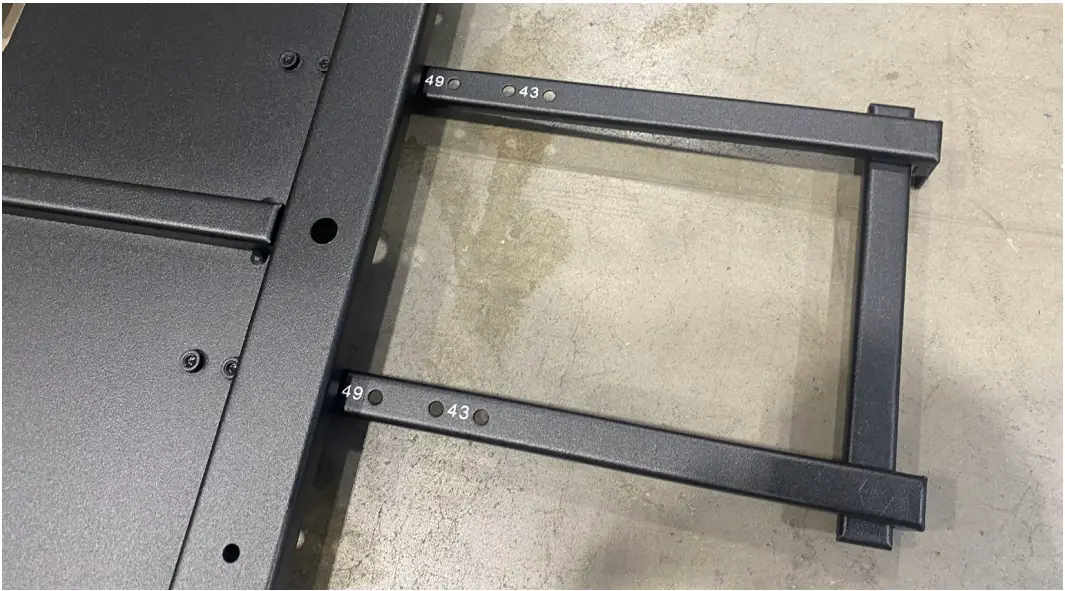 Step 6
On the back of the screen find the section on the rear left hand side of the display with 4 small screws in a square formation. Remove the 2 screws nearest the edge of the
display. 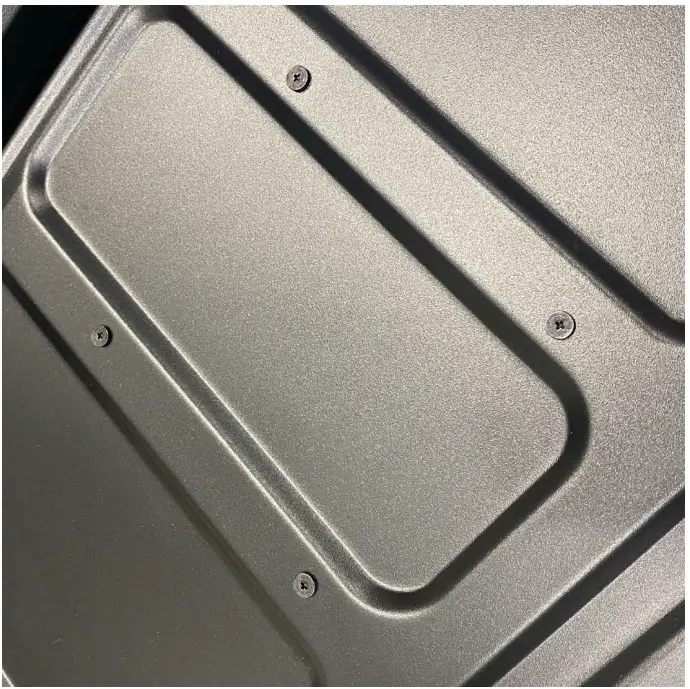 Step 8
Lining up the holes depending on your screen size attach the larger side of the mounting bracket to the rear of the display using the screws removed in the previous step.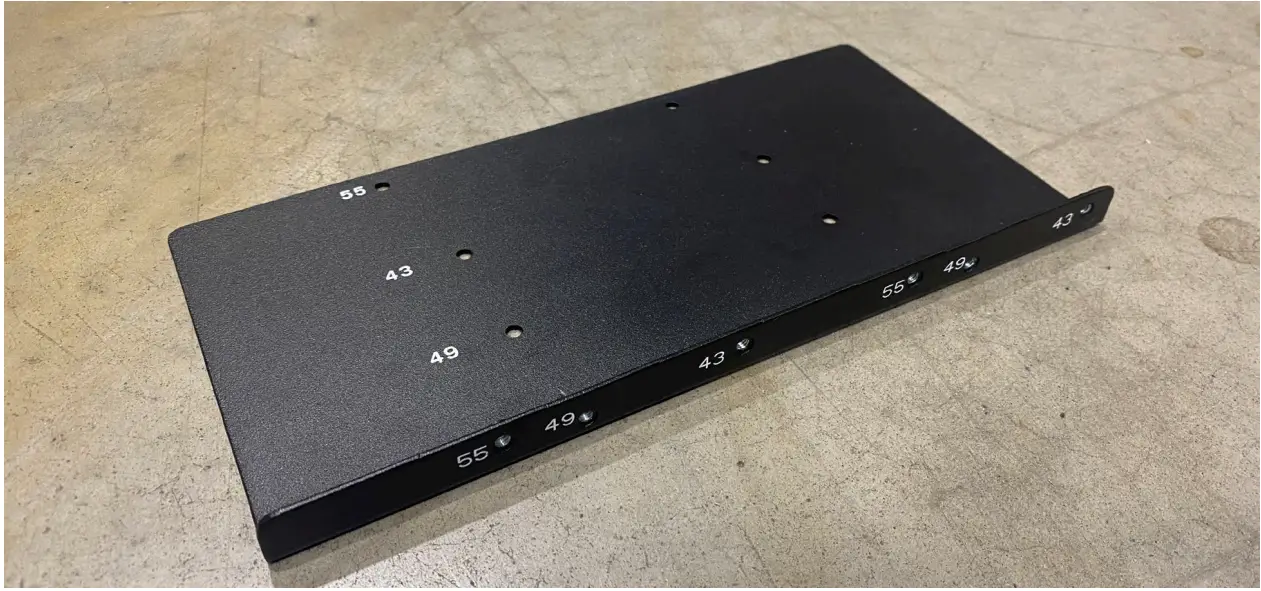 Step 9
Hang the wall mount on the wall in the desired location using your own fixings.![]() Please note: We do not supply the screws for mounting to the wall
Please note: We do not supply the screws for mounting to the wall
Step 10
Take the screen and using the screws we setup in steps 1-3 slide the screen into place on the wall mount.
Step 11
The security frame attached to the wall mount and the security bracket we attached to the screen should now line up on the side of the display. Attach the two together with screws to secure your display to the wall mount. 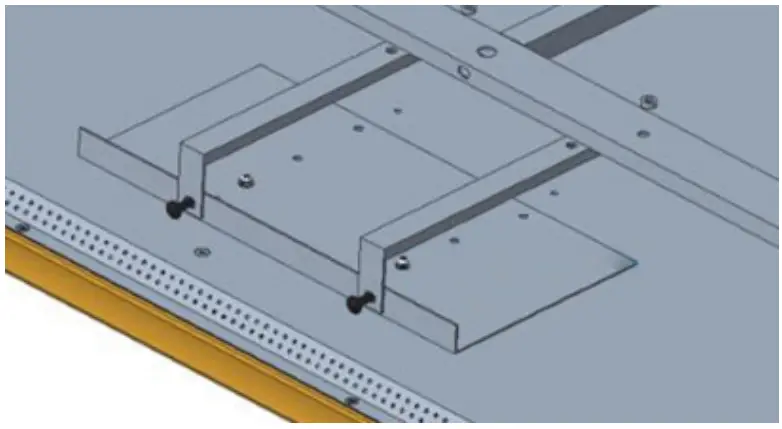
![]()


