![]()
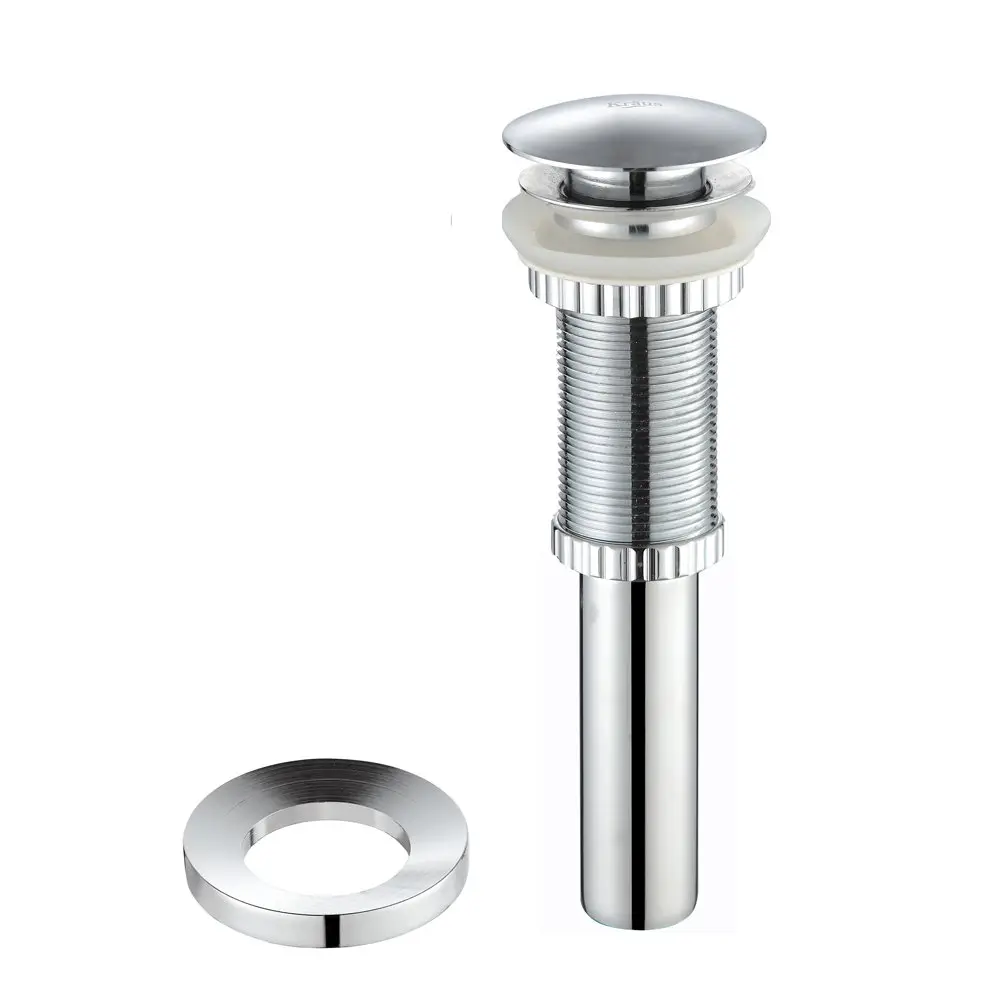
Kraus PU-10 Pop Up Drain Installation Guide
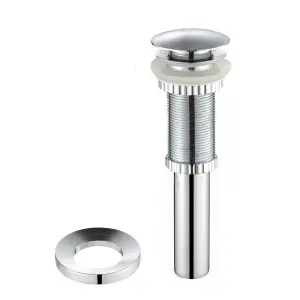
PU-10 / PU-L10
Thank You
For Purchasing Kraus
We would like to take this opportunity to thank you for your business with Kraus USA. It is our sincere hope that you are completely satisfied with your experience. We welcome any questions or comments you may have, and will be glad to assist you in the future.
For more information about Kraus products, please visit our website at: www.kraususa.com
Please register your new Kraus product at the following web address in order to activate the
warranty and receive the full benefit of customer support: www.kraususa.com/registration
Sincerely,
Kraus Customer Service
Prior to Installation:
Make sure you have all necessary parts by checking the diagram and parts list. If any part is missing or damaged, please contact Kraus Customer Service at 800-775-0703 for a replacement.
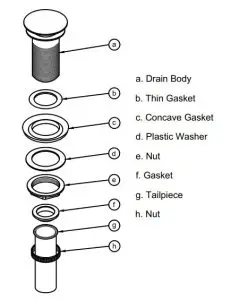
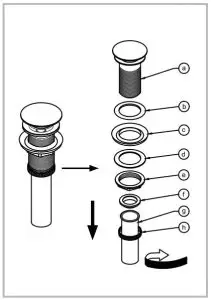
PU-10 DIAGRAM AND PARTS LISTS
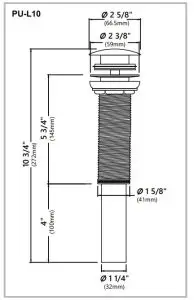
DIMENSIONS
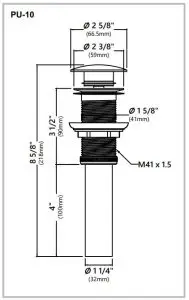
DIMENSIONS
Setup
STEP 1
Remove connector (h), tail pipe (g), mounting nut (e), plastic washer (d) and concave washer (c) from drain body (a).
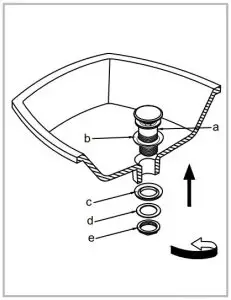
STEP 2
Install drain body (a), with rubber washer (b) attached, into the drain hole. From underneath, attach concave washer (c) (narrow end up), plastic washer (d) and mounting nut (e) to drain body (a).
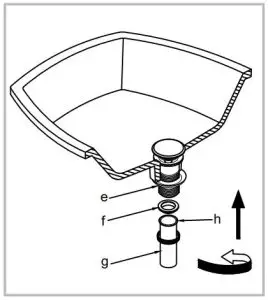
STEP 3
Tighten mounting nut (e) with adjustable wrench until snug. Thread connector (h) with tailpipe (g) attached, onto drain body (a) and hand-tighten.
Installer Tip: Make sure tailpipe washer (f) is installed in tailpipe
STEP 4
Connect tailpipe (g) to p-trap.

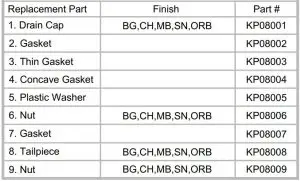
REPLACEMENT PART LIST

CARE & MAINTENANCE
* To keep the product clean & shining, follow the steps below:
- Rinse with clean water & dry with a soft cloth.
- Do not clean with soaps, acid, polish, abrasives or harsh cleaners.
- Do not use cloth with a coarse surface.
*This installation manual is subject to change without notice
Read More About This Manual & Download PDF:


