![]()
HANECO LED OYSTER INSTALLATION GUIDE
DONUT
Thanks for choosing our DONUT LED oyster products.
We strongly recommend that you read this manual carefully before installation.
Product Specifications
| PRODUCT CODE | POWER | CCT | LUMEN | NET WEIGHT |
| DONUT25W | 25W | 3000K/4000K | 2200lm | 1.30kg |
Installation Instructions
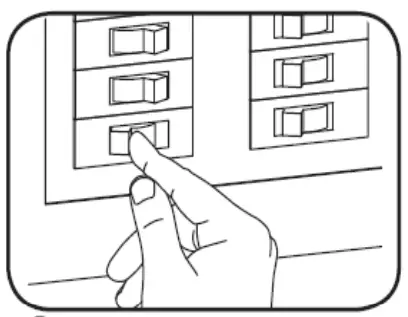
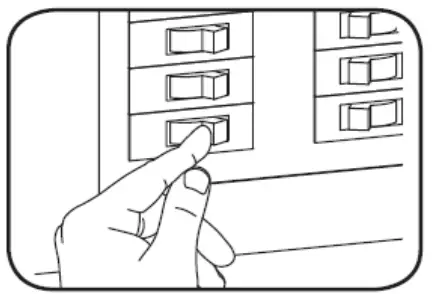
- Switch OFF main power supply

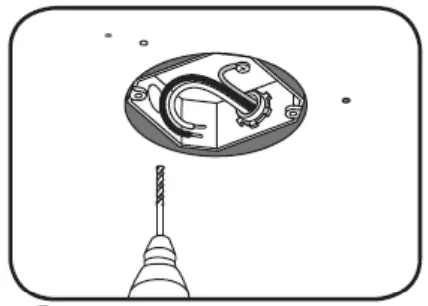
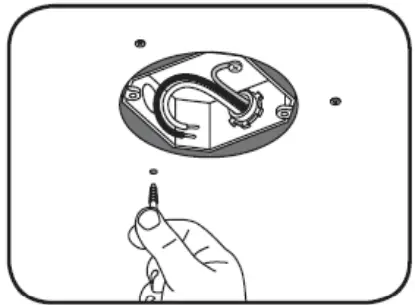
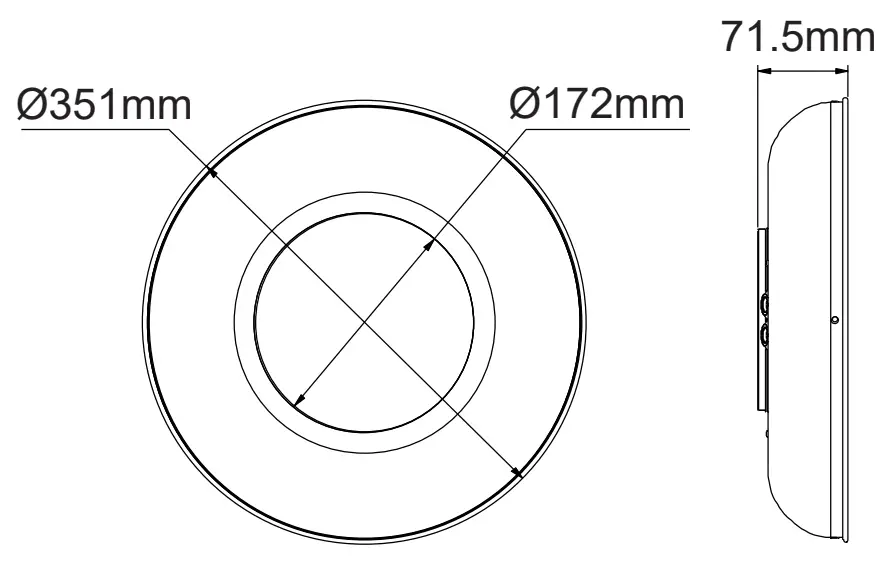
- Mark and drill holes in the mounting surface and install plug anchors.

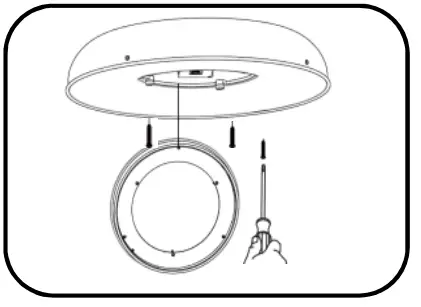
- Remove front cover. Secure luminaire onto the ceiling.

- Wire the luminaire in accordance with marked terminals.

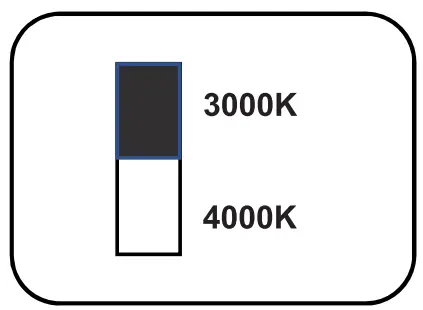
- Set the desired color temperature. For motion sensor dip switch, refer to the Intellisensor section of this installation guide.

- Reattach the cover. Push in to ensure fully secured.

- Switch ON main power


Product Code: DONUT25W-BK
DONUT25W-WH
DONUT25W-BK-MS
DONUT25W-WH-MS
HANECO LED OYSTER INSTALLATION GUIDE
Intellisensor dipswitch settings
NOTE: This section only applies to the below models:
- DONUT25W-BK-MS
- DONUT25W-WH-MS
Features:
- Integrated daylight and motion sensor
- 180° detection range
- 5m detection range
Settings:

![]() WARNING
WARNING
- The luminaire must be installed by a professional electrician.
- Switch power off when wiring the luminaire.
- Ensure input voltage conforms to the voltage range of the product.
- Ensure wires are securely connected.
- Before switching on, ensure that all the wiring is correct.
- The warranty is void if product is not installed according to the instructions.
![]() For more information
For more information
www.haneco.com.au
1300 001 LED![]()


