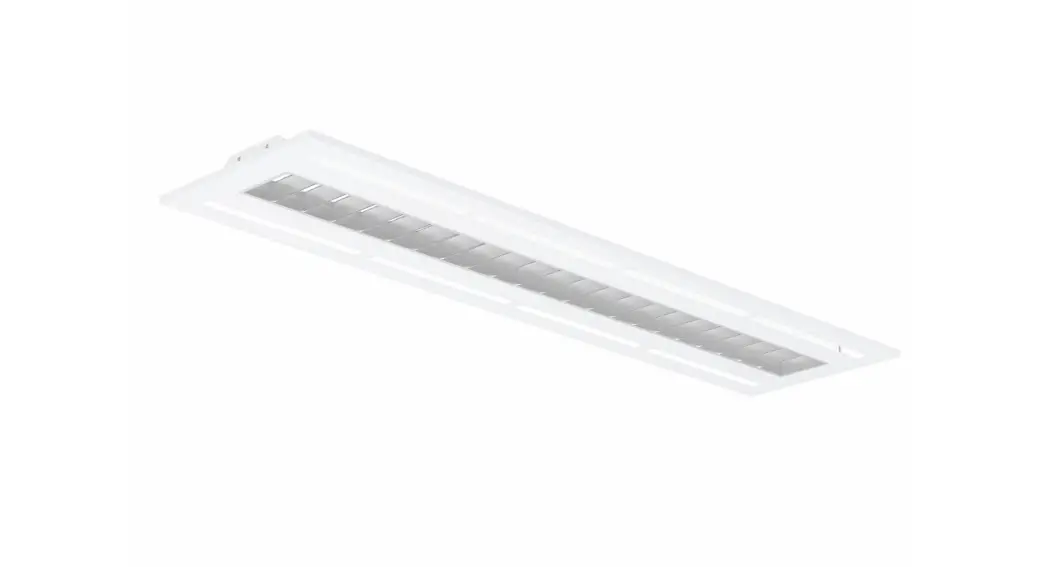
![]() PANNELLO LED Light
PANNELLO LED Light
Installation Guide
PANNELLO LED Light
WARNING
The luminaire must be installed by a professional electrician. Switch power off prior to installation. Ensure input voltage conforms to the voltage range of product. Ensure wires are securely connected. Before switching on, ensure that all the wiring is correct. The warranty is void if product is not installed according to the below instructions. Please read these instructions carefully before using this product and keep for future reference.
Thanks for choosing our PANNELLO LED troffer.
We strongly recommend that you read this installation guide carefully before installation.
Product Specifications
| PRODUCT CODE | SAP CODE | FEATURE | CCT | POWER | LUMEN | NET WEIGHT |
| PANNELLO-LV PANNELLO-LV-AR | 2001975 2001976 | Tritone + Power Switchable | 3000K 4000K 5000K | 26W | 2760lm 2910lm 2870lm | 5.3kg |
| 32W | 3330lm 3560lm 3470lm | |||||
| 36W | 3330lm 3560lm 3470lm | |||||
| 40W | 3820lm 4090lm 3950lm |
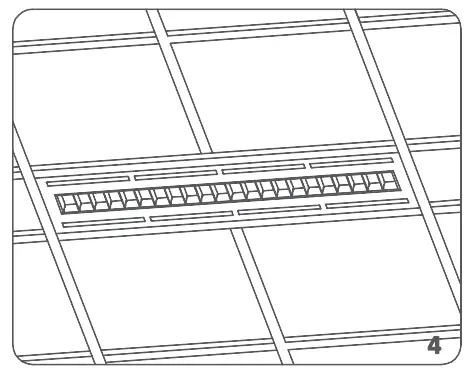
Dimensions
Installation Instructions
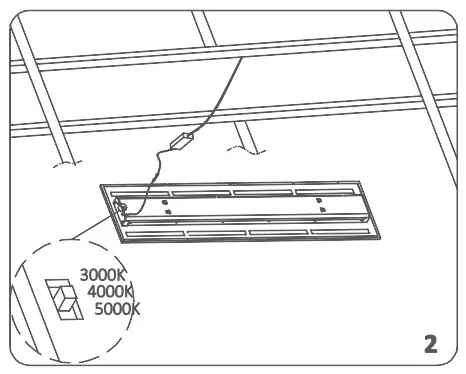
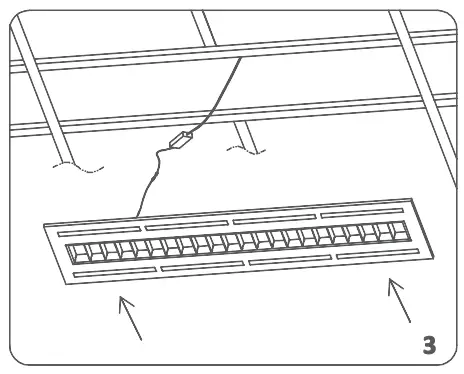
For ceiling embedded installation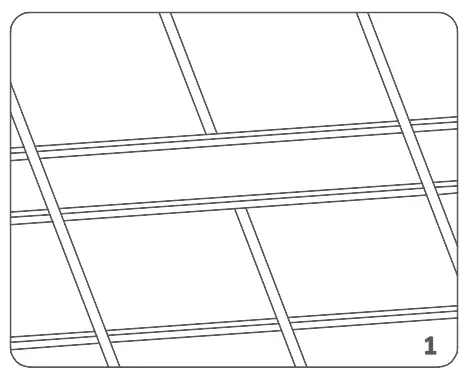
- Remove existing decorative ceiling board where the desired installation will be.

- Toggle the dip switch at the back of the luminaire to the required colour temperature setting, and then connect the input and output power cord properly.

- Put the luminaire in place.

- Installation is now complete.
Installation Instructions
For ceiling suspended installation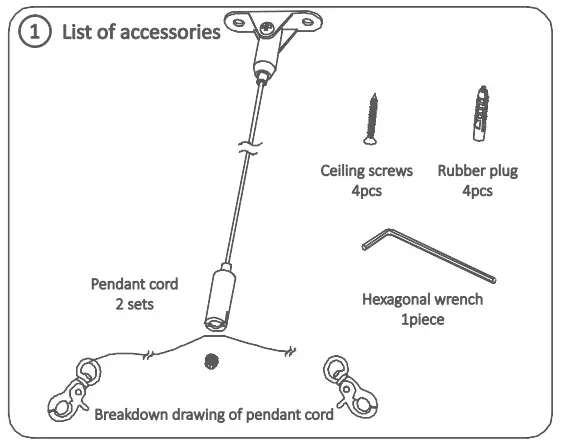
- Ensure you have the complete list of accessories required for suspended installation.

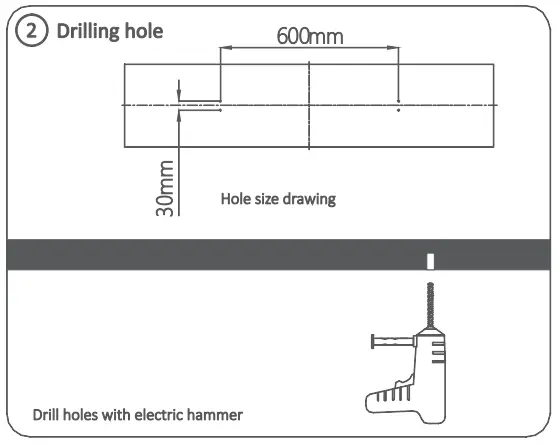
- Drill four holes as specified in the illustration.

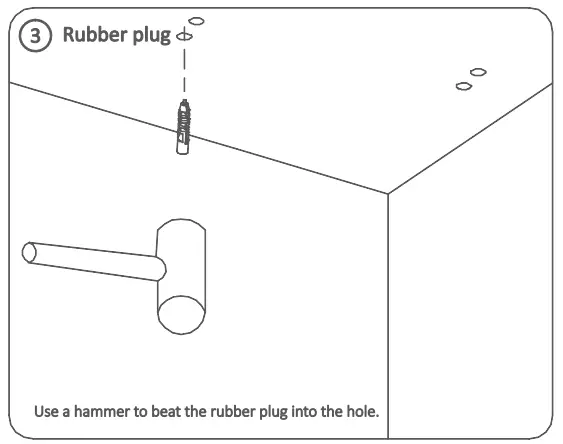
- Using a hammer, beat the four rubber plugs into the four holes.
 Thread the screw through accessories of the ceiling and use a screwdriver to fix it into the rubber plug.
 - Thread the screws through accessory holes into the ceiling and use a screwdriver to fix it into the rubber plugs.
 Hook up two hooks at the lower part in the hole on the steel frame.
Adjust left and right pendant cord at V-shape end and make it at the center.Then use hexagon wrench to tighten the screw at the bottom. - Install the luminaire: hook up two hooks at the lower part in the hole on the steel frame. Adjust left and right pendant cord at Y-shape end to make centred. Then use hexagon wrench to tighten the screw at the bottom.
 Toggle to the required level of color temperature from the dip switch at the back and then connect the input and output power cord properly.
 - Connect AC input wire, toggle the dip switch at the back of the luminaire to the required colour temperature setting, and then connect the input and output power cord properly.

- Installation is now complete.
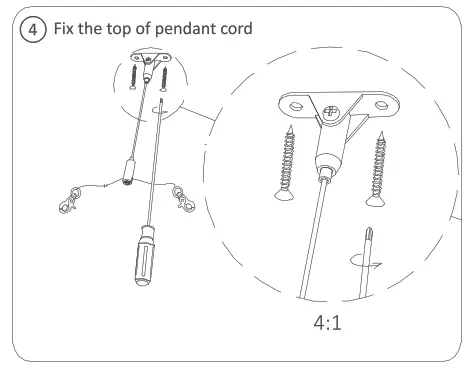 Thread the screw through accessories of the ceiling and use a screwdriver to fix it into the rubber plug.
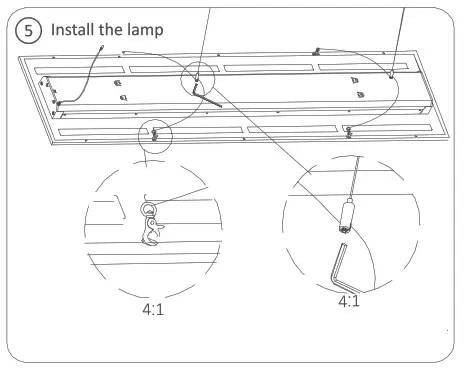 Hook up two hooks at the lower part in the hole on the steel frame.
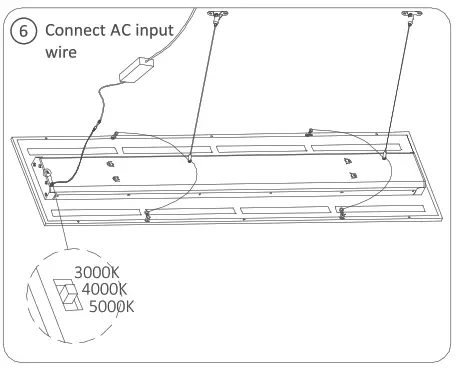 Toggle to the required level of color temperature from the dip switch at the back and then connect the input and output power cord properly.
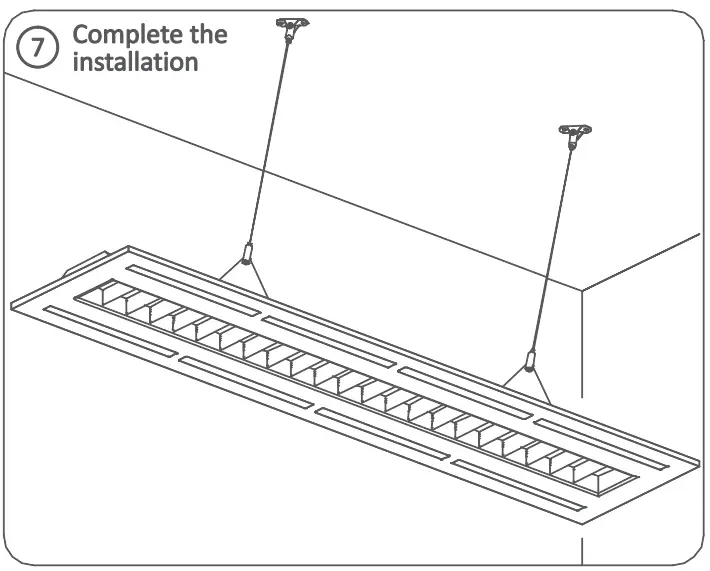
![]() For more information
For more information
www.haneco.com.au
1300 001 LED (533)![]() Lighting Council
Lighting Council
Australia Member


