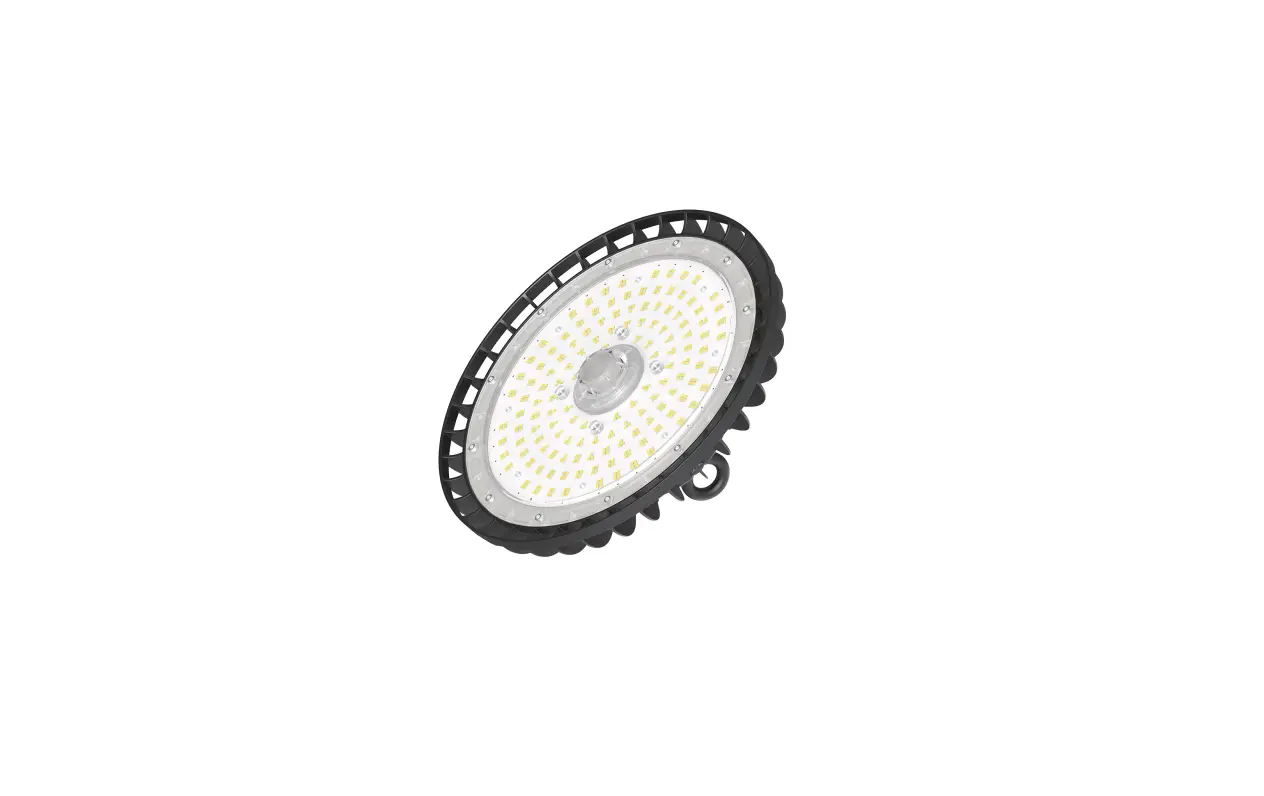
HANECO BENZINA-G2 Lighting Led Canopy Light 
Thanks for choosing our BENZINA G2 products.
We strongly recommend that you read this manual carefully before installation.
Product Specifications

WARNING
- The luminaire must be installed by a licensed/qualified electrician in accordance with local wiring and relevant Australian standard.
- Ensure to disconnect the main supply before conducting any installation and maintenance of the luminaire.
- Ensure input voltage conforms to the voltage range of the product.
- Ensure all the wiring is correct and secured before connecting the main supply to the luminaire.
- The warranty is void if the product is not installed according to the instructions.
Note: Product technical information and specifications may change over time without prior notice. For the latest information, please contact our customer service or visit our website www.haneco.com.au
Installation Instructions
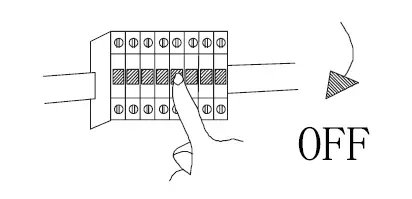
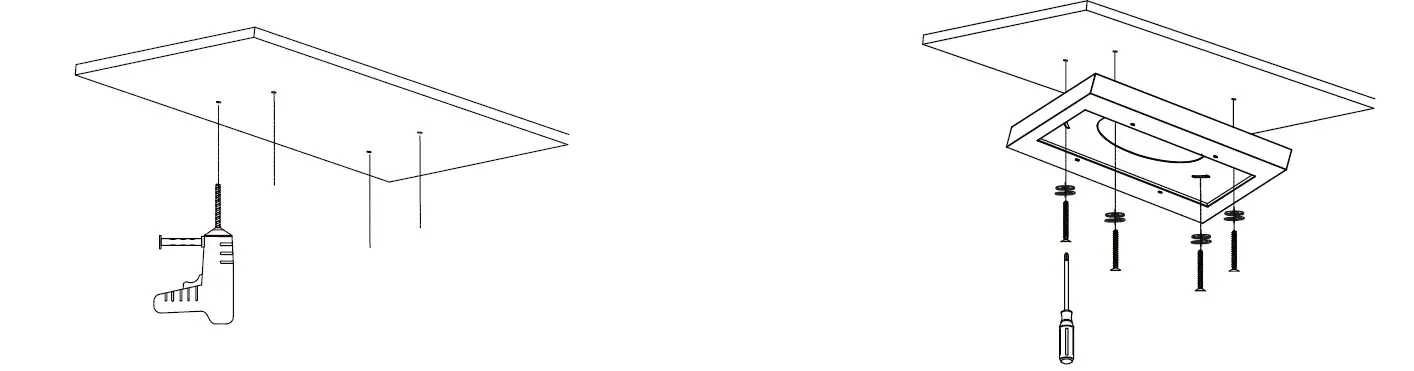
- Switch-off main power.

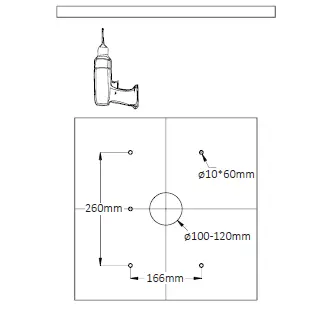
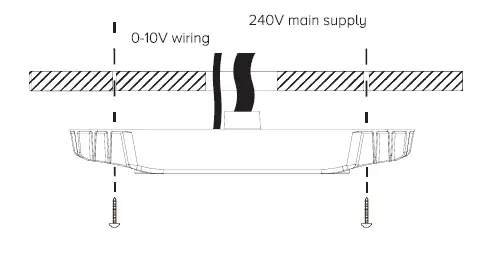
- Drill holes on the desired mounting surface as illustrated below

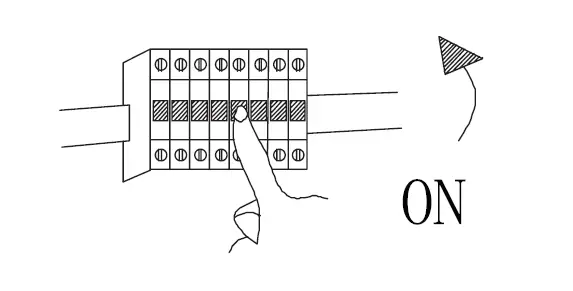
- Remove P65 cover to access the power dip switch. Adjust to the desired power setting.
Note: Fitting are preset with the highest wattage. To adjust lower wattage, turn the dip switch to ADJ.
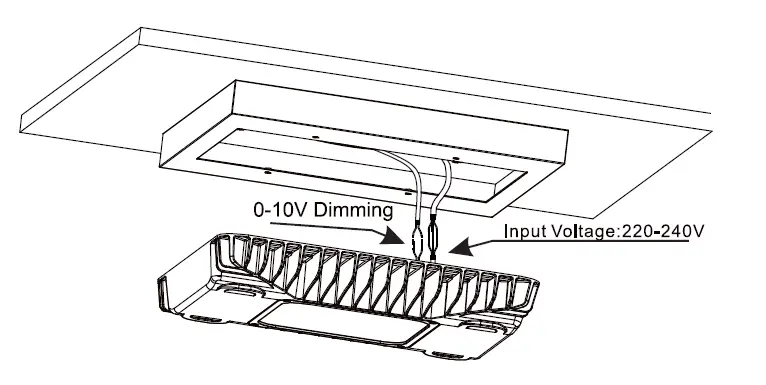
- Connect the light fitting to the power supply with the supplied plug
Connect 0-10V dimming if required. Secure the sitting onto the ceiling.
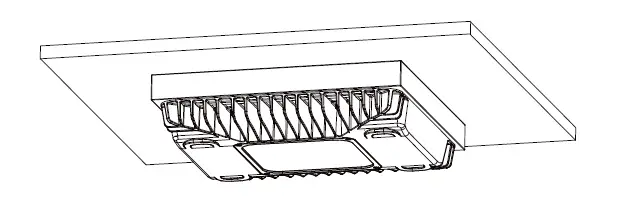
- Finish the installation and switch-on the main power.

Motion Sensor Installation
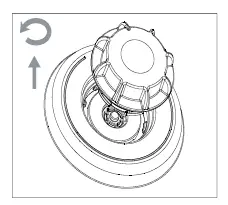
STEP 1. Switch Off the power Supply. Remove the IP65 cover by rotating it counterclockwise and pull outward.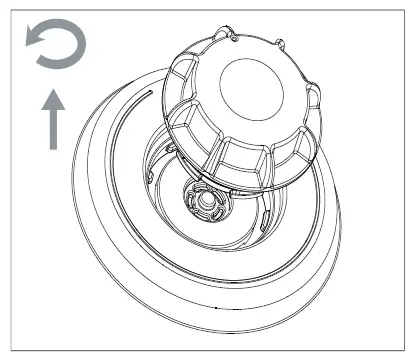
STEP 2. Insert the mircowave sensor (HIGHBAY- MS: 20022281). Push down and turn clockwise (360) to engage the sensor. Motion sensor settings are set using a remote controller (HIGHBAY-REMOTE: 2002282).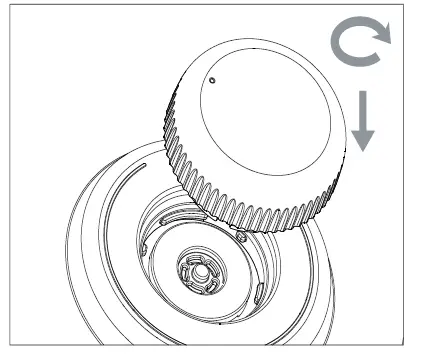 STEP 3. It is correct installation when the microwave sensor are aligned with the márker as shown in image. lurn ON the unit power and set the microwave sensor suit.
Surface mount box installation guide
- Use the SBOX as a template and mark and drill holes on the desired ceiling.

- secure the SBox on the desired ceiling.
- Connect the wiring. Ensure the main power is switched OFF before connecting the light fitting.

- Secure Benzina G2 onto SBox with the supplied screws.

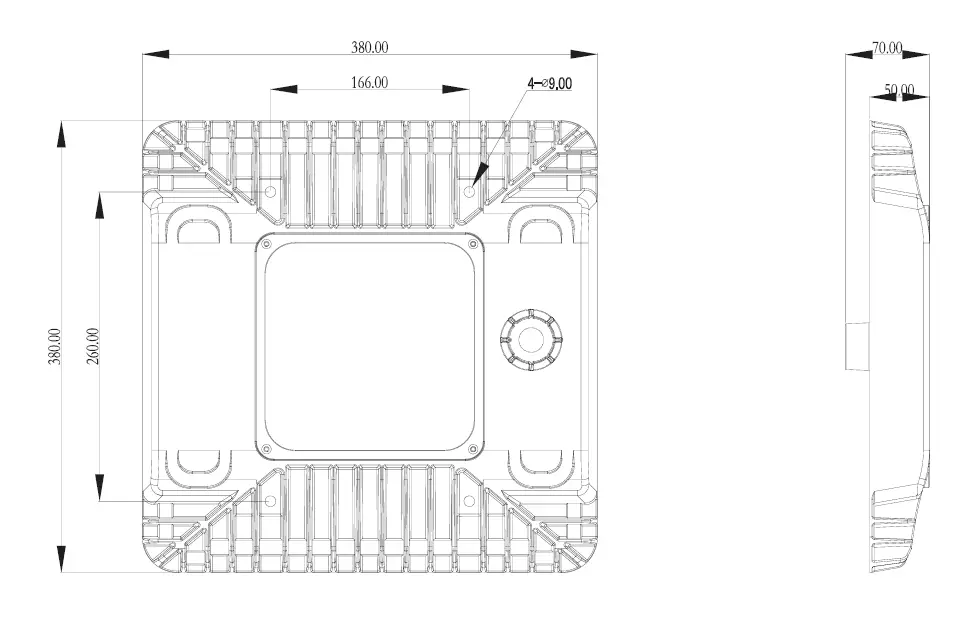
Product Dimension
Accessories (Not included)
For more information
www.haneco.com.au
1300 001 LED (533)


