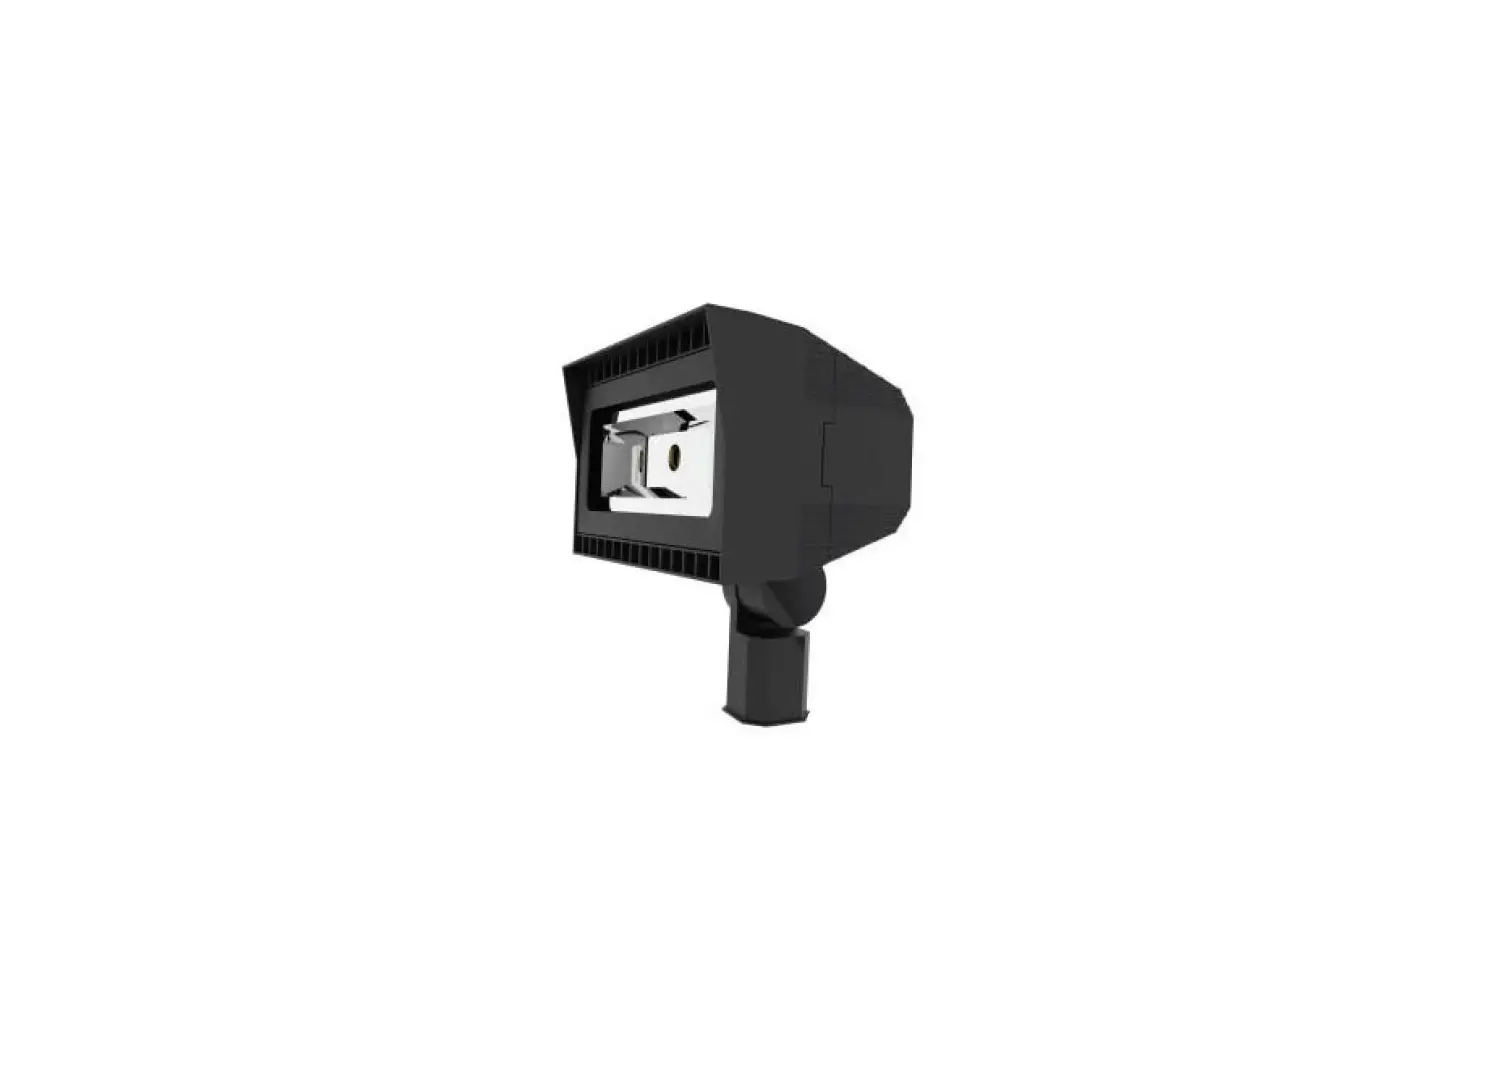
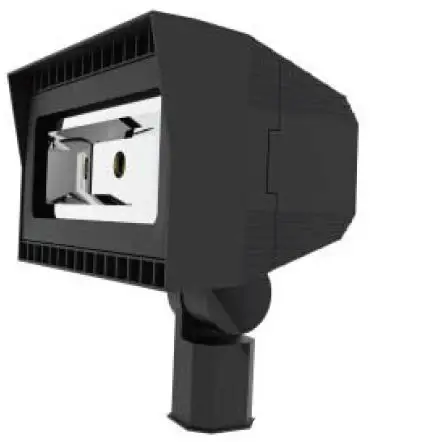
VENTURE LIGHTING AV0004 Slipfitter Mount
Before You Begin
Read These Instructions Completely and Carefully
Upgrade Instructions
Slipfitter Mount
- Disconnect power from the luminaire and follow proper lockout/tagout procedures before beginning installation or maintenance.
- Remove the existing luminaire. Dispose of the lamp(s) and ballast(s) per local requirements.
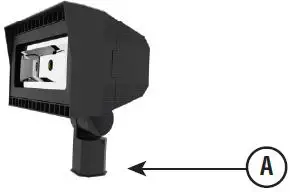
- Slipfitter mount fits a 2 3/8” OD tenon (A).

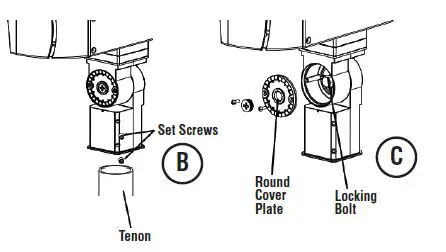
- Place slipfitter over the tenon and secure the fixture using the set screws (B) on the side of the slipfitter.
NOTE: Take note NOT to pinch any wires when closing the wiring enclosure. - To adjust the aim of the fixture, remove the round cover plate. (C)

- Loosen the locking bolt, aim the fixture as desired and then tighten the locking bolt. Secure the round cover plate. (C)
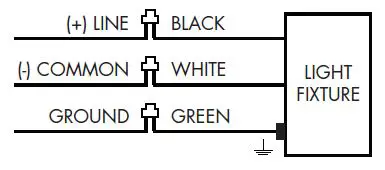
- Connect the fixture input leads (D) to the supply wire leads.
(D) Wiring Diagram
- Each fixture is supplied with a twist lock shorting cap. For the fixture to function, the shorting cap MUST be installed.
Note: An accessory twist lock photocell may also be installed in place of the shorting cap. - Power can now be restored to the fixture.
(800) 451-2606
6675 Parkland Blvd., Suite 100
Solon, Ohio 44139 USA
E-mail: [email protected]
VentureLighting.com
© 2016 Venture Lighting International • Venture Lighting is a registered trademarks of Venture Lighting International.


