![]()
1717 West Civic Drive Milwaukee, WI 53209
414-354-6600
Design Modification Rights Reserved
© Visa Lighting
CV1976PSX Sleight Recessed Mount
INSTALLATION INSTRUCTION
Model: Sleight
Fixture Family: Mystique
Document Description: Installation Instructions for Sleight surface mount CV1976PSX Series Luminaire
 SLEIGHT
CV1976PSX
CV1980PSX
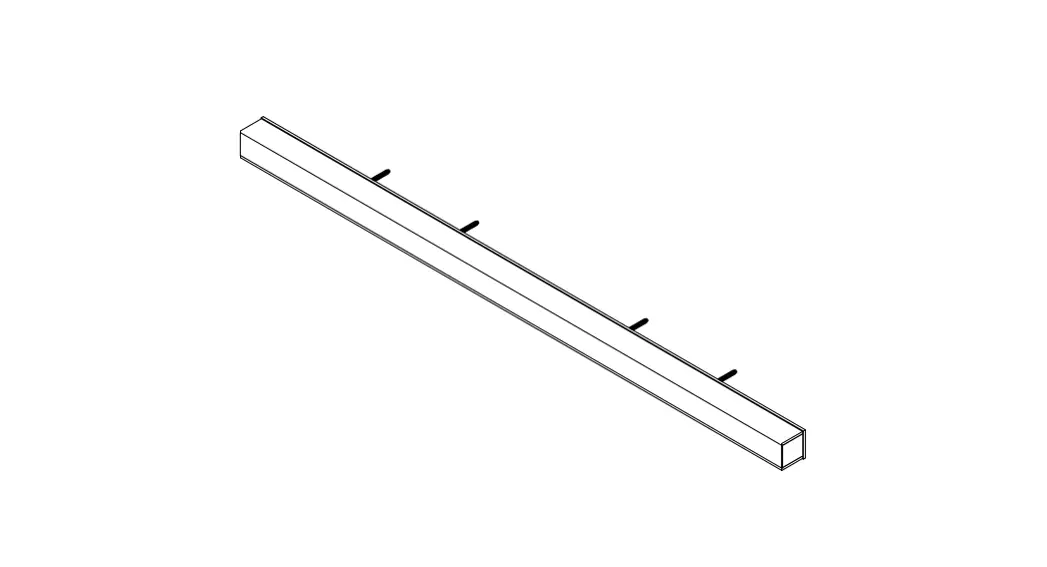
SHEET 2: SURFACE MOUNT
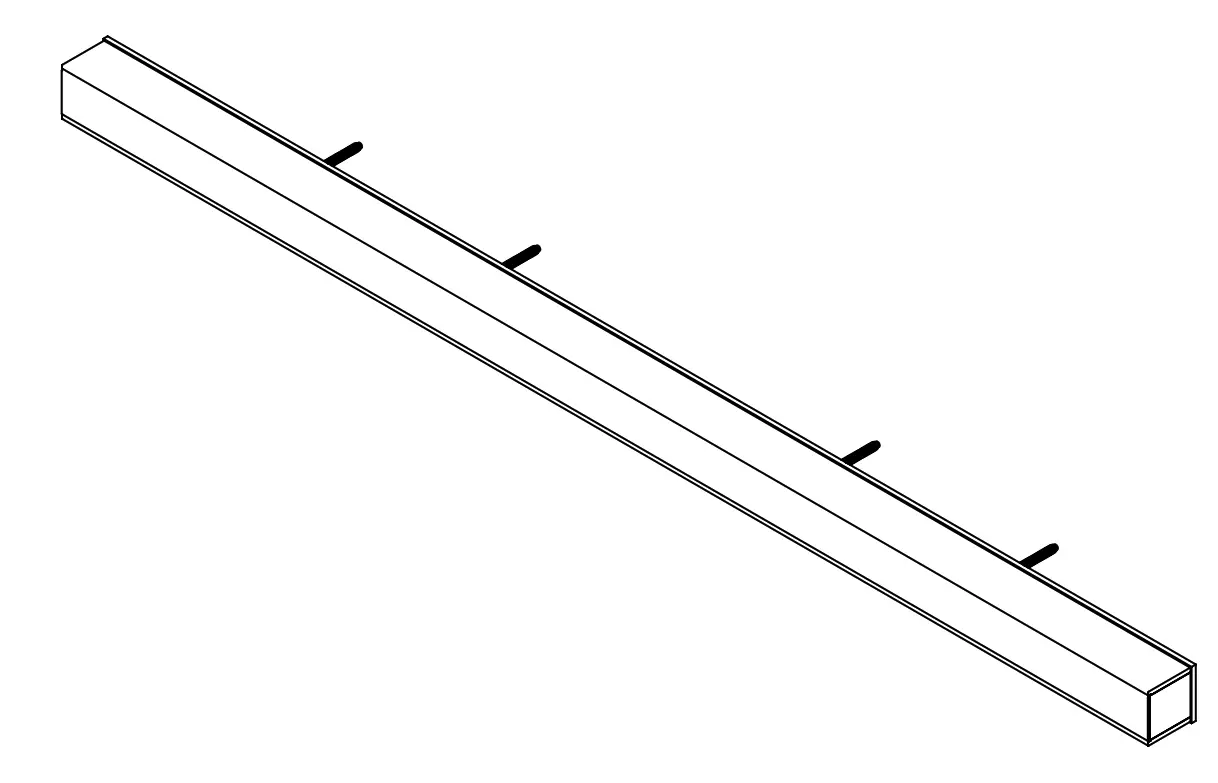
SHEET 3: JUNCTION BOX MOUNT
![]() When using electrical equipment, basic safety precautions should always be followed, including the following:
When using electrical equipment, basic safety precautions should always be followed, including the following:
Read all instructions carefully before installing and save for future use.
- Make sure all connections are in accordance with the National Electrical Code and local regulations.
- To avoid possible electric shock, be sure the power supply is turned off before servicing or installing the fixture
- Service should be performed by qualified personnel.
- These instructions may not cover all details or variations. If additional information is needed, please contact Visa Lighting.
SURFACE MOUNT

- Locate the desired wall opening for power feed and drill up to 3/4″ hole.
- Connect 24-volt power feed to fixture. Note: Excess wire can be trimmed before being pushed back into the wall.
- Mount lens assembly to the wall with hardware suitable for the mounting surface. Note: Make sure lens assembly is level before securing to the wall.
- Slide front LED assembly onto lens assembly, align posts into holes on the sides of front assembly, and secure with set screws (2).
JUNCTION BOX MOUNT
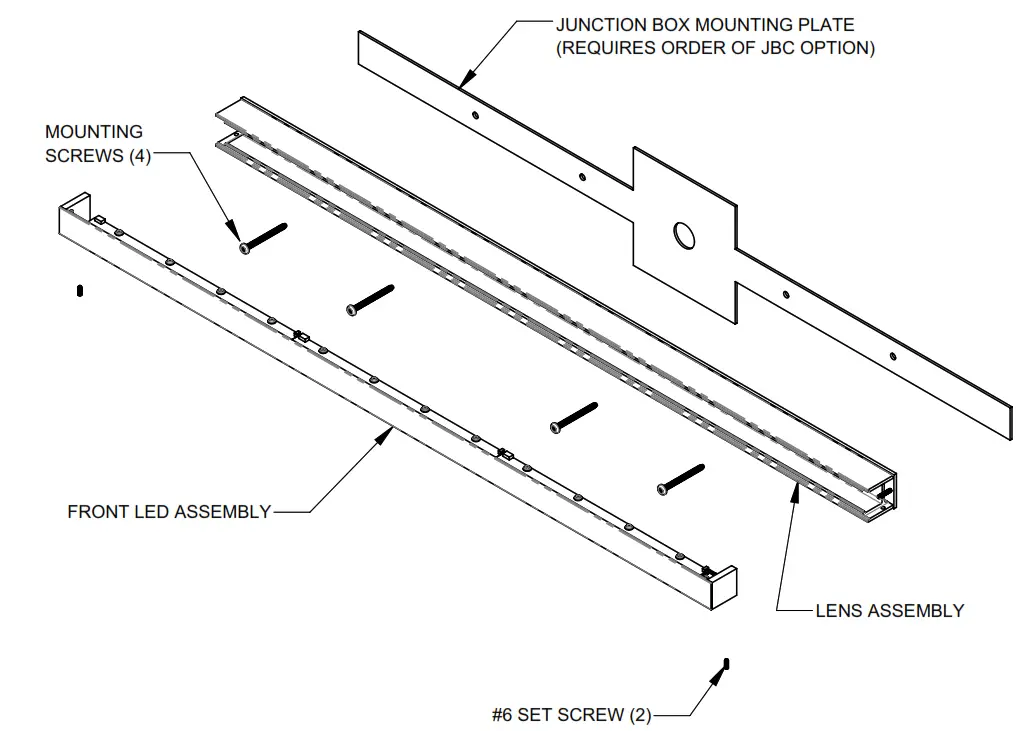
- Mount junction box mounting plate (requires an order of JBC option) to the mounting surface, covering the junction box (by others).
- Make sure the mounting plate is level, and mark the (2) holes for 16″ version or (4) holes for the 32″ version (shown).
- Remove the mounting plate from the wall and drill 5/16″ holes and install wall anchors.
- Reinstall the mounting plate to the mounting surface. Secure plate with mounting screws.
- Make all wire connections in accordance with local and national codes.
- Mount lens assembly to the wall with hardware suitable for the mounting surface. Note: Make sure lens assembly is level before securing to the wall.
- Slide front LED assembly onto lens assembly, align posts into holes on the sides of front assembly, and secure with set screws (2).
![]()


