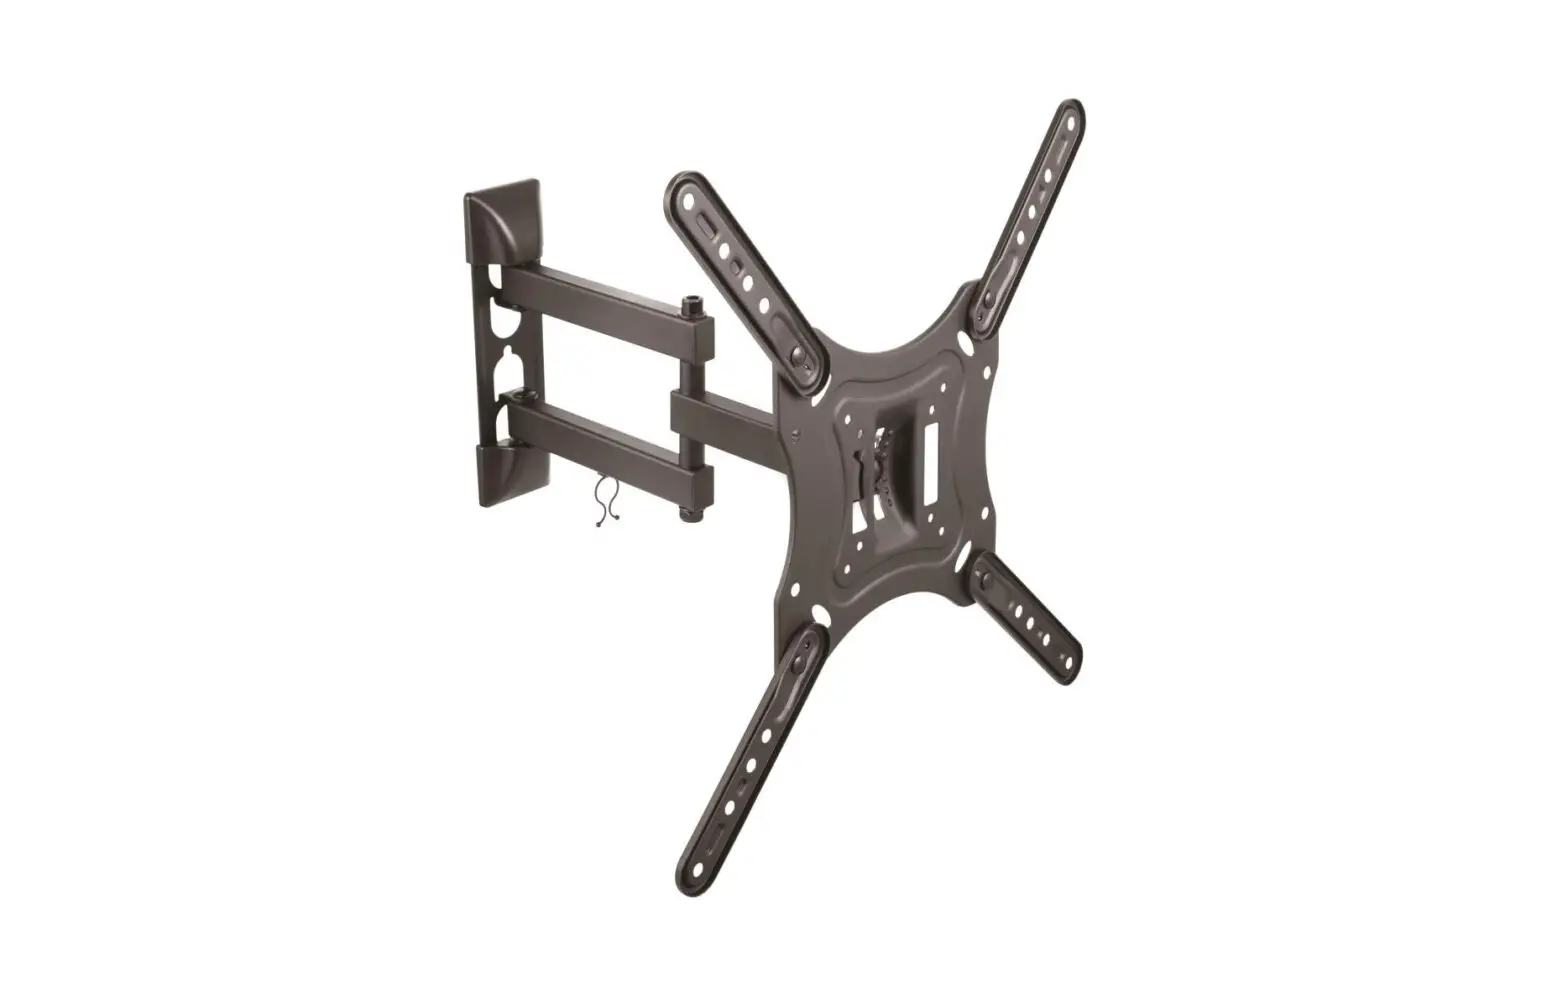

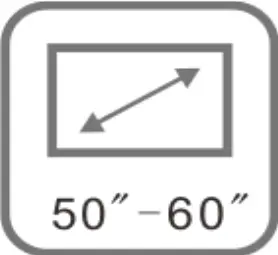
Full Motion Gas Lift Arm Wall Mount for 50″∼65″ TVs
KAWLM5OGASA
Installation Guide

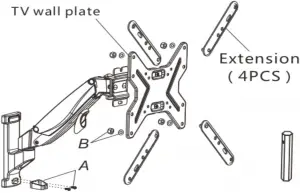
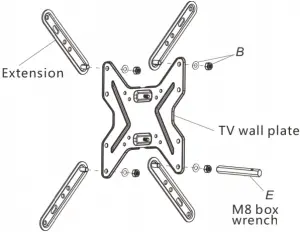
What’s in the Box
![]()
![]()
M4x20mm A1(4PCS) M5x20mm A2(4PCS)
![]()
![]()
M6x20mm A3(4PCS) M8x20mm A4(4PCS)

Raised spacer A5(4PCS) Square washer A6(4PCS)![]()
![]()

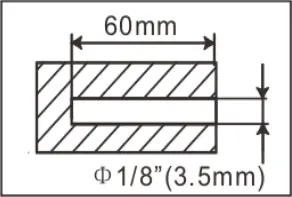
St6x60mm B1(3PCS) B2(3PCS) Ø6.4xØ12×1.5mm B3(3PCS)
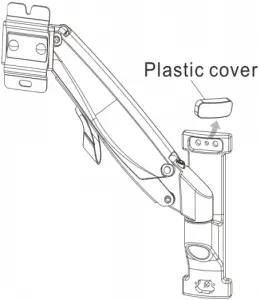
A.  x1 Plastic Cover
 ![]() x2 M3x6mm
x2 M3x6mm
B.  x4 M8
x4 M8  x4
x4
C.  x2 M6
x2 M6
D. ![]() x1 M6 box wrench
x1 M6 box wrench
E. ![]() x1 M8 box wrench
x1 M8 box wrench
F. ![]() x1 5x5mm
x1 5x5mm
G.  x1 Bubble level
H. ![]() x1 2x2mm
x1 2x2mm
Required Tools
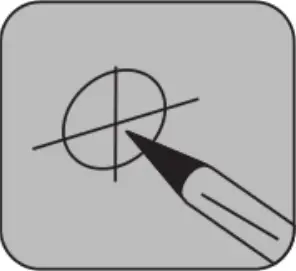
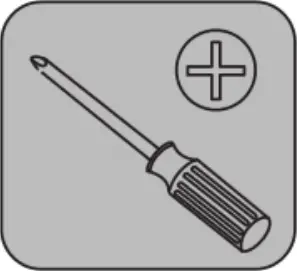
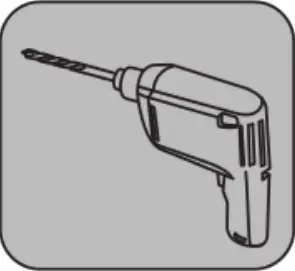
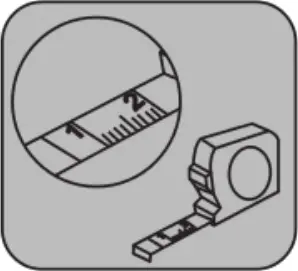
You will need a pencil to mark your drill points, a power drill, a tape measure and a Phillips head screwdriver.
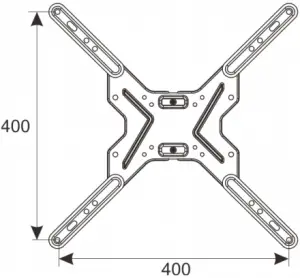
1
Installation
Step 1

![]()
Step 2A – Solid Concrete Mounting
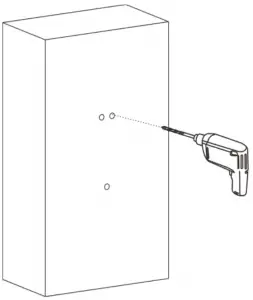
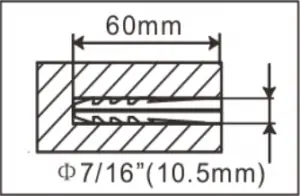
Use box wrench (D) to fasten the tapping screw.
![]()
![]()
![]()
Notice: Please use self-tapping screws to make the wall plate completely cling to the wall. The self-tapping screws should be completely screwed in and no gap should exist, lest property loss or/and physical injury should be caused.
2
Step 2B – Wood Stud Mounting
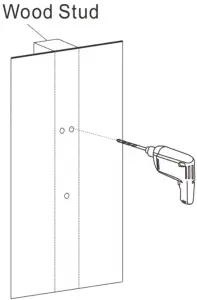
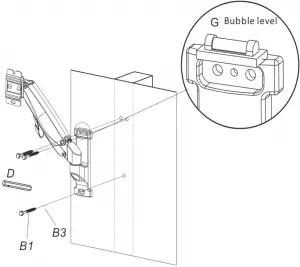
Use box wrench (D) to fasten the tapping screw.
![]()
![]()
![]()
Notice: Please use self-tapping screws to make the wall plate completely cling to the wall. The self-tapping screws should be completely screwed in and no gap should exist, lest property loss or/and physical injury should be caused.
Step 3 – Install TV onto the TV plate
a
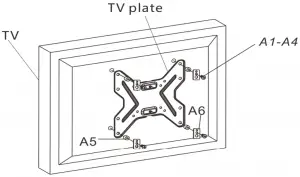
Choose suitable screws according to TV sizes.
Please use raised washers if A1-A4 screws are too long.![]()
![]()
Before installation, use your hands to insert the screw into the holes behind TV to determine the needed screm diameter and length, stop immediately once hit resistance.
b.
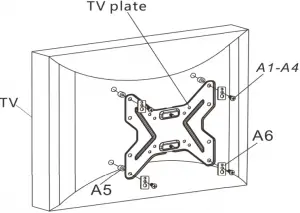
Choose suitable screws according to TV sizes.
If the holes behind the TV are shallow, please use suitable screws.
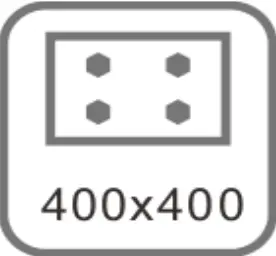
Note: use extensions if the TV VESA holes are larger than 200 x 200mm
3
Step 4 – Attaching VESA plate to monitor
1. First hang onto opening slot upside, then fasten the 2 nuts.
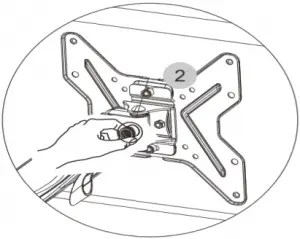
2. Fasten the nuts
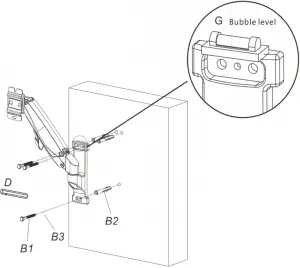
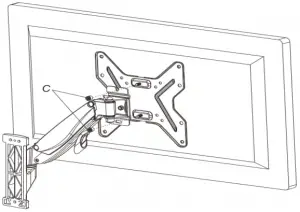
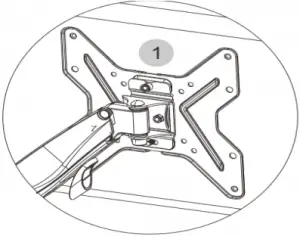
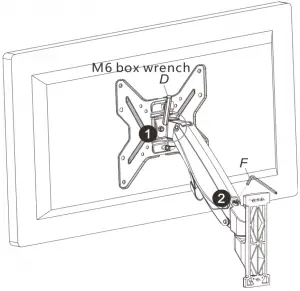
Step 5 – Hang TV onto the wall plate
![]()
- Adjust the TV tilting angle: user M6 box wrench (D) to fasten and loose the nuts.
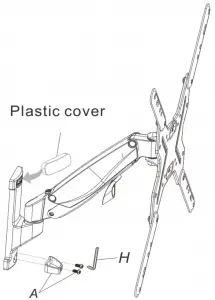
- Adjust the monitor’s height after installing. If the monitor cannot stop at any height, pls use the supplied 5×5 allen key to adjust the screw on the arm. To make the mount and monitor’s weight equal and it can stop at any height, pis adjust the screw in “-” direction when the monitor up and “+” direction when it down.
Step 6
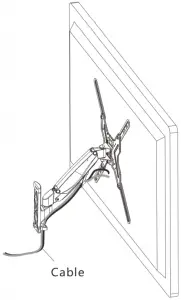 Cable management
4
Caution
This product contains small items that could be a choking hazard if swallowed. Keep these items and all packaging away from young children.
- Make sure these instructions are read and completely understood before attempting installation. If you are unsure of any part of this installation, please contact the Kogan.com customer support team or a professional installer.
- The wall or mounting surface must be capable of supporting the combined weight of the mount and the display, otherwise the structure must be reinforced.
- Safety gear, safe working methods and proper tools must be used. A minimum of two people are required for this installation. Failure to use safety gear and safe working methods may result in property damage, serious injury or death.
- Please check the joints every two months, making sure any loose screws have been retightened.
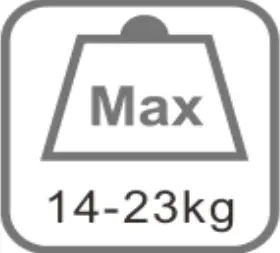
This product was designed to be installed on wood stud walls or solid concrete walls. Before installation, make sure the wall will support the combined weight of the equipment and hardware. Never exceed the mounts maximum weight load capacity of 23KG, or else it may result in product failure or personal injury.
Note: this product is intended for indoor use only. Use of this product outdoors may lead to product failure or personal injury.
5


