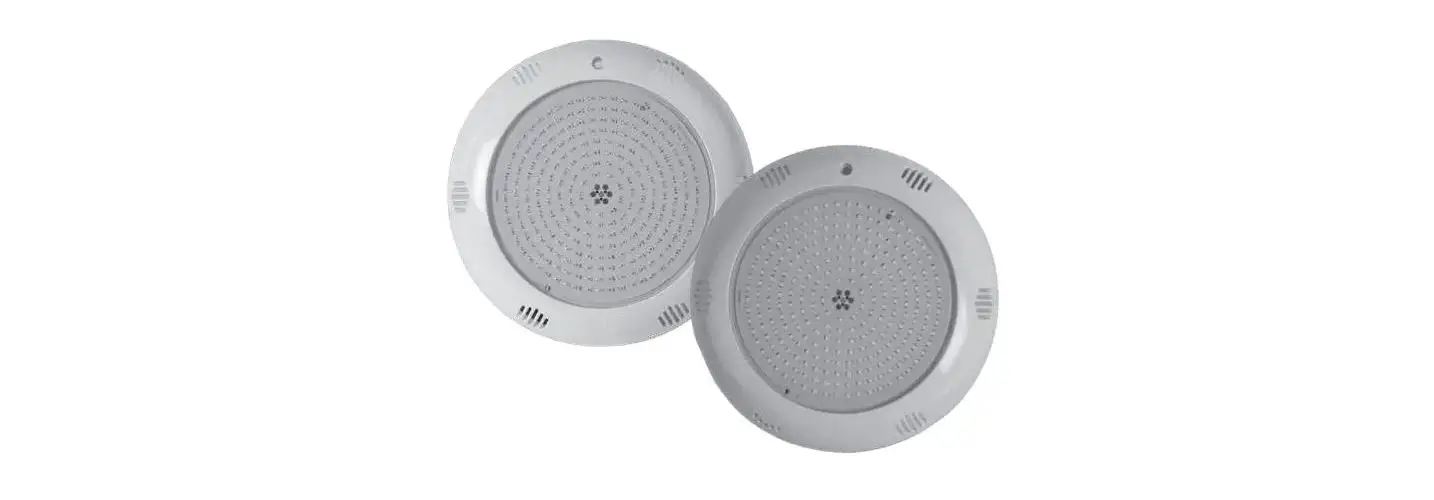
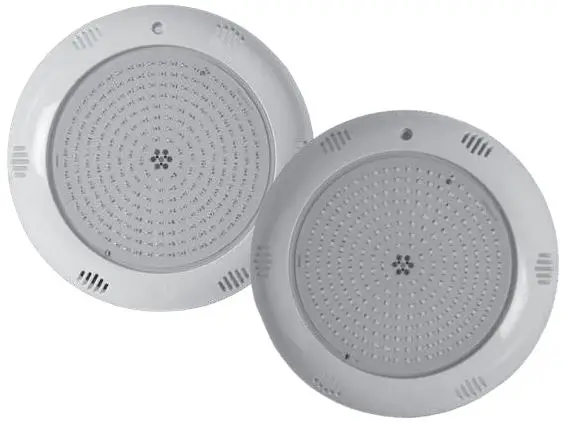
HAYWARD 3464PLDBL RGB and White Flat LED Lights
WARNING: Electrical risk.
Non-compliance with these instructions may lead to serious injury or death.
THE DEVICE IS DESIGNED FOR USE IN POOLS ONLY.
- WARNING – Carefully read the instructions in this manual and those on the device. Non-compliance with the instructions may result in injury.
- WARNING – This document must be given to all pool users, who should keep it in a safe place.
- WARNING – This device is not intended for use by those with reduced physical, sensory or intellectual capacities (in particular children) or by those who do not have the suitable experience or knowledge, unless they are supervised or have received instructions in how to use the device by the person responsible for their safety.
- WARNING – Ensure that children cannot play with the device.
- WARNING – Only use genuine Hayward spare parts.
- WARNING – Any electrical installation must be carried out according to standard practice and in compliance with the applicable regulations.
F NF C 15-100 GB BS7671:1992 D DIN VDE 0100-702 EW EVHS-HD 384-7-702 A ÖVE 8001-4-702 H MSZ 2364-702:1994 / MSZ 10-533 1/1990 E UNE 20460-7-702 1993, REBT ITC-BT-31 2002 M MSA HD 384-7-702.S2 IRL IS HD 384-7-702 PL PN-IEC 60364-7-702: 1999 I CEI 64-8/7 CZ CSN 33 2000 7-702 LUX 384-7.702 S2 SK STN 33 2000-7-702 NL NEN 1010-7-702 SLO SIST HD 384-7-702.S2 P RSIUEE TR TS IEC 60364-7-702 - WARNING – Always turn off power to the device before handling the bulb.
- WARNING – Never operate the spotlight when it is out of the water.
- WARNING – If the power cable of this light or its outer flexible sheath is damaged, to eliminate all risk it must be replaced only by the manufacturer or their maintenance agent or by a person with an equivalent qualification.
- WARNING – The bulb must be connected to a double insulated transformer or power supply.
Description 3464PLDBL 3464LDRGB Consumption in W 18 W Power supply 12 VAC No. of LEDs 252 Lumens 1600 800 White / RGB Cool white RGB LED Technology CrystaLogic® ColorLogic® (16 programmes, synchronisation, memorisation) Application Liner – Concrete – Panel Energy Efficiency
This pool light contains A
LED bulb with a E energy E G
an ALP01 removable rating.

The EU2019/2015 and EU2019/2020 regulations do not apply to this RGB light.

INSTALLATION GUIDE: FLAT LED POOL SPOTLIGHT
Description of spotlight
- The 2 LED bulbs (white and colour) are designed to light up pools of all types (in-ground and above-ground).
- These spotlights can be installed on all types of new construction (concrete, liner, fibreglass or panel).
- The bulbs are class III, with a very low safety supply voltage (12 VAC) and an IP68 rating.
Recommendation for spotlight installation
- The spotlight must point away from the house or patio to prevent intrusive light levels.
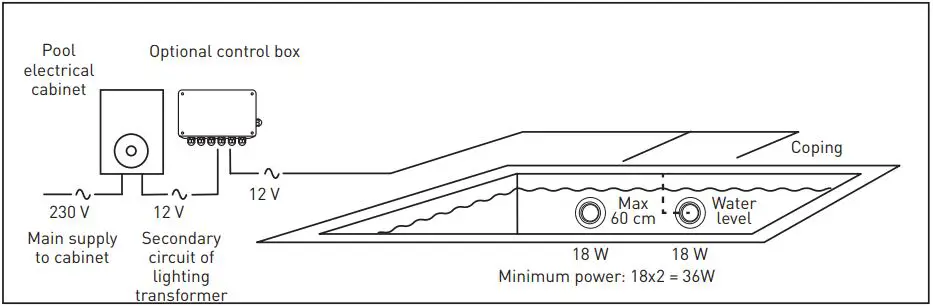
- The spotlight must be located no more than 60 cm below the coping (distance measured from the bulb axis). The cable attached to the bulb is 2 m long.
- The junction box is not supplied. It may be necessary to ask a qualified person for advice regarding the installation.
PACK CONTENTS
- 1 flat LED spotlight
- 2 m of pre-attached cable
- Trim ring + bulb assembled using screws


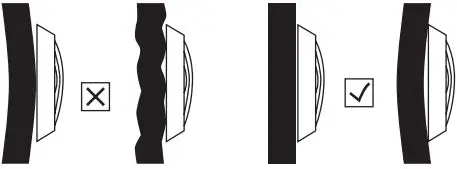
INSTALLING THE SPOTLIGHT ON THE WALL
The installer should select the correct wall mount for the type of pool. Make sure the vertical surface on which the spotlight will be mounted is flat.
INSTALLATION FOR CONCRETE POOL
- Drill a hole through which the bulb cable will pass, and make the hole watertight.
- Attach the wall mount vertically using the 4 screws.
- Coil up the extra cable and screw the trim ring to the wall mount.
INSTALLATION FOR PANEL POOL
- Unscrew the 2 nuts.
- Drill 2 holes in the panel.
- Position the wall mount vertically.
- Screw up the upper cable gland with the seal in position.
- Pass the bulb cable through the clamp and screw up the lower cable gland with the seal in position.
- Tighten the clamp with a key.
- Coil up the extra cable and screw the trim ring to the wall mount.
INSTALLATION FOR LINER POOLS
- Drill a hole in the wall and install the 2“ wall insert.
- Pierce the liner. Add the 2 black seals and attach the mount to the wall insert using the 4 screws.
- Pass the bulb cable through the clamp.
- Tighten the clamp with a key.
- Coil up the extra cable and insert in notch indicated on diagram, then twist shut.


CONNECTING THE BULB TO THE POWER SUPPLY
- Pass the spotlight bulb cable through the conduit to the junction box.
- Connect the bulb or bulbs to a transformer which has a secondary circuit output voltage of 12 VAC. The transformer power must be appropriate for the power of the bulb or bulbs that will be connected. The total sum of the spotlight powers must remain less than or equal to the transformer power.
- If the connection between the bulb and the transformer is underwater, the connection must be watertight (either with a double cable-gland, or with epoxy gel). If it is not watertight, water will enter the bulb via the cable.
- The bulb must be fully submerged before use.
Example connection diagram
MAINTENANCE
- Genuine Hayward spare parts must be used for all part replacements.
- Changing the bulb is very simple. The bulb is screwed to the trim ring via 4 transparent attachment feet.
OPERATION WITH HAYWARD COLOUR LED BULBS
- All Hayward LED bulbs (PAR56, flat, mini) can be connected on a single electrical cabinet.
- Synchronisation: to turn all LEDs connected to the same electrical cabinet on under programme 1 (white), use the button on the electrical cabinet to cut power to the LEDs and switch it on again between 6 and 15 seconds later.
- Change of programme: use the button on the electrical cabinet to cut power to the LEDs and switch it on again between 1 and
3 seconds later. - Memory: all LEDs will turn on with the programme most recently saved if power to the LEDs is switched off at the electrical cabinet for more than 30 seconds.
All RGB LEDs (Par 56, Flat, Mini) have the same sequence with 16 programmes
| Couleurs fixes | |
| #1 | Blanc |
| #2 | Bleu |
| #3 | Bleu ciel |
| #4 | Cyan |
| #5 | Bleu lagon |
| #6 | Vert |
| #7 | Vert d’eau |
| #8 | Jaune |
| #9 | Orange |
| #10 | Rouge |
| #11 | Violet |
| Programmes de couleur | |
| #12 | Arc en ciel, transition lente (75 s) |
| #13 | Arc en ciel, transition rapide (25 s) |
| #14 | Arc en ciel, sans transition (12 s) |
| #15 | Arc en ciel (35 s) |
| #16 | Défilement de 1 à 15, mode démo |
Only use spare parts supplied by Hayward brands®


