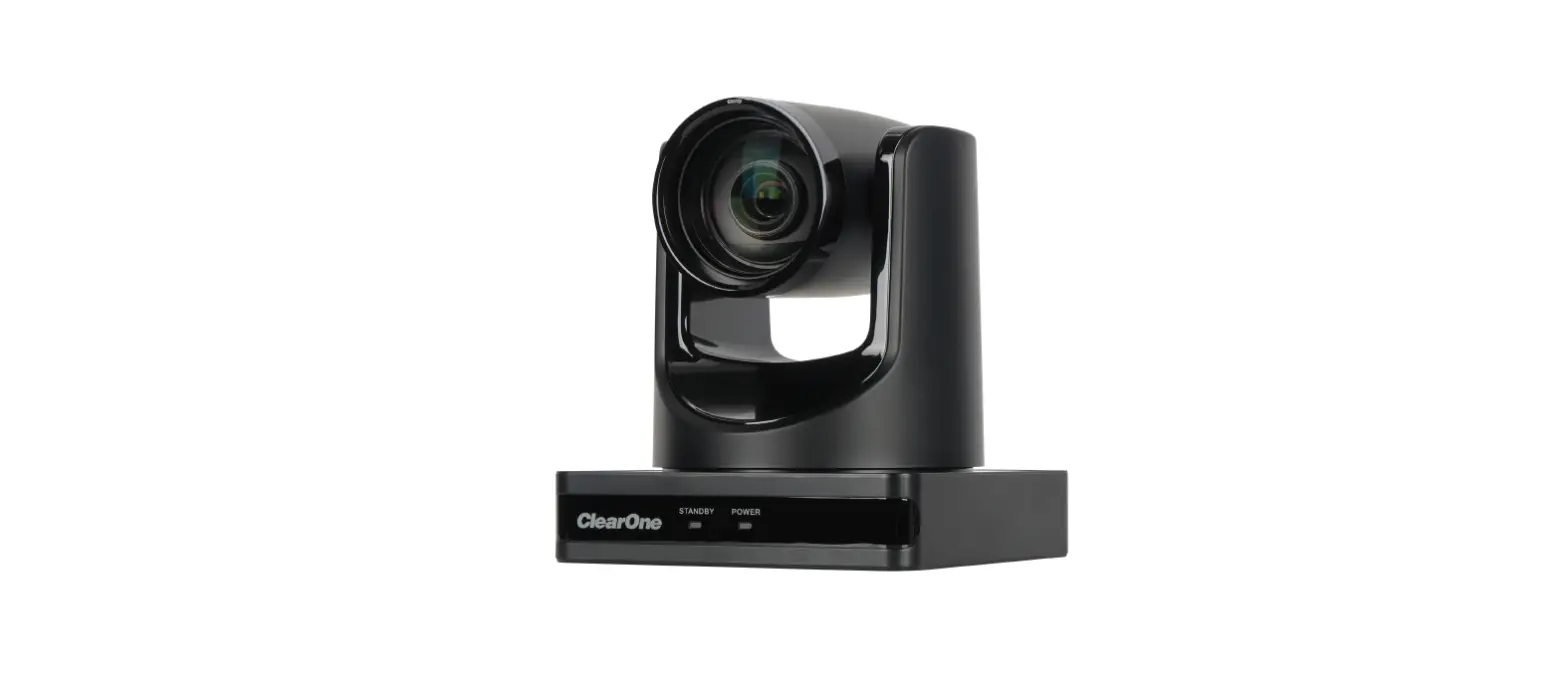
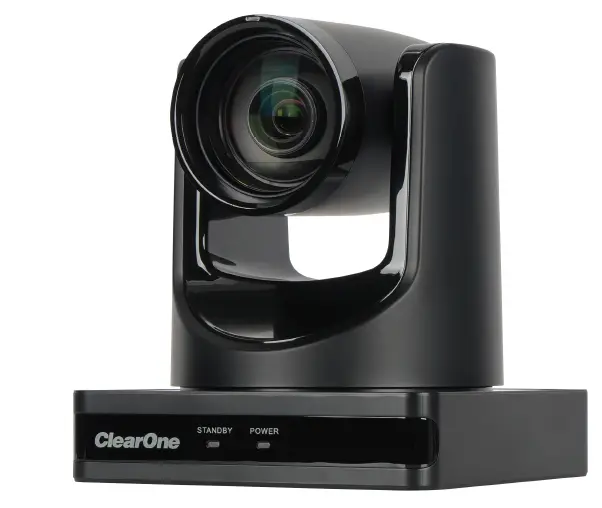
 ClearOne Unite 160 4K Camera
ClearOne Contacts
- Headquarters
- 5225 Wiley Post Way Suite 600 Salt Lake City, UT 84116
- Sales Tel: +1.801.975.7200 sales@clearone.
- Headquarters
- Tel: +1.801.975-7200
- Technical Support
- Tel: +1.801.974.3760 [email protected]
Notices
© 2022 ClearOne, Inc. All rights reserved. Information in this document is subject to change without notice. Document: QSG-0154-001v1.0 November 2022
Important Safety Information
- Before you set up the camera, read this manual carefully. Follow the setup instructions indicated in this manual.
- Keep this manual for future use.
- To prevent electric shock, do not remove the screws or the camera housing. No self-serviceable parts are inside the housing
WARNING: TO PREVENT FIRE OR ELECTRICAL SHOCK HAZARDS, DO NOT EXPOSE THIS PRODUCT TO RAIN OR MOISTURE LIGHTING FLASH AND ARROWHEAD WITHIN THE TRIANGLE IS A WARNING SIGN ALERTING YOU OF DANGEROUS VOLTAGE INSIDE THE PRODUCT.
CAUTION: TO REDUCE THE RISK OF ELECTRIC SHOCK, DO NOT REMOVE THE COVER (OR BACK) NO USER-SERVICEABLE PARTS INSIDE. REFER SERVICING TO QUALIFIED SERVICE PERSONNEL.
THE EXCLAMATION POINT WITHIN THE TRIANGLE IS A WARNING SIGN ALERTING YOU OF IMPORTANT INSTRUCTIONS ACCOMPANYING THE PRODUCT.
Packing List
Verify that you have received all parts associated with each of the components. Inspect your shipment carefully. If the shipment shows obvious signs of damage, retain the original boxes and packing material for inspection by the carrier, and contact them immediately. ClearOne is not responsible for product damage incurred during shipment.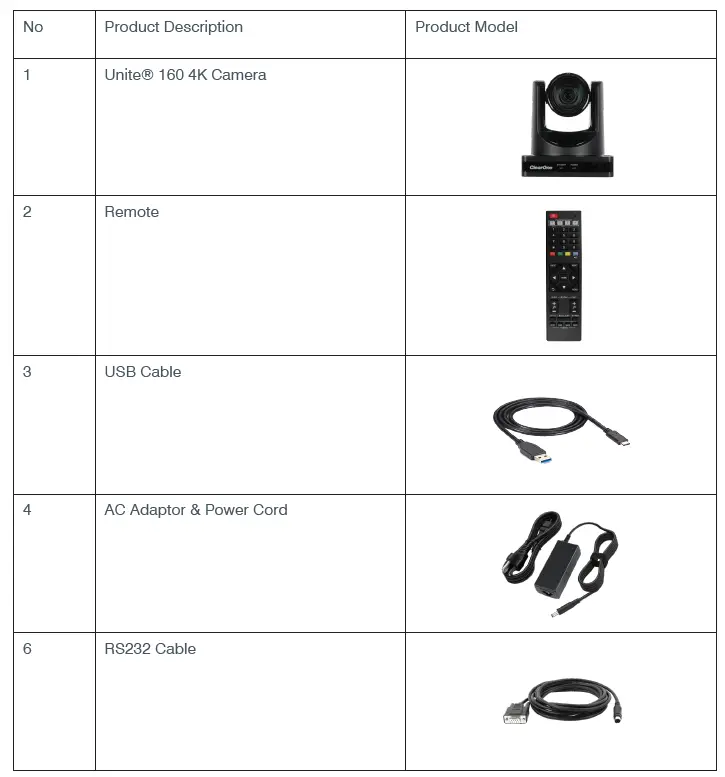
Setup
Installation
This product should be placed on a Wall mount or Ceiling Mount. Avoid contact with any liquid, gas, or solid material that may cause corrosion.
Step 1
Refer to the diagram below to make sure the connections are correct.
Step 2
Connect to the power. The LED light on the front panel indicates the camera is powered on.
Step 3
The process of initialization is complete after the camera pan-tilt rotates to the maximum position of top right and returns to the center.![]()
Note: If the position preset 0 has been stored, the position preset 0 will be called up after initialization.
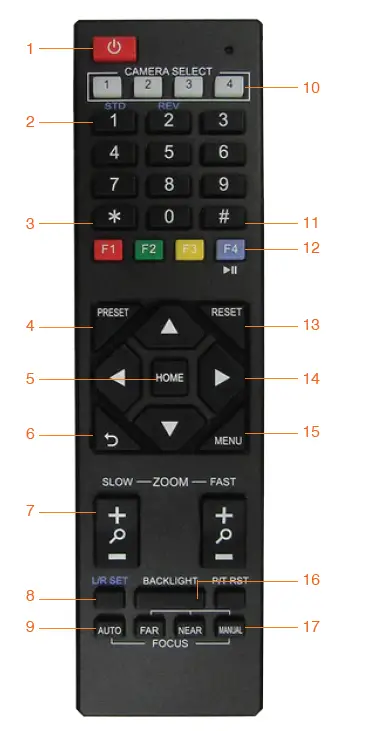
Remote Control
| No. | Name | Function Description |
| 1 | Standby Key | On/Off |
| 2 | Number Key | Preset setting or transfer preset |
| 3 | *Key | For use with other keys |
| 4 | Preset Key | Preset: Setting Preset + Number key(0-9) |
| 5 | HOME (PTZ Control key) | Brings the PTZ camera back to the middle position |
| 6 | Return Key | Return back to the last menu level |
| 7 | Zoom Buttons | Moving between wide/narrow angle lens modes, slowly or quickly |
| 8 | Left/Right Setting Key | Standard: Simultaneously press Left/Right setting key + 1 Reverse: Simultaneously press Left/Right setting key + 2 |
| 9 | Focus Keys | auto/manual/far-end/near-end focus |
| 10 | Selection Keys | Select the camera to control |
| 11 | #Key | For use with other keys |
| 12 | IR Remote Control Key | [*+#+F1/F2/F3/F4]: NO.1/2/3/4 address (not support) |
| 13 | Reset Key | Delete preset |
| 14 | PTZ control keys | Used to Functionality for F1 and F4 Short press F1 to start Auto Framing, and short press F4 to pause or start, and long press F4 to close Auto Framing.ove the PTZ |
| 15 | Menu Key | Used to enter/exit OSD Menu |
| 16 | Backlight Key | Turn on/off backlight |
| 17 | PTZ reset key | For use with PTZ camerasFunctionality for F1 and F4 Short press F1 to start Auto Framing, and short press F4 to pause or start, and long press F4 to close Auto Framing. |
Functionality for F1 and F4
Short press F1 to start Auto Framing, and short press F4 to pause or start, and long press F4 to close Auto Framing.
| No. | Function | Button |
| 1 | Auto framing | ON (F1 short press) OFF (F4 long press) Pause tracking (F4 short press) |
| 2 | Auto tracking | On (F3 short press) OFF (F4 short press) |
Safety Precautions
Do Not Disassemble This product has no user-repairable parts. Damage caused by unauthorized disassembly is not covered by warranty. Electromagnetic fields at specific frequencies may affect image quality.
Troubleshooting
Image
The image is jittery when the camera lens is at max zoom:
- Ensure that the camera is installed in a stable position.
- Remove vibrating objects/machinery from the proximity of the camera.
Control
The remote control not operating
- Check/replace batteries in the remote control unit.
- Ensure the camera’s working mode is correct.


