
tp-link 64836 Deco M9 Plus Wall Mount
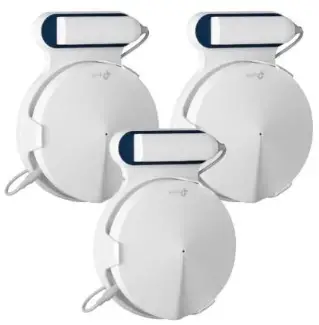
Included: 3x brackets, 6x screws, 6x anchors
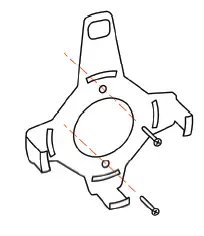
- Mount the bracket on your wall using two screws for each bracket. Use the anchors if necessary.

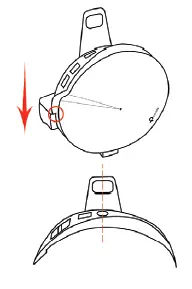
- Slide the Deco node into the bracket. Make sure to align the power port of the node with the top of the bracket.

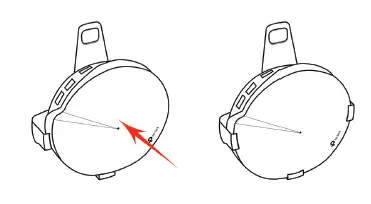
- Press the node into the bracket until the clips of the bracket hold the node firmly.

Note:
It is possible to use adhesive hooks instead of screws to mount the bracket on the wall. Hang the brackets on the hooks if you are using this method.


