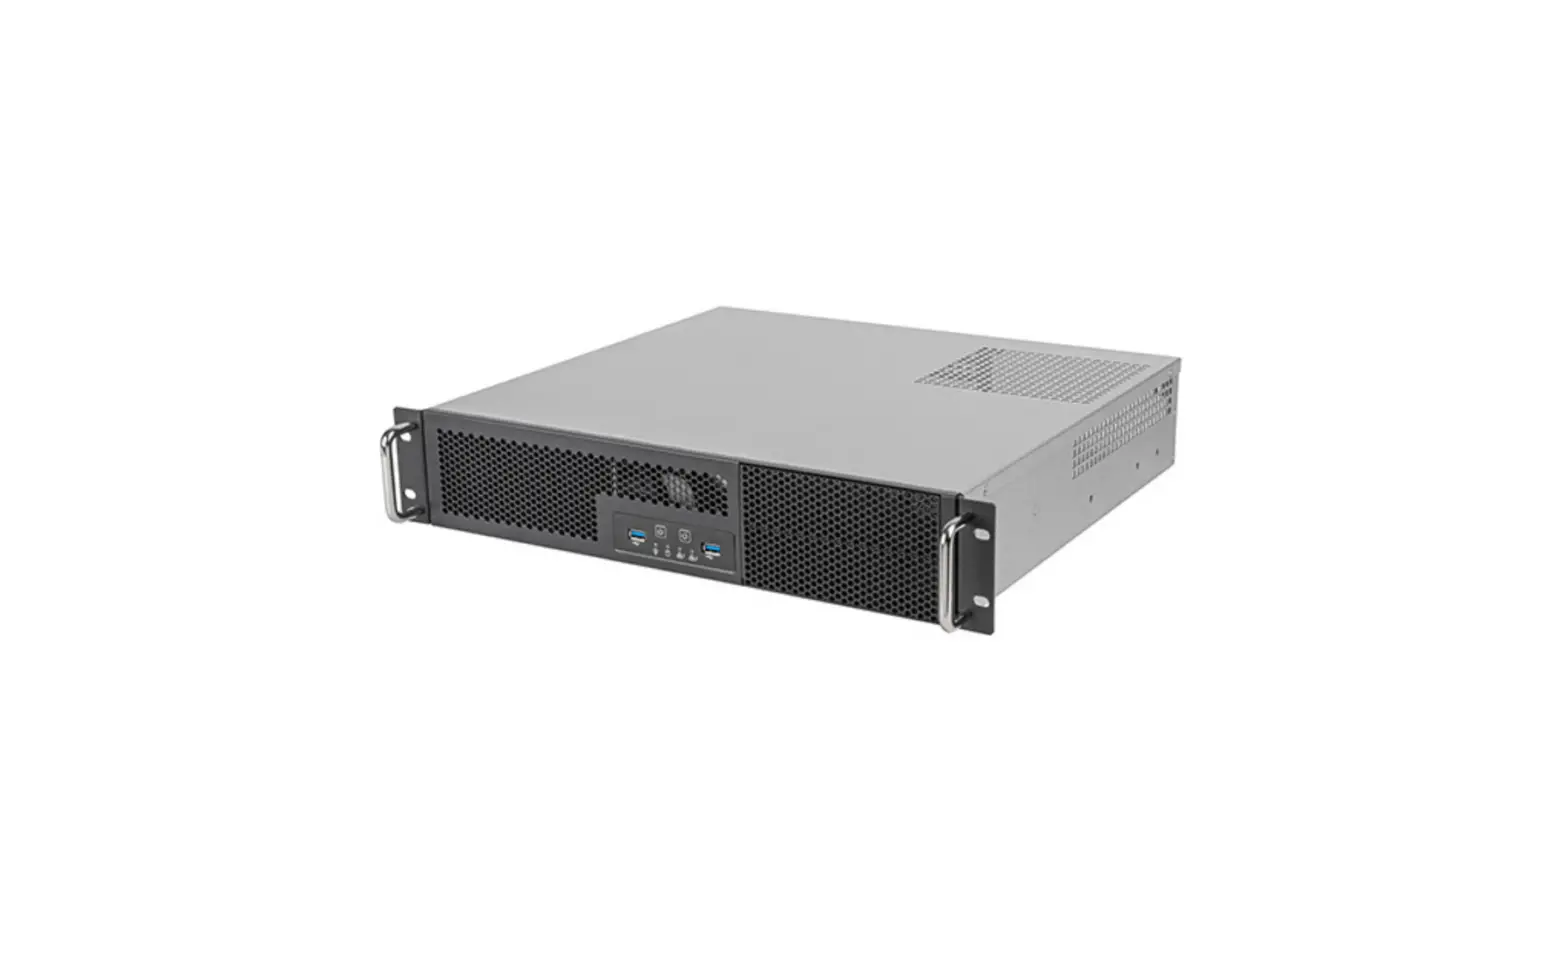
SILVERSTONE RM23-502-MINI 2U Dual 5.25-Inch Drive Bay Micro-ATX Rackmount Industrial Server Chassis User Manual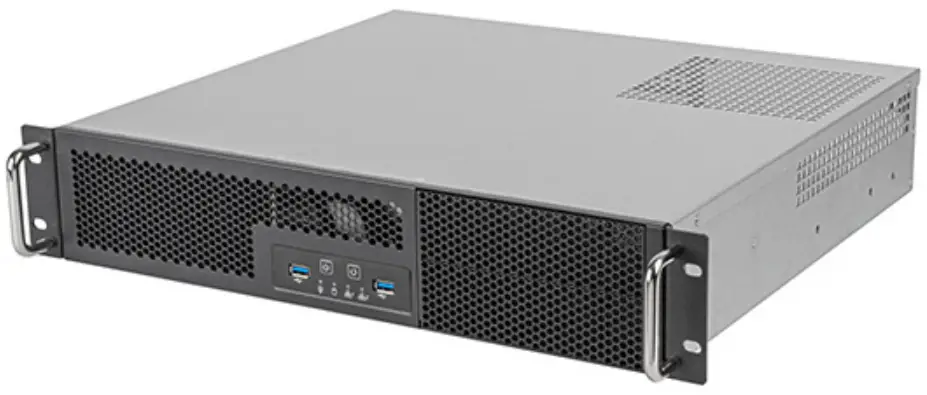
Product Overview
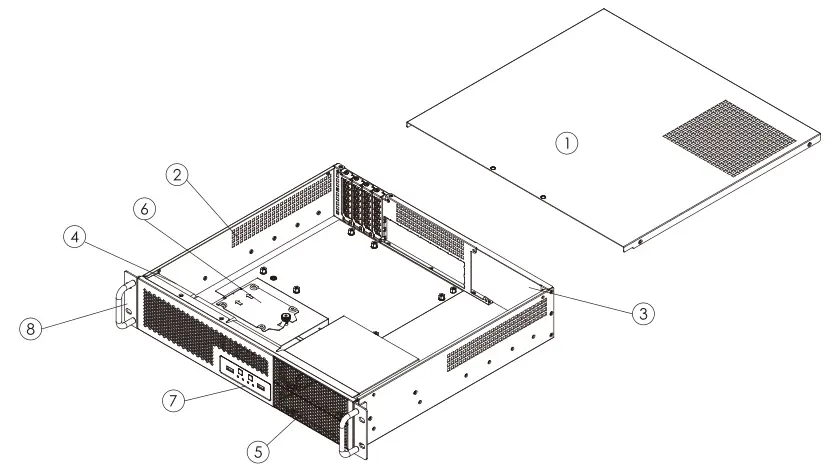
- TOP COVER
- BOTTOM CHASSIS
- OPTIONAL POWER SUPPLY
- OPTIONAL 8cm Fans
- 2bays-5.25″ Drive Cage
- 2bays-3.5″+1bays 2.5″ Drive Cage
- FRONT PANEL IO AND INDICATORS
- RACK HANDLES
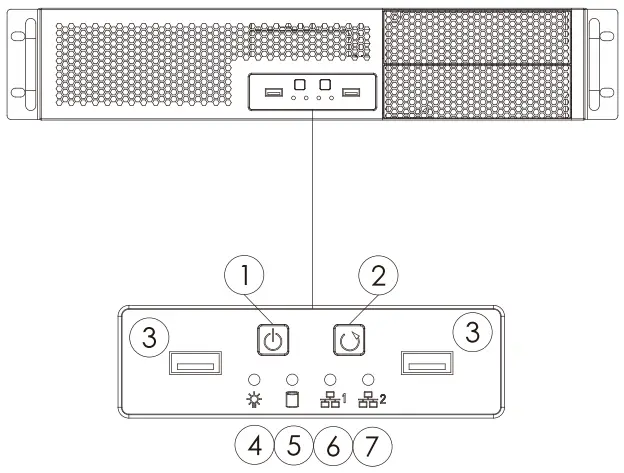
- POWER ON SWITCH
- SYSTEM RESET SWITCH
- USB 3.1 Gen1 x 2 ports
- POWER ON LED (BLUE)
- HDD ACTIVITY (GREEN)
- LAN1 LED (GREEN)
- LAN2 LED (GREEN)
Assembly Instructions
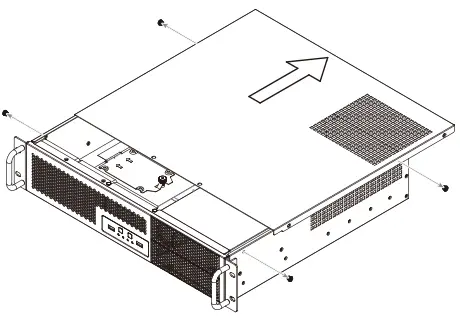
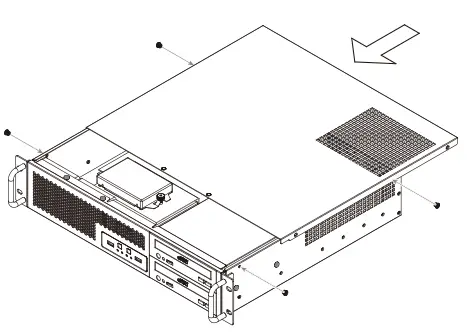
- Remove screws from both sides, then remove the top cover

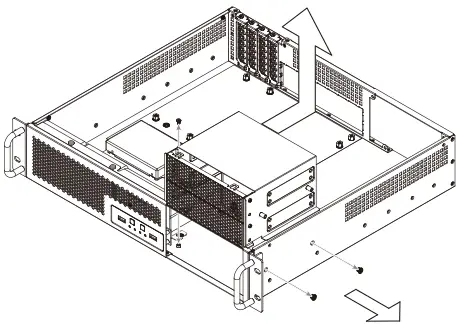
- Loosen the hard drive cage screw, then remove hard drive cage in the direction of the arrow

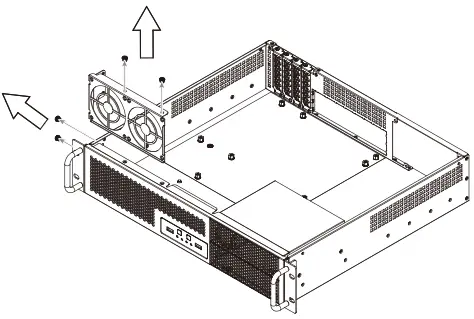
- Loosen the fan bracket screws, then remove the fan bracket in the direction of the arrow

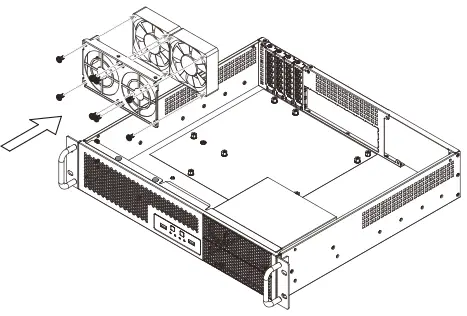
- Install the 80mm fans on to the fan bracket, then secure the fan bracket back to its original position

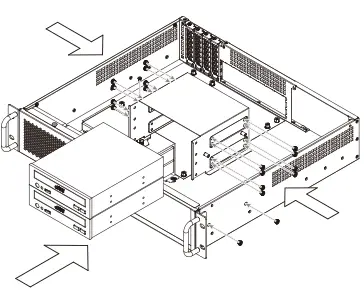
- Install 2.5″ & 3.5″ hard drives into the hard drive cage, then secure the hard drive cage back to its original position

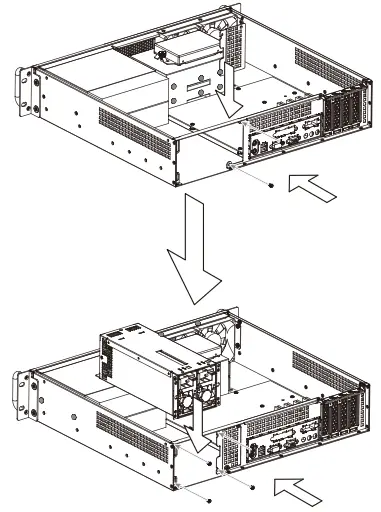
- Loosen the 5.25″ drive cage screws, then remove the 5.25″ drive cage

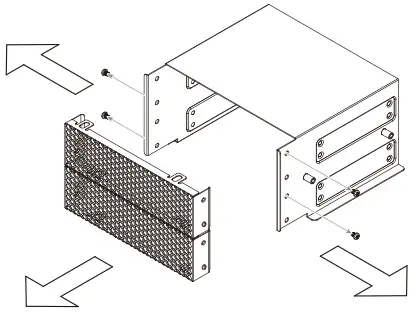
- Loosen the screws, then remove the panel

- Install 5.25″ drive into 5.25″ drive cage, then secure the 5.25″ drive cage back to its original position

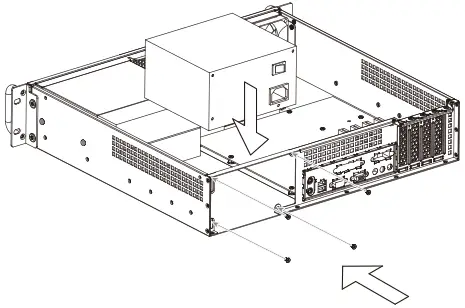
- Install motherboard

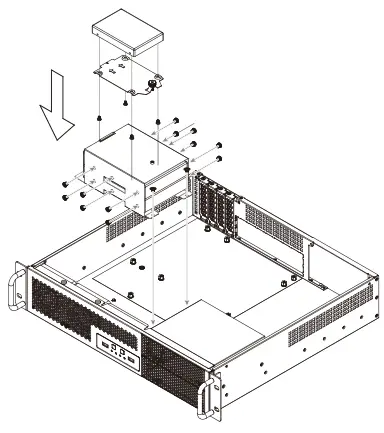
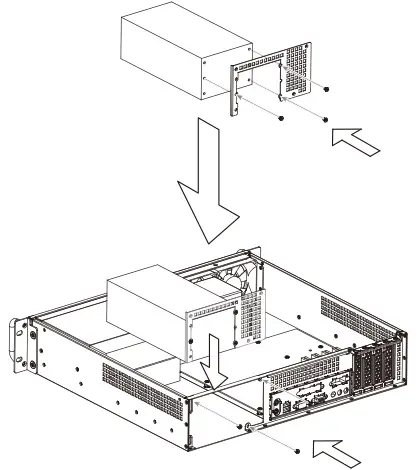
- Installing ATX PSU: Place the PSU into the PSU bay and secure with screws

Installing 2U Single PSU: Secure 2U Single PSU bracket on to the chassis, then secure with screws
Installing 2U Redundant PSU: Secure 2U Redundant PSU bracket on to the chassis, then secure with screws
- Place the top cover back, then secure with screws.