CORSTON 12017 Grip Spindle Instructions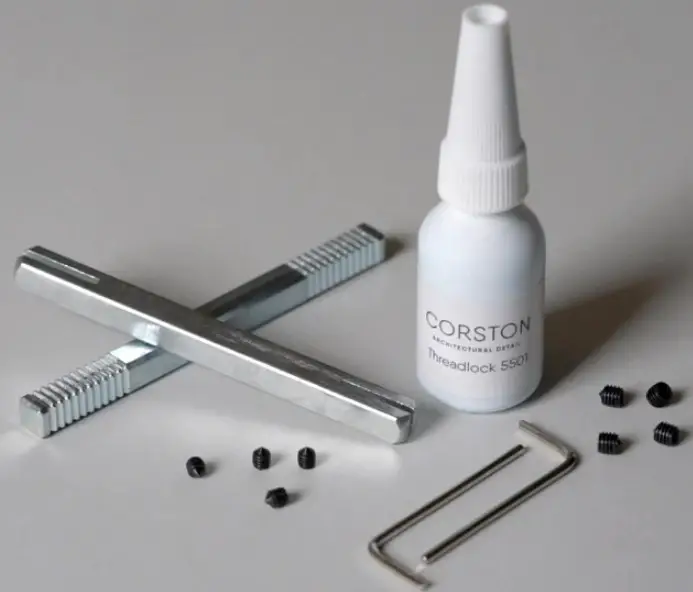
These kits replace the current grub screw system used to construct our door handles. They offer a more secure and safe way of attaching the handle to the door.
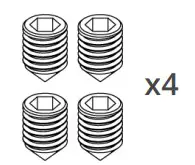
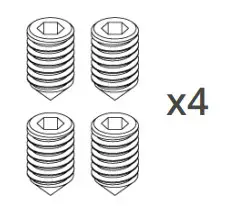
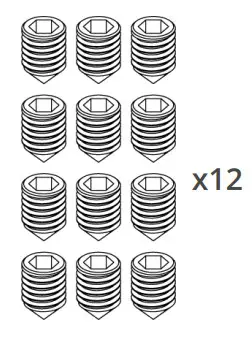
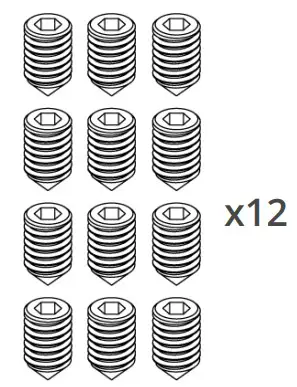
There are two sizes of grub screws, which are both included in the kits.
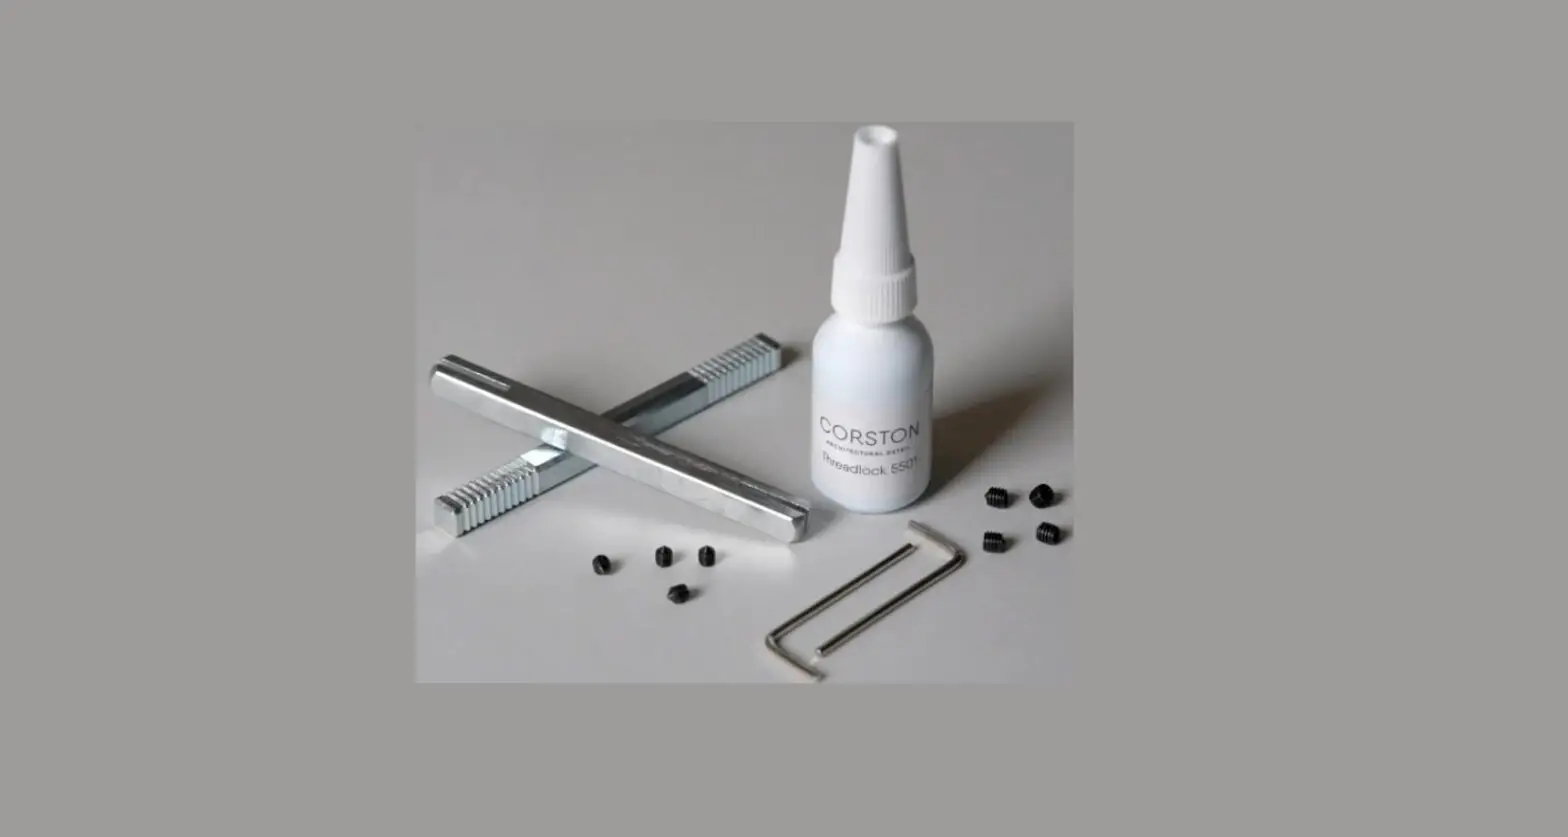
Contents
140mm Grip Spindle Contents
(For 1 Handle Pair)
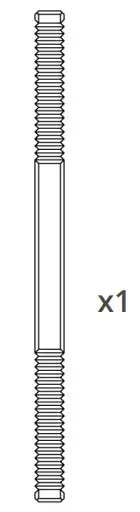
- 140mm Spindle

- M5 Grub Screws

- M4 Grub Screws

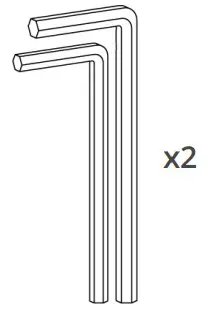
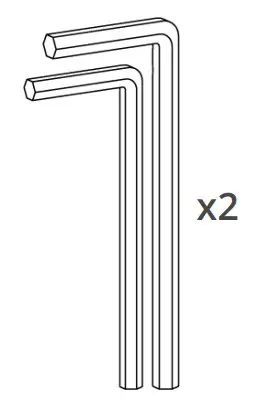
- Allen Keys

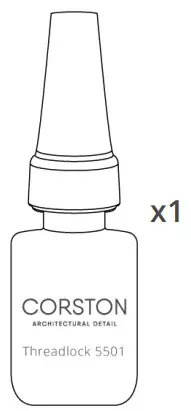
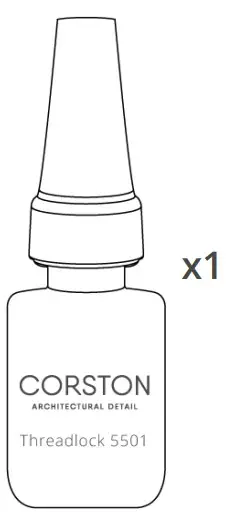
- Threadlock

100mm Grip Spindle Contents
(For 5 Handle Pairs)
- 100mm Spindles

- M5 Grub Screw

- M4 Grub Screws

- Allen Keys

- Threadlock


Installation
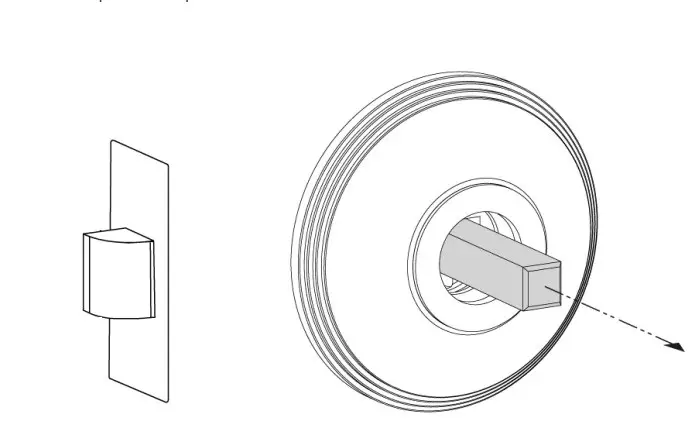
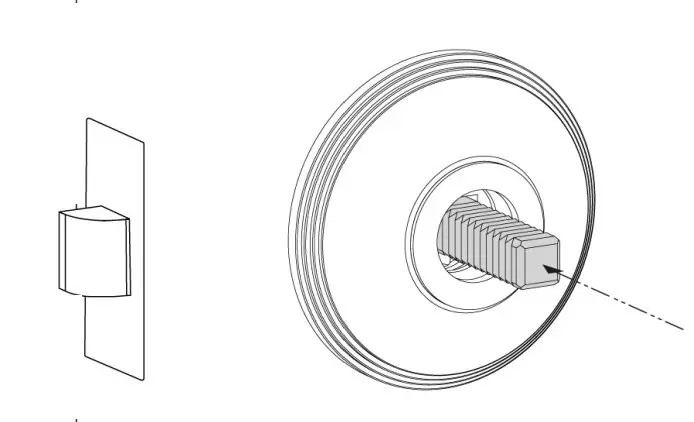
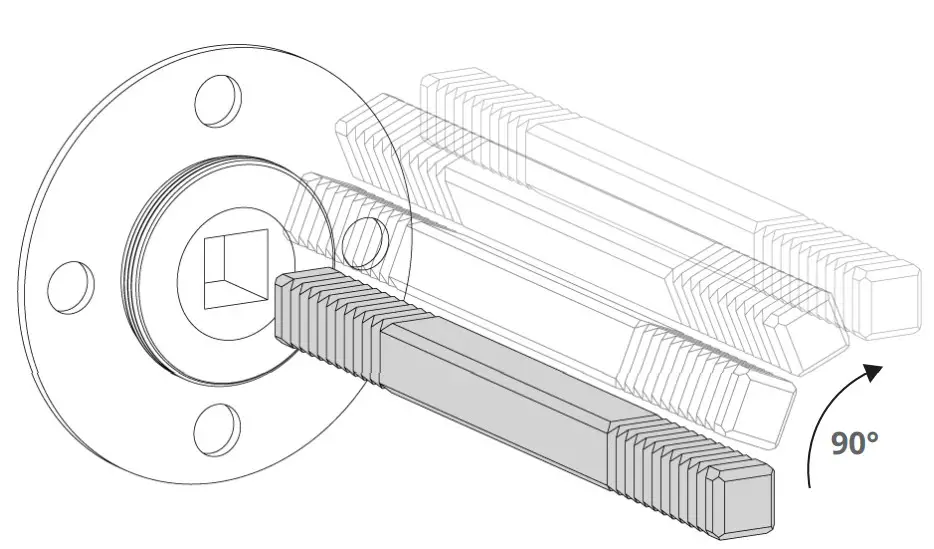
Remove both door handles or knobs and the old spindle. Install the Grip Spindle into the latch and test the fit of the handle. Cut the spindle down if required.
- Remove the old spindle

- Insert the grip spindle
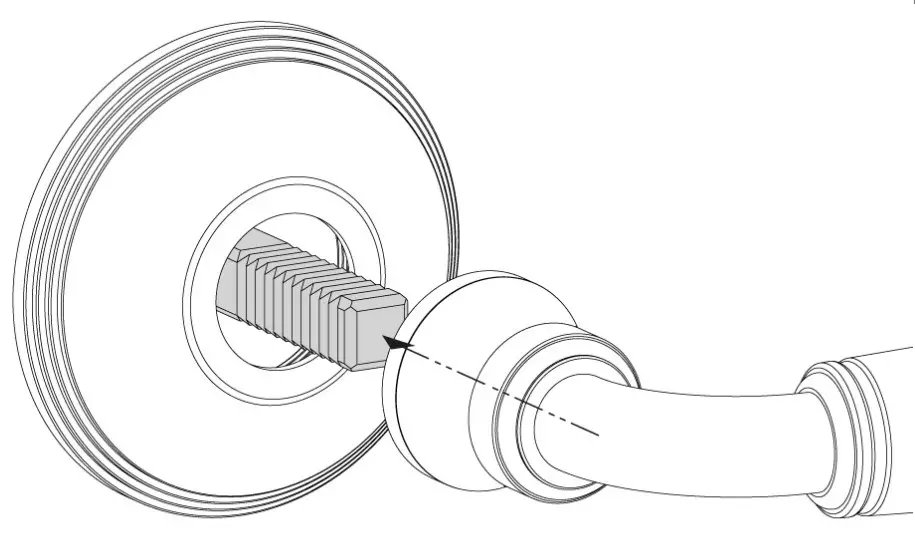
- Reattach the door handle or knob

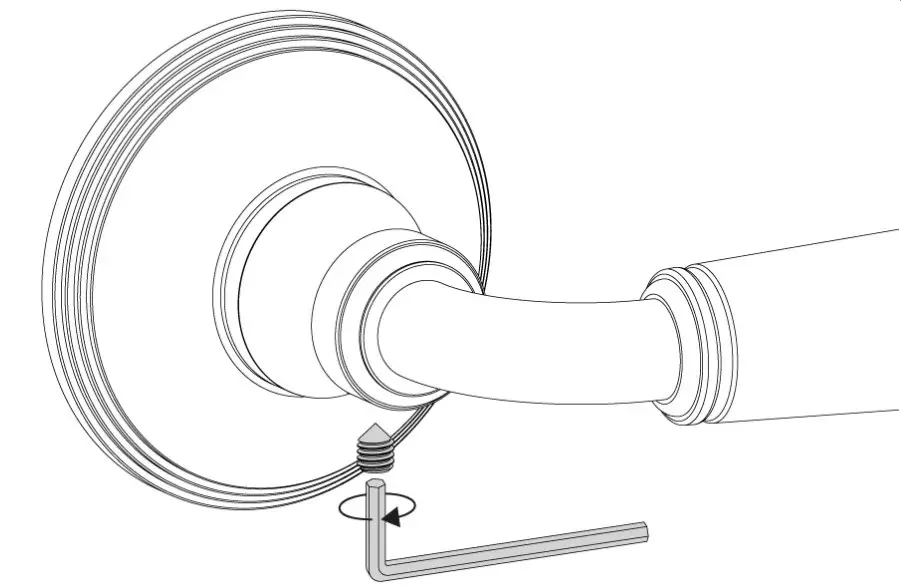
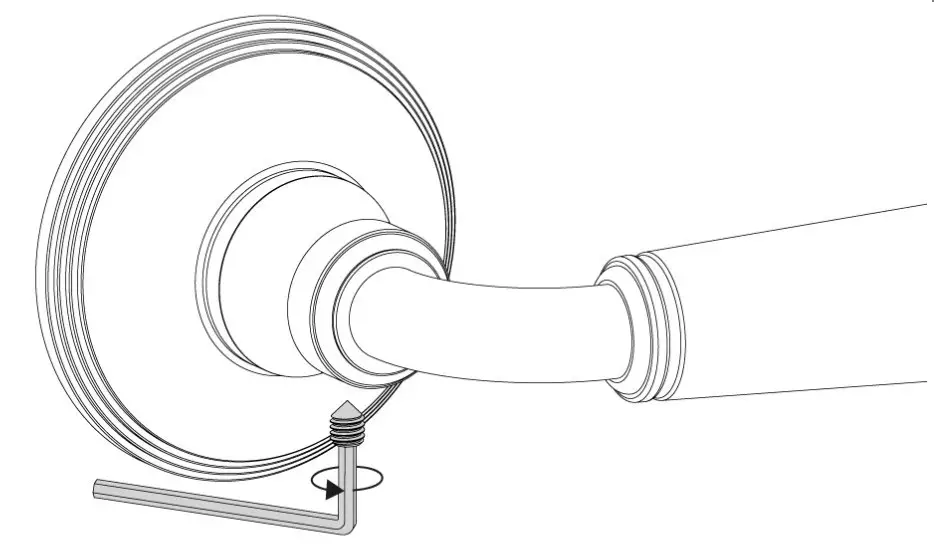
- Tighten the grub screw

- If the handle is loose

- If the handle is tight
Optional Threadlock
Both kits contain a bottle of Threadlock which can be applied to stop the grub screw from loosening.
When happy with how the handle feels, remove the grub screw and apply a small amount of Threadlock to the thread. Next, reinsert the grub screw, wipe away any excess and repeat on the next handle.
corston.com/support
[email protected]
01249 549332


