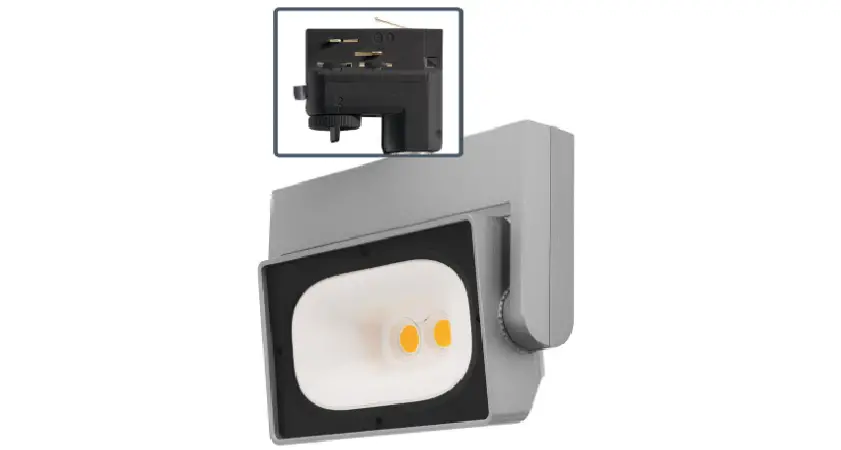
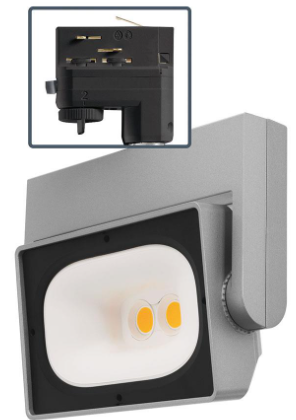
AcuityBrands P6300 Trac Adapter
Product Information
The Juno Trac Adapter is a component that allows you to install fixtures onto Juno Trac systems. It is designed to be easy to install and compatible with various sizes and styles of Juno Trac adapters.
Installation Instructions
Fixture Installation
- Find the latch and the polarity line on the adapter box.
- Align the latch and polarity line as shown in Fig. 1.

- Insert the adapter box into the track.
- Pull down the latch while rotating the adapter box 90 degrees clockwise (Fig. 2).

- The latch should snap into place between the extrusion rails, with the arrows on the latch pointing towards the polarity line(Fig. 3).

Second Circuit Positioning:
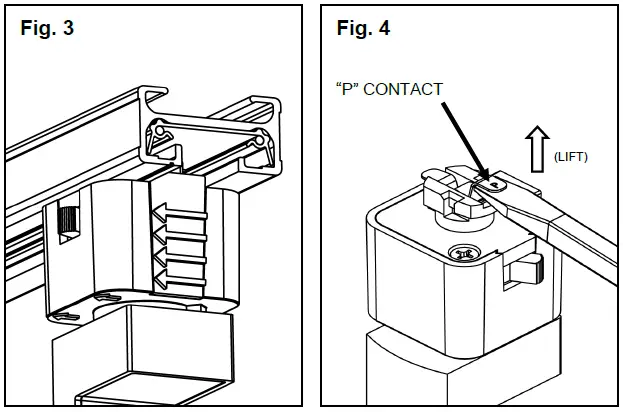
- Raise the contact marked P (on switch side) by inserting a thin screwdriver blade under the contact and pulling it up into position (Fig. 4).

- Insert the contact support (supplied with 2-circuit Trac section) by tilting and snapping it into position under the P contact (Fig. 5).

- Ensure that the contact support is securely snapped and locked into position (Fig. 6).

Troubleshooting
If you encounter any issues with the installation or operation of the fixture, refer to the following troubleshooting guide:
| Problem | Cause | Remedy |
|---|---|---|
| Fixture doesn’t turn on | Track not energized Adapter switch is in the Off position Fixture installed incorrectly |
|
| P Contact adjusted incorrectly | P contact bent from adjusting incorrectly Bent contact from adjusting the wrong contact | Ensure P contact isn’t bent from adjusting incorrectly (refer to Fig. 8) Follow the proper adjustment method shown in Fig. 4, 5, and 6 |
Note: The correct circuit position and compatibility information is provided in Fig. 8 and Fig. 9.


Make sure to follow these instructions carefully to ensure proper installation and operation of your Juno Trac Adapter.
WARNING: Read all of these installation instructions before installing.
SAVE THESE INSTRUCTIONS
FIXTURE INSTALLATION
- Step 1 Find the latch and the polarity line. Align parts as shown and insert the adapter box into the track. (Fig. 1)
- Step 2 Pull down the latch while rotating the adapter box 90 degrees clockwise. (Fig. 2)
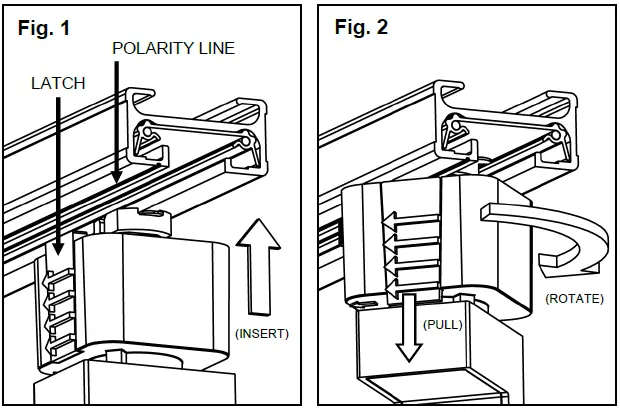
- Step 3 Final Position: Latch snaps into place between extrusion rails. Arrows on latch point toward the polarity line. (Fig. 3)
SECOND CIRCUIT POSITIONING
- Step 1 Raise the contact marked “P” (on switch side) by inserting a thin screwdriver blade under contact. Pull up into position as shown. (Fig. 4)
- Step 2 Insert contact support (supplied with 2-circuit Trac section) by tilting and snapping into position under the “P” contact as shown. (Fig. 5)
- Step 3 Ensure contact support is snapped and locked into position. (Fig. 6) Follow instructions for inserting into track.

- Juno Trac adapter size and style may vary.
TROUBLESHOOTING
| Problem | Cause | Remedy |
| Fixture doesn’t turn on | Track not energized | Ensure track has power |
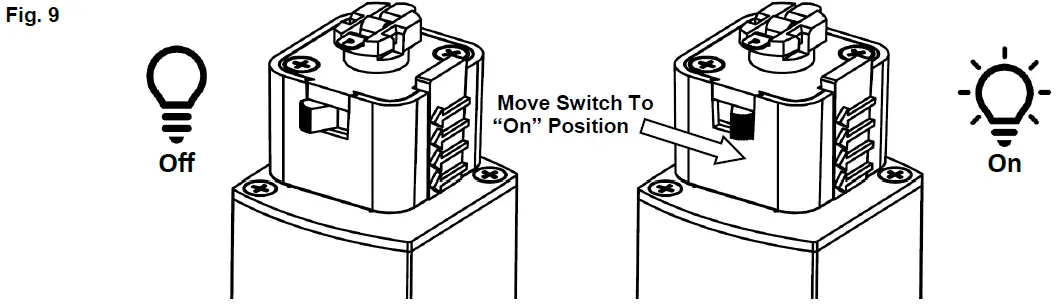
| Adapter switch is in the “Off” position | Ensure the power switch on the track fixture adapter is in the “On” position, see Fig. 9 | |
| Fixture installed incorrectly | Ensure fixture is installed correctly, with the arrows on the latch pointing towards the polarity line as shown in Fig. 3 | |
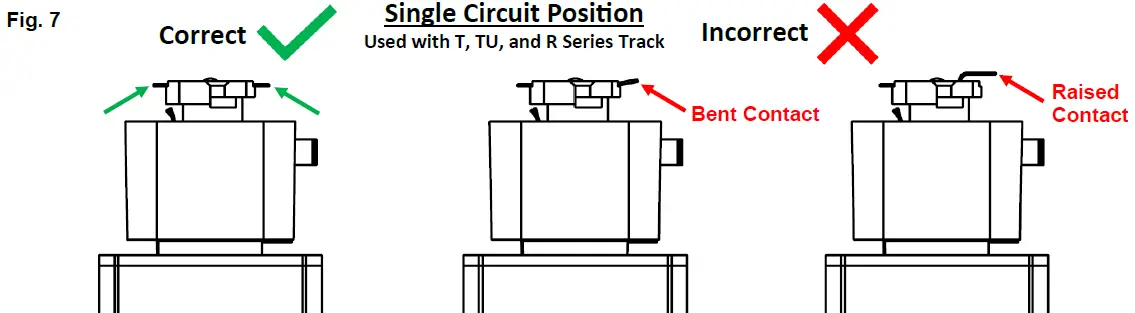
| Ensure contacts aren’t bent from installing the fixture incorrectly, see Fig. 7 | ||
| “P” Contact adjusted incorrectly | Ensure “P” contact isn’t bent from adjusting incorrectly, see Fig. 8 | |
| Bent contact from adjusting the wrong contact, see Fig. 4, 5, & 6 for proper adjustment method |

One Lithonia Way Conyers, GA 30012
1-800-705-SERV (7378)
www.acuitybrands.com
©2020 Acuity Brands Lighting, Inc.
P6300
Rev 10/2022


