![]()
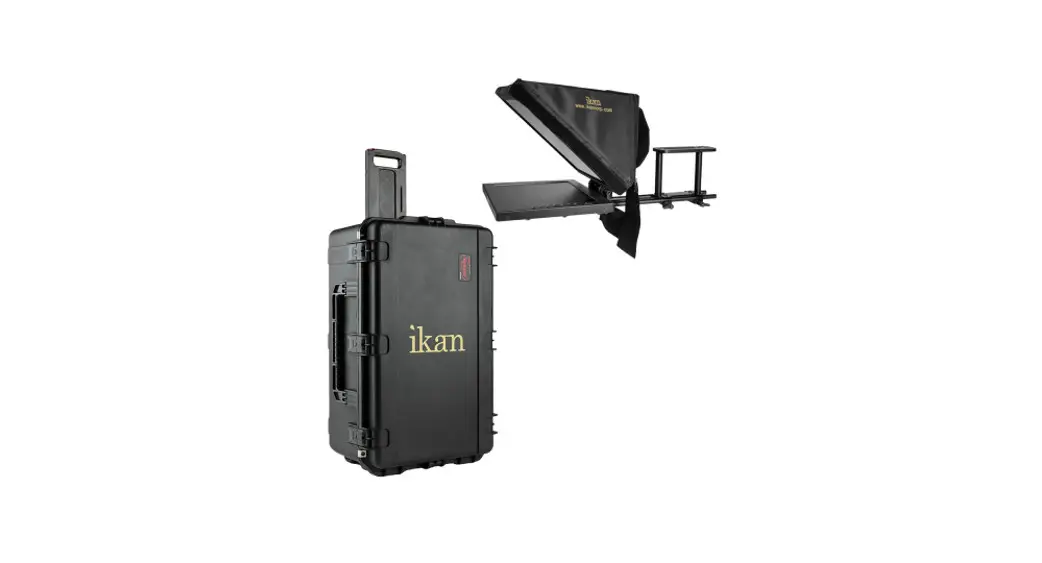
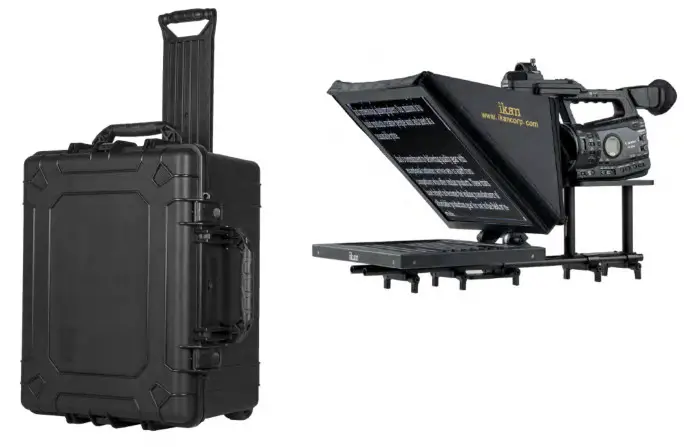
PT3500-TK
PT3500 Teleprompter & Hard Case Travel Kit
QUICKSTART GUIDE
Checked by
CONDITIONS OF WARRANTY SERVICE
- Free service for one year from the day of purchase if the problem is caused by manufacturing errors.
- The components and maintenance service fee will be charged if the warranty period has expired.
Free Service will not be provided in the Following Situations: (* Even if the product is still within the warranty period.)
- Damage caused by abuse or misuse, dismantling, or changes to the product not made by the company.
- Damage caused by natural disasters, abnormal voltage, environmental factors, etc.
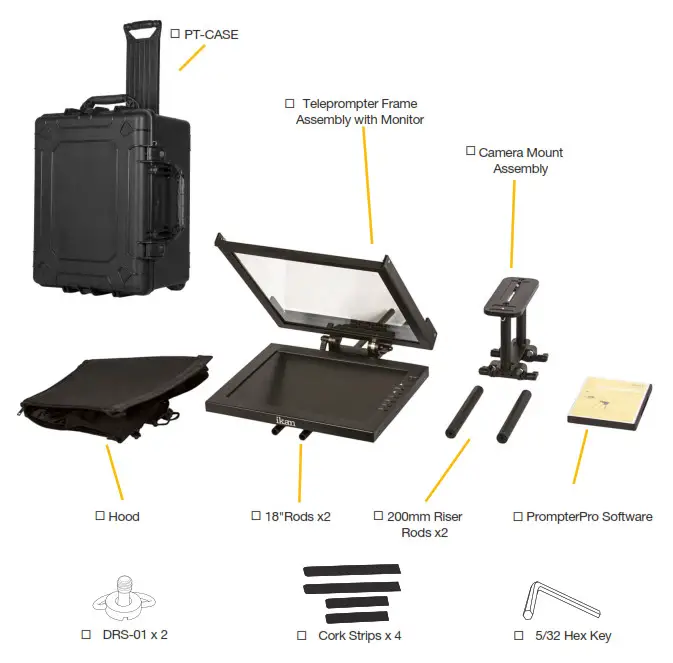
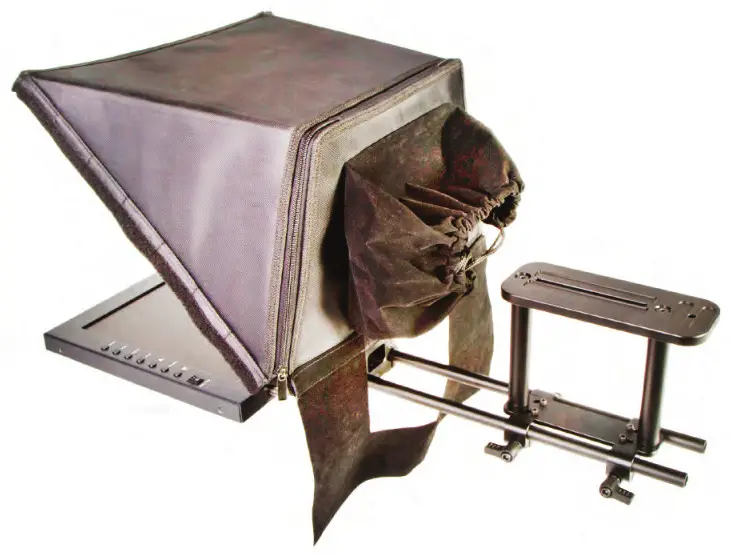
What’s included
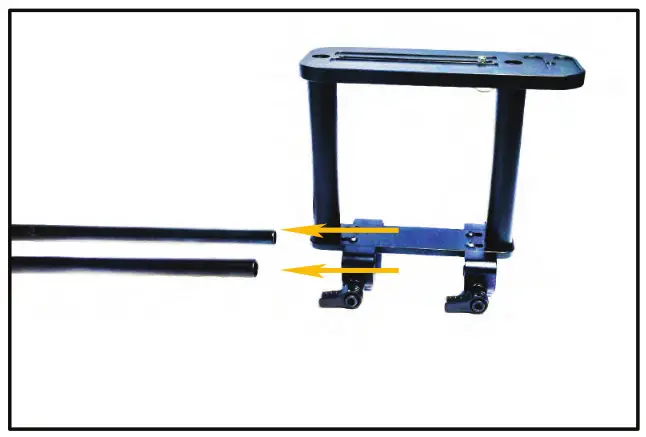
STEP 1:
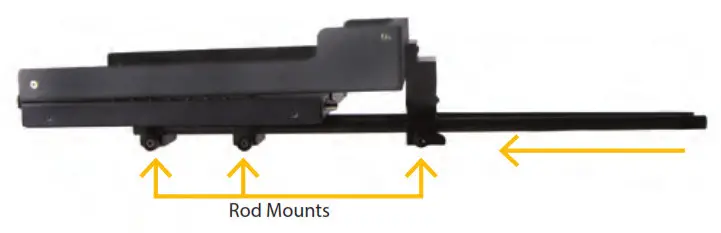
Place teleprompter frame assembly on a flat surface and slide the 18 in. rods into rod mounts.
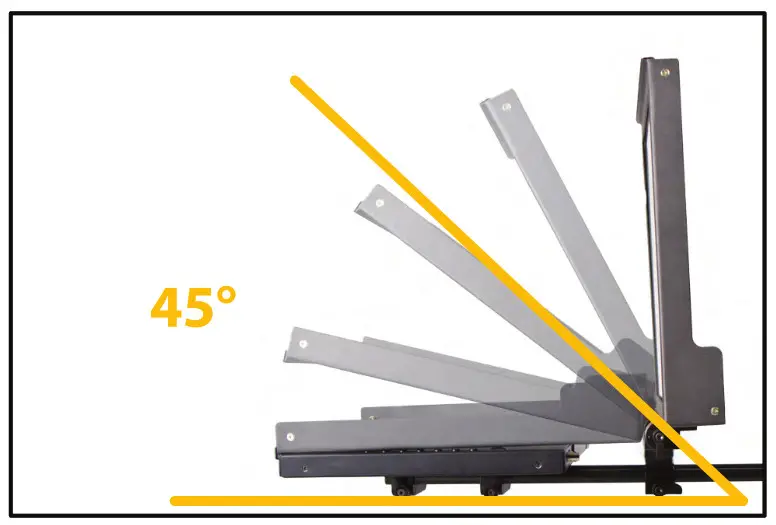
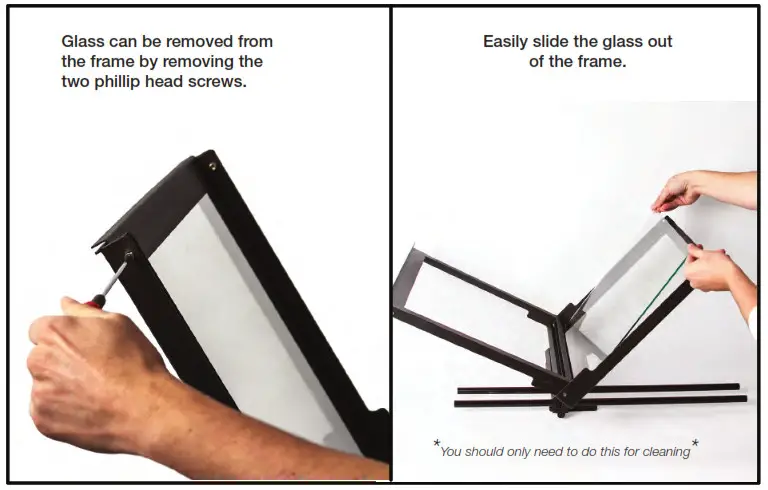
You can position the glass at any angle you want but the preferable angle is 45°
STEP 3:
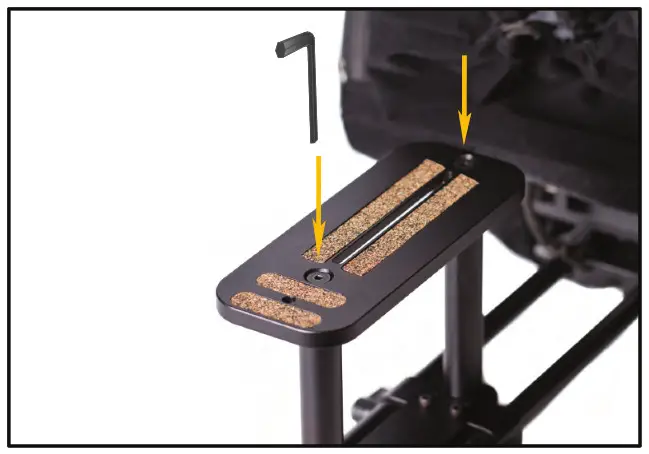
Slide the Camera Mount Assembly onto the 15mm Rods.
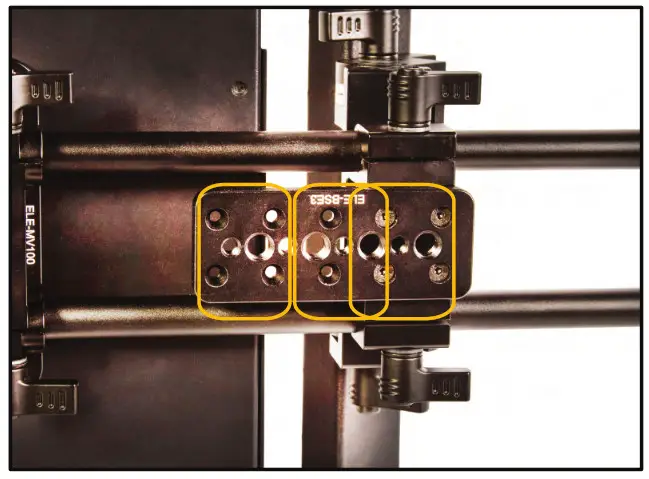
The tripod mount has 3 sets of holes that allow you to mount the plate either towards the front or rear to help balance the teleprompter better.
For larger cameras, it is better to have the plate toward the rear and for smaller cameras towards the front.
STEP 4:
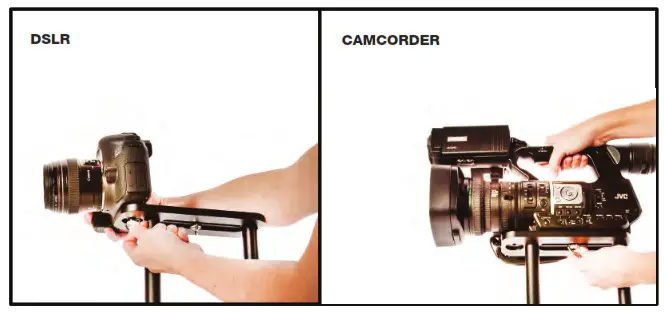
Attach the camera to the camera mount and slide to the best position.
Make sure all thumb screws are secure.
If you require the camera to be positioned higher you can replace the 200mm raiser bars in place of the pre-installed 130mm Rods.
Use the included 5/32 Hex Key to remove and attach the Raiser Rods.
STEP 5:
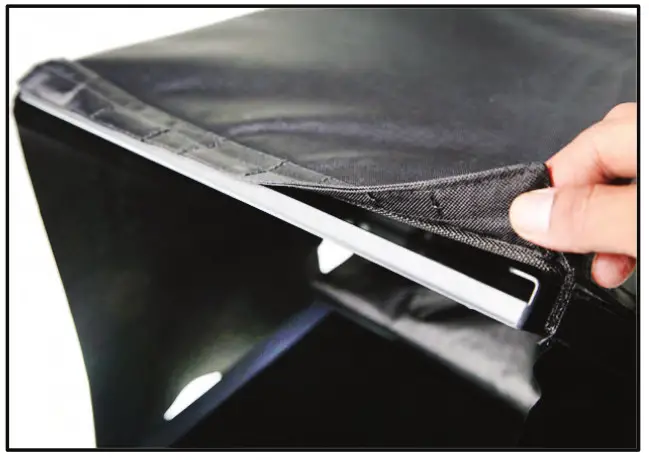
Attach hood to glass frame using the integrated magnets. You can attach the optional side flaps.
Monitor Ports
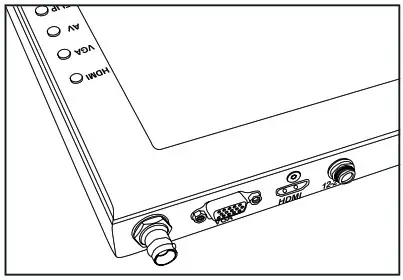
BNC – AV Composite Input
VGA – Video Graphics Array DE15 Connection
HDMI – High-Definition Multimedia Interface Input Connection
Power Port – 12-24v Input
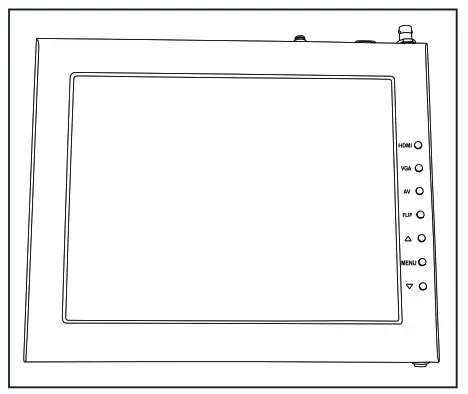
HDMI – Switch HDMI input
VGA – Switch to VGA input
AV – Switch to the composite BNC input
Flip – Toggle image flip (Can be set to horizontal, vertical, or both via menu)
Up Arrow – Toggle up to adjust the setting
Menu – Access to monitor settings
Down Arrow – Toggle down to adjust the setting
Video Config
Contrast (White Level)
Brightness (Black Level)
Tint (Chroma Hue)
Chroma (Chroma Saturation)
Sharpness (Detail)
RGB Setup – Manually configure RGB
Return
System Config
Menu Duration – Set duration of how long menu stays on screen
Video Ratio – Set screen aspect ratio 16:9 or 4:3 (4:3 is native resolution, 16:9 will create black bars)
Flip-H – Assign toggle button to flip the image horizontally
Flip-V – Assign toggle button to flip the image vertically
Reset – Factory reset
Return
PC Setup (Only available for VGA)
H-Position – Adjust the horizontal position
V-Position – Adjust the vertical position
Auto – Monitor automatically adjust the position
Return
Exit
How to set up the FLIP button feature:
- Press MENU button
- Navigate to SYSTEM CONFIG.
- Navigate to FLIP-V or FLIP-H
- Change FLIP-V and/or FLIP-H to “ON”
- Exit MENU
- The FLIP button should now be activated and can be pressed to mirror the image Horizontally or Vertically
- When FLIP-H is ON, the image will flip Horizontally
- When FLIP-V is ON, the image will flip Vertically
- If both are ON, the FLIP button will toggle both
Horizontal and Vertical flip
![]()
www.ikancorp.com
713-272-8822


