LENNOX Commercial Rooftop Unit User Guide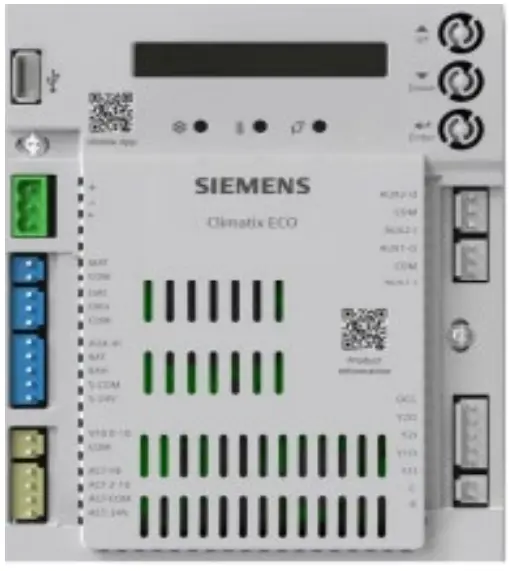
Siemens Setup and Configuration Guide
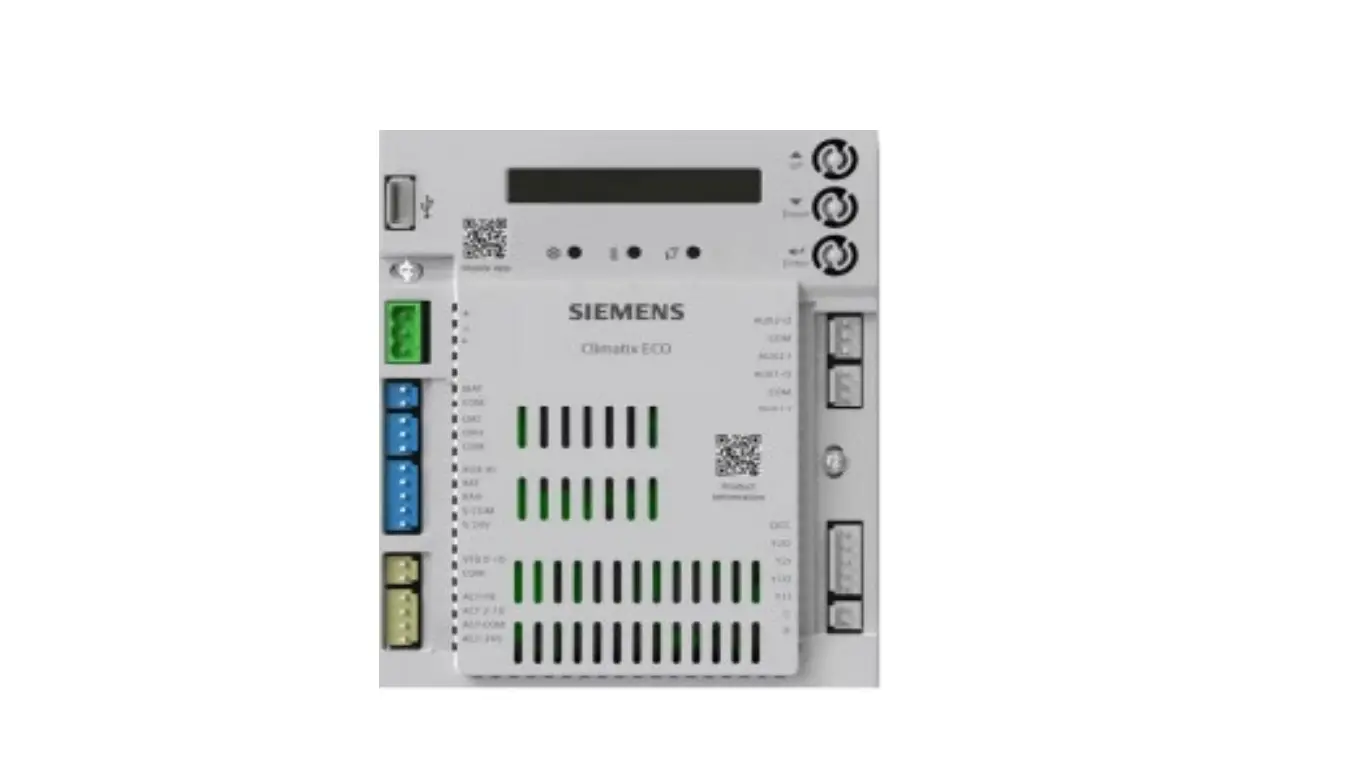
Applies to Lennox Rooftop using a Siemens Climatix ECO Economizer Controller
Follow the steps below to setup the siemens controller manually.
- From the default HMI screen, press and hold Enter + Up. The 5CONFIG STATE screen displays.
- Press enter, and then confirm the switch by pressing enter again. Blocks can be changed by pressing and holding Enter + Up or Down. Parameters can be changed by pressing enter and using the arrows to adjust. Confirm the switch by pressing enter again.
- Configure I/Os. See below for notable parameters.
Parameter Configure As Description 6OCC Always/T-stat Occupancy comes from controller or OC terminal 6OAT SIG NTC10K Configures signal type of OAT sensor 6OAH SIG 0-10V Configures signal type of OAH sensor 6RAH SIG 0-10V Configures signal type of RAH sensor 6MAT SIG NTC10K Configures signal type of MAT or LAT - If configurations are done, press and hold Enter + Up or Down to switch to the 8RUN STATE screen, then press Enter twice to go back to Running State. The 1FREECOOL screen displays.


- Verify status parameters. See below for notable parameters.
Parameter Description 1FREECOOL Indicates if the system can use outdoor air for free cooling 1ECON ENAB Indicates if outdoor air is being used for the 1st stage of cooling 1OCCUPIED Indicates if the space is occupied- Controller needs to be in the occupied state 1Y1-IN Y1-In call from thermostat for Cooling Stage 1 1Y1-OUT Y1-Out signal to compressor for Cooling Stage - Configure basic settings. See below for notable parameters.
Parameter Configure As Description 2TEMP OFF 55°F (12.8°C) Temperature shutoff setpoint 2ENTH OFF 22 Btu/lbm Enthalpy shutoff setpoint 2FAN L ACT 2.8V Minimum position at low speed 2FAN H ACT 3.6V Minimum position at high speed Damper Position – 2V = 0% 6V = 50% 10V = 100%
- Configure advanced settings. See below for notable parameters.
Parameter Configure As Description 3FREEZE POS CLO Anti-freeze protection damper position 3MAT SET 53°F (11.7°C) Setpoint of MAT or LAT sensor 3FRZ PROT 45°F (7.2°C) Anti-freeze protection setpoint of MAT sensor 3OAT LOCK 32°F (0°C) OAT lockout setpoint for anti-freeze - To enter test functions. See below for notable parameters.
From the default HMI screen, press and hold Enter + Up. The 5CONFIG STATE screen displays. Press enter, and then confirm the switch by pressing enter again.


| Parameter | Description |
| 7DAMPER MIN POS | Drives damper to minimum position |
| 7DAMPER CLOSE | Drives damper 100% closed |
| 7DAMPER OPEN | Drives damper 100% open |
If configurations are done, press and hold Enter + Up or Down to switch to the 8RUN STATE screen, then press Enter twice to go back to Running State. The 1FREECOOL screen displays.


