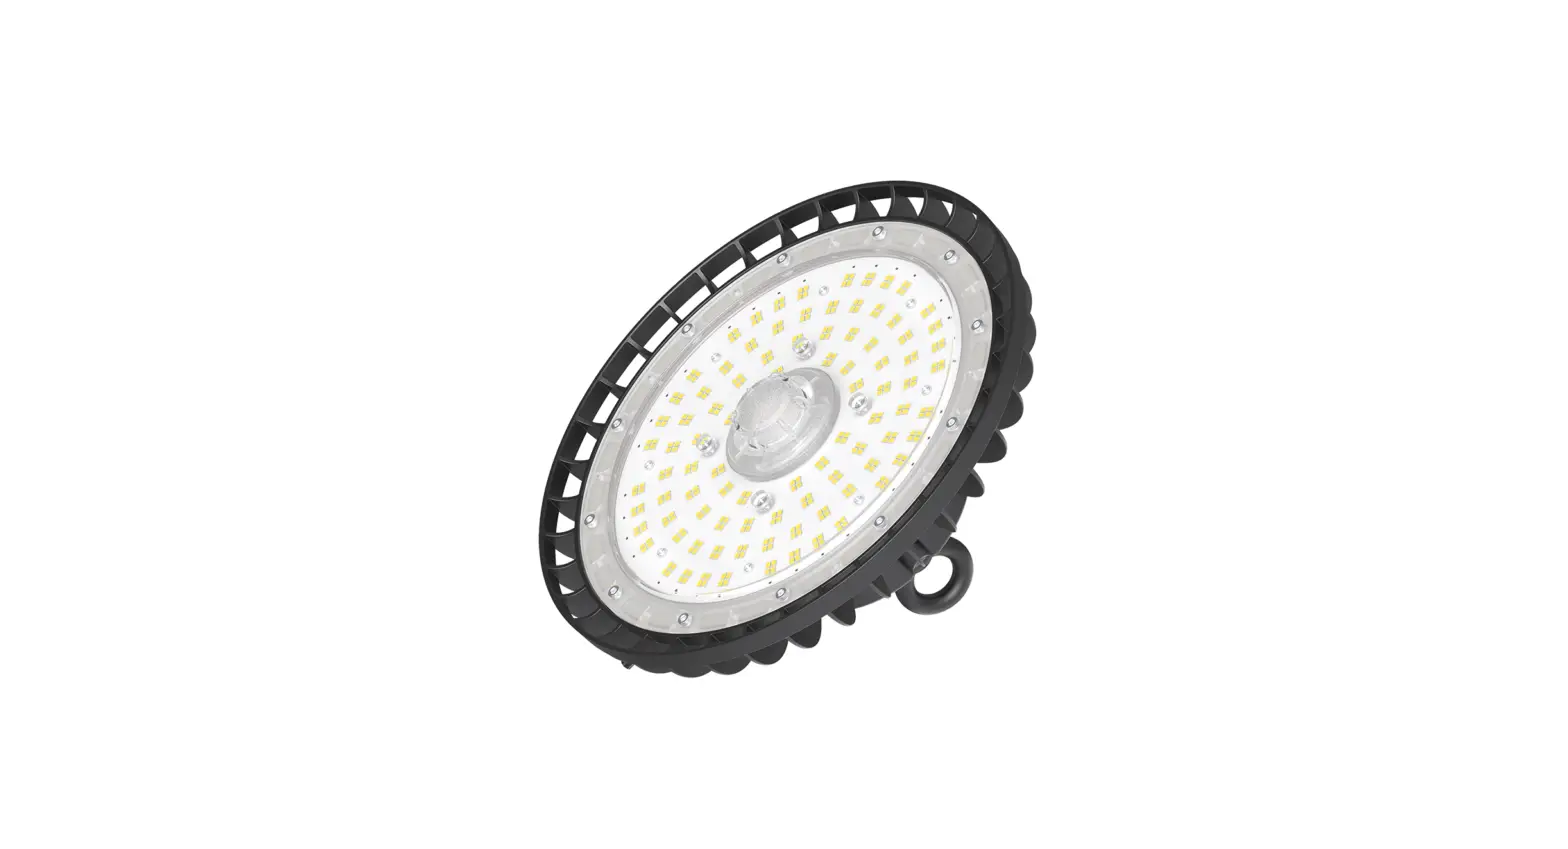
HANECO SKYLUX-G4 Cost-efficient LED Highbay Installation Guide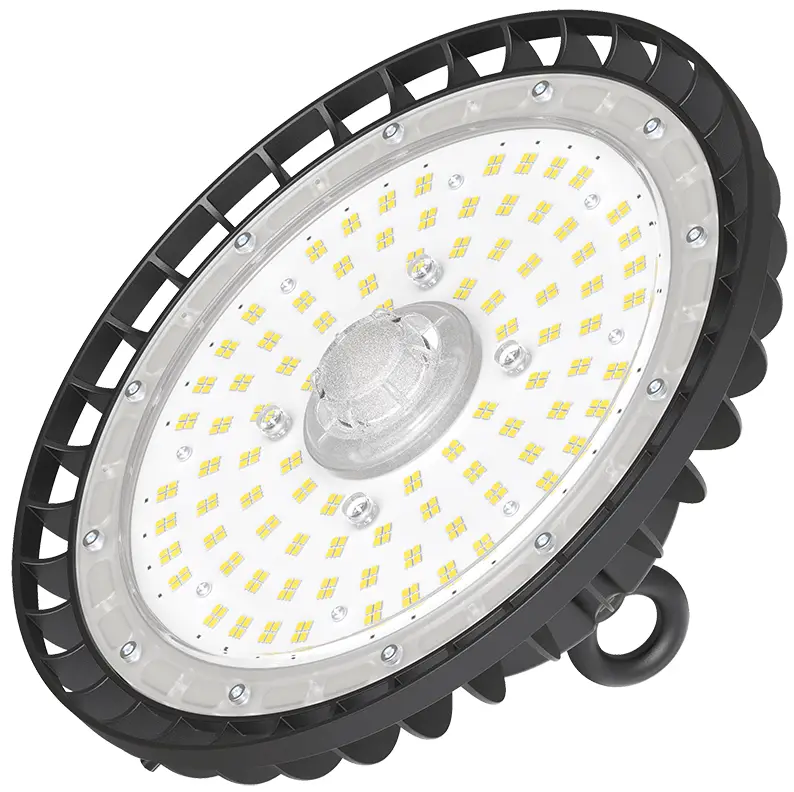
Thank you for choosing Haneco SKYLUX G4/SL/SP Highbay.
We strongly recommend that you read this manual carefully before installation.
This installation guide is suitable for SKYLUX G4/SL/SP model.
WARNING
- Installation must be carried out by a licenced electrician and in accordance with these instructions and relevant Australian standards and local regulations.
- Ensure input voltage conforms within product specifications.
- Ensure wires are securely connected.
- Before switching on, ensure all wires are correctly connected.
- The warranty is void if product is not installed according to the instructions.
Note: Product technical information and specification may change over time without prior notice. For latest information, please contact our customer service or visit our website www.haneco.com.au
Product Specification
| PRODUCT CODE | POWER | CCT | VOLTAGE/ FREQUENCY | IK/IP RATING | OPERATING TEMPERATURE |
| SKYLUX120W-G4 | 60/70/90/120 | 3000/4000/5000 | 220 – 240 50Hz – 60Hz | IK08 IP65 | -35 – 50°C |
| SKYLUX200W-G4 | 100/150/170/200 | 3000/4000/5000 | |||
| SKYLUX120W-SL | 60/70/90/120 | 5000 | |||
| SKYLUX200W-SL | 100/150/170/200 | 5000 | |||
| SKYLUX120W-SP | 60/70/90/120 | 5000 | |||
| SKYLUX200W-SP | 100/150/170/200 | 5000 |
Installation
- Ensure main power supply is switched off before commencing the installation.
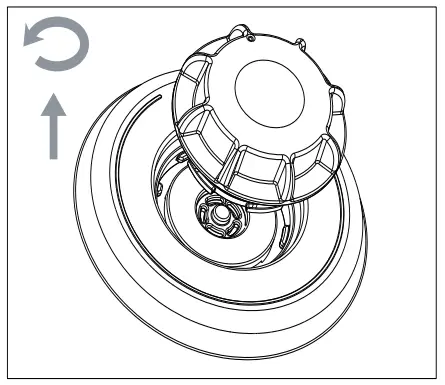
- Remove the IP65 cover to access the power and color dip switch. Push inward and turn counterclockwise to remove the IP65 cover as shown in the figure below.
- Set the desired power and color tone.

Note:- Only Skylux G4 model has the color switchable option.
- Fitting are preset with it highest wattage. To adjust lower fitting wattage, turn the dip switch to ADJ.
- Ensure to install the IP65 cover.
- Screw the eye bolt on top of the luminaire.
- Install optional accessories and desired mounting setting.
- Install the luminaire onto the desired location.
Mounting Option
Ceiling mounting with hook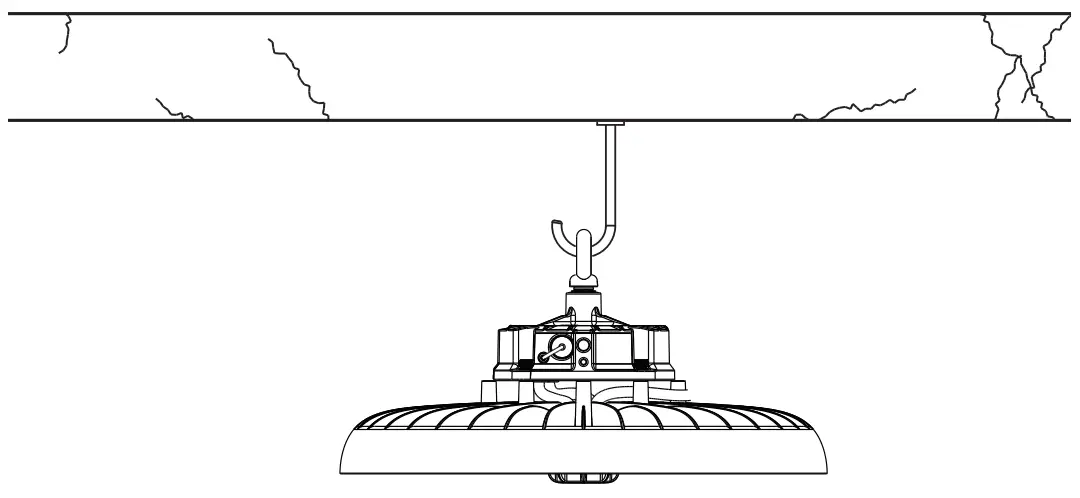
Ceiling or wall mount with bracket
Not Included (available as accessories)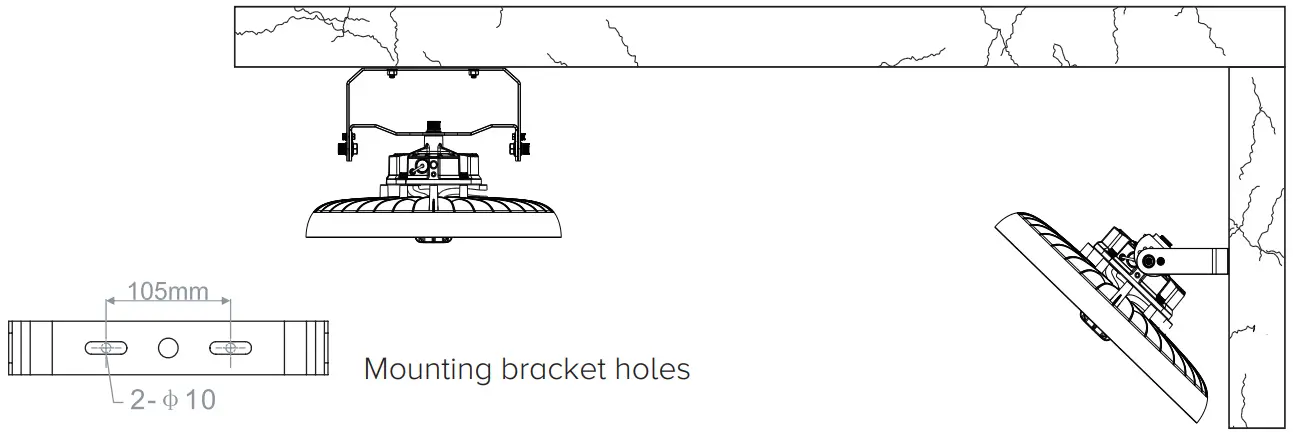
Motion Sensor Installation
STEP 1. Switch Off the power supply. Remove the IP65 cover by rotating it counterclockwise and pull outward.
STEP 2. Insert the mircowave sensor (HIGHBAY- MS : 20022281). Push downward and turn clockwise (360°) to engage the sensor. Motion sensor setting are set using a remote controller (HIGHBAY REMOTE : 2002282).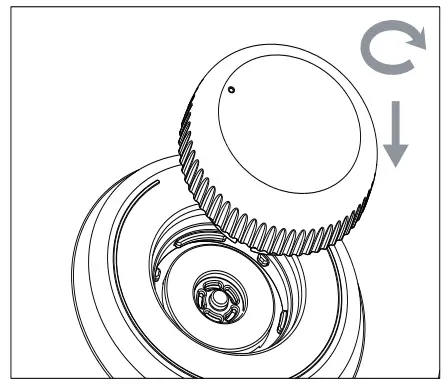
STEP 3. It is correct installation when the microwave sensor are aligned with the marker as shown in image. Turn ON the unit power and set the microwave sensor suit.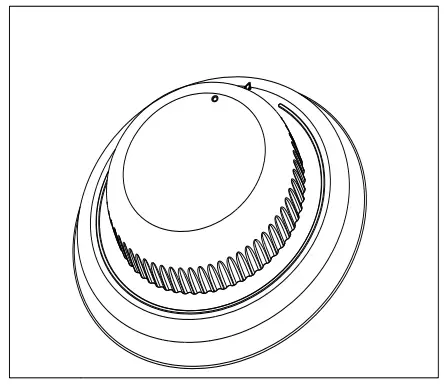
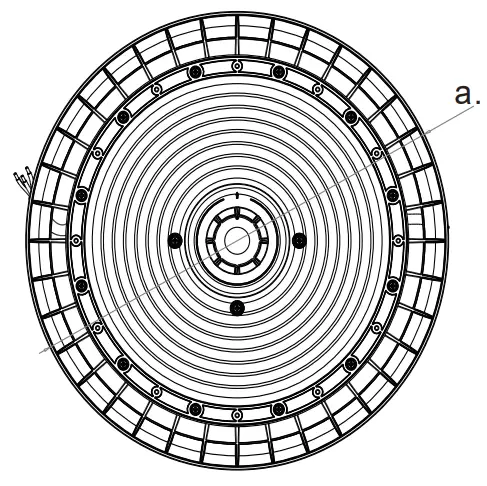
Product Dimension
 | 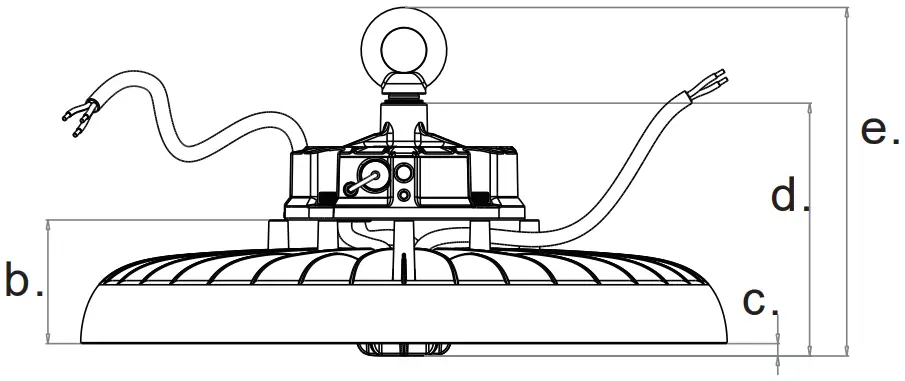 | 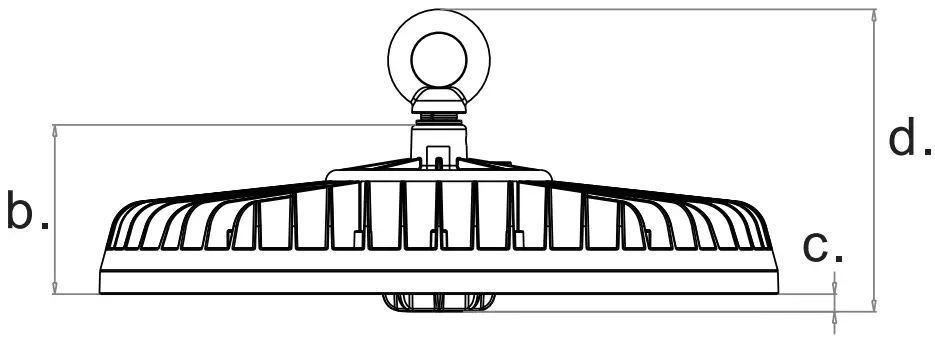 | ||
| Dimension | Skylux G4 | Skylux SL/SP | ||
| 120W | 200W | 120W | 200W | |
| a | 300 | 340 | 265 | 300 |
| b | 65 | 75 | ||
| c | 6.5 | 8.0 | ||
| d | 133 | 134 | ||
| e | 183 | n/a | ||
Accessories (Not included)
| PRODUCT CODE | Part number | Description |
| SKYLUXG4-BRKT | 2002276 | Skylux G4/SL Mounting Bracket |
| SKYLUX120G4-PR | 2002277 | Skylux 120W G4/SL Prismatic Reflector without Cover |
| SKYLUX200G4-PR | 2002278 | Skylux 200W G4/SL Prismatic Reflector without Cover |
| HIGHBAY-MS | 2002281 | Microwave sensor IP65, 12M |
| HIGHBAY-REMOTE | 2002282 | Remote control |
| SKYLUXG4-EMKIT | 2002275 | Emergency kit |
| HBay-DALI-CONV | 2002095 | DALI Converter |
For more information
www.haneco.com.au
1300 001 LED (533)


 Installation Guide")


