
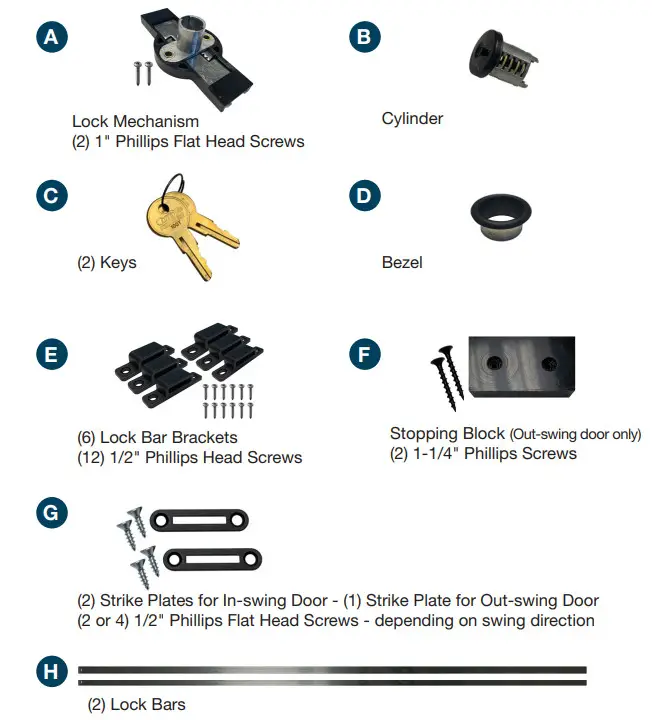
![]() 100TA Mechanical Key Lock
100TA Mechanical Key Lock
Instruction Manual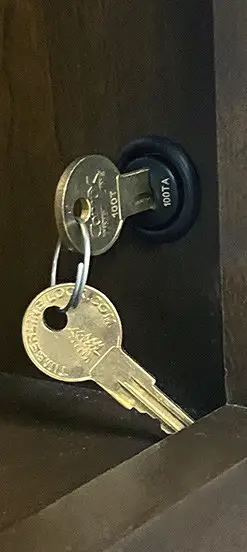
Mechanical Key Lock
Our most popular locking system, the Mechanical Key Lock is a dead-bolt locking system that extends a metal rod into the bottom threshold and top jamb of your frame. The key insert is installed just above the fixed shelf, but also has the option of being installed below the fixed shelf for a more hidden application.
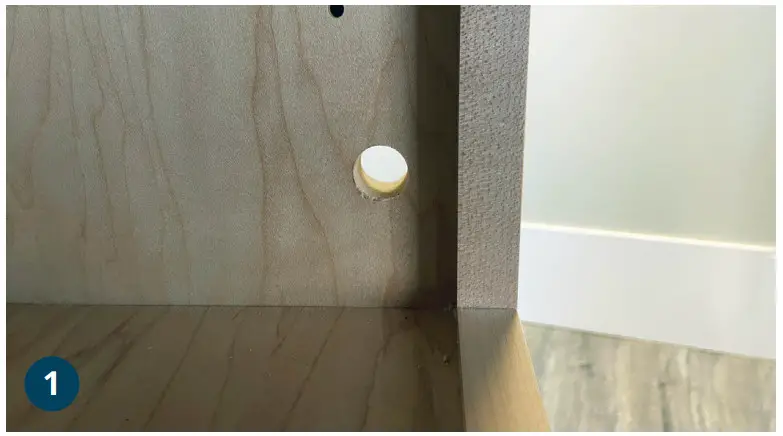 | 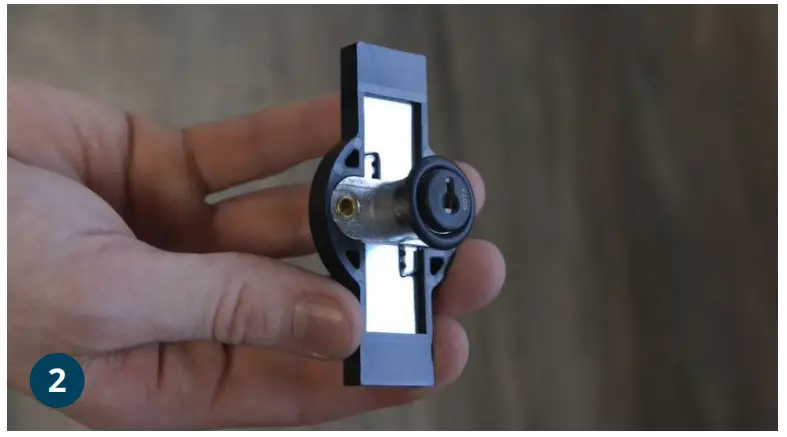 |
| Using an 11/16″ drill bit, drill a hole in the side of the bookcase, opposite the hinges, just above or below the fixed shelf. | Insert the cylinder and bezel into the lock mechanism. |
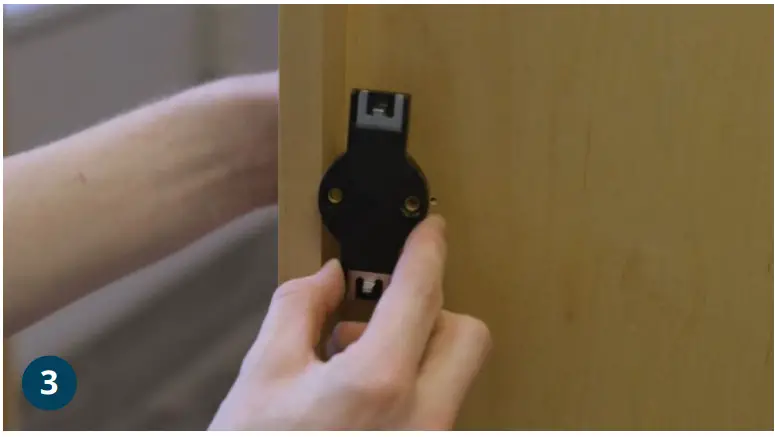 | 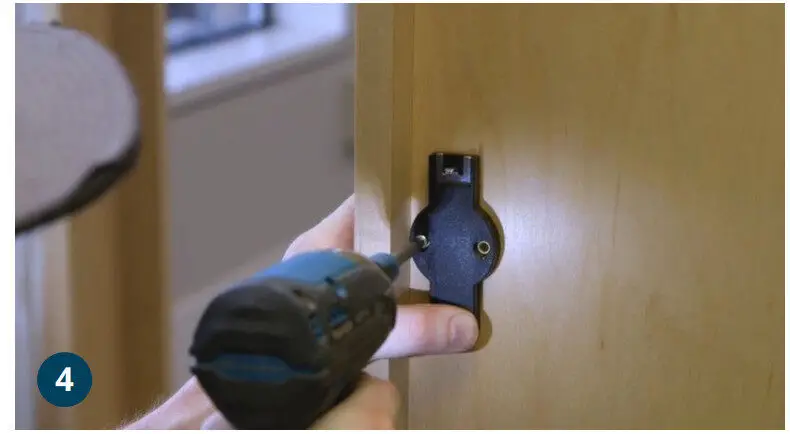 |
| Place the lock into the hole with the cylinder on the inside of the bookcase. | Attach using (2) 1″ Phillips flat head screws. |
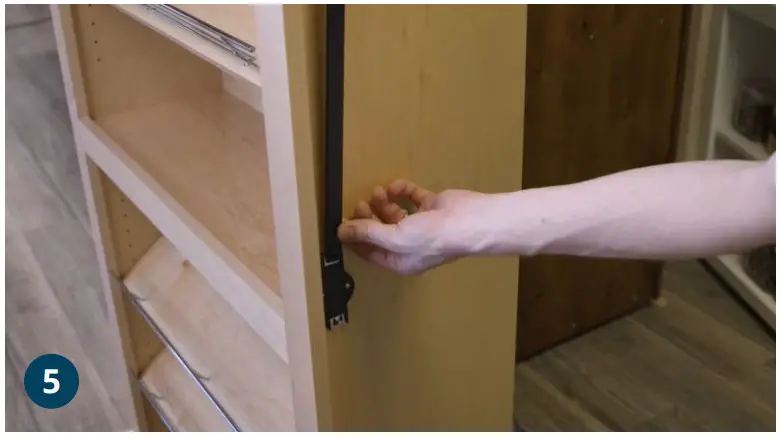 | 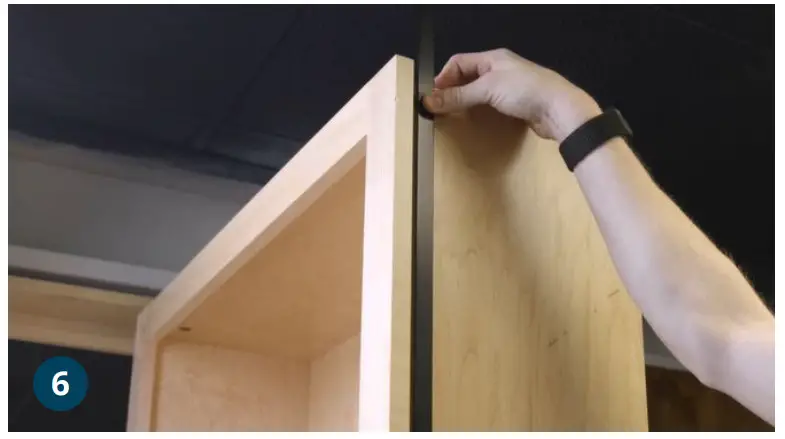 |
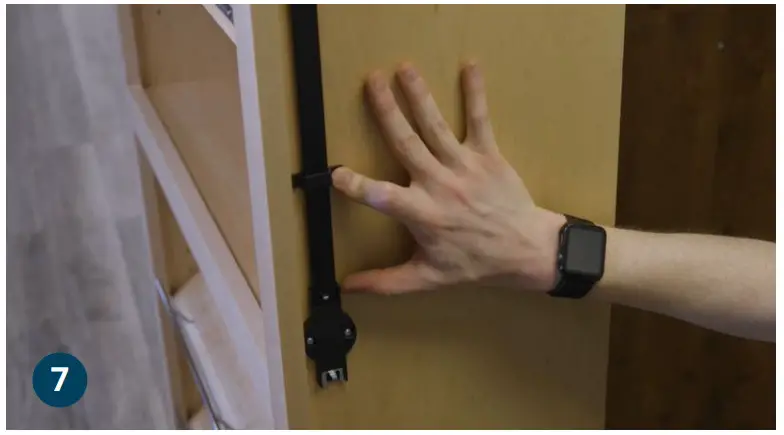
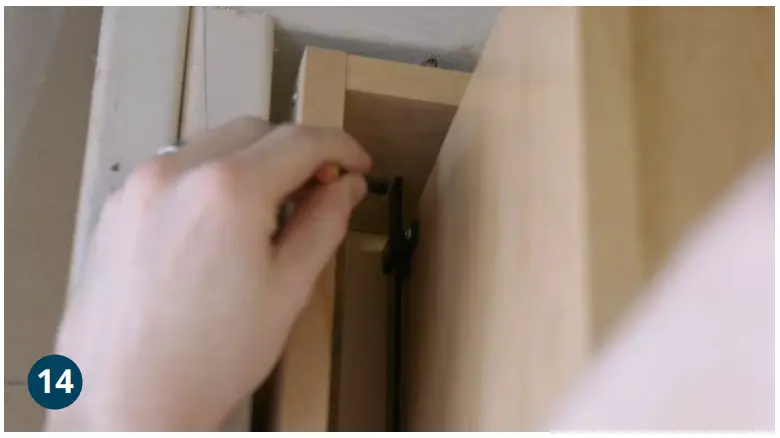
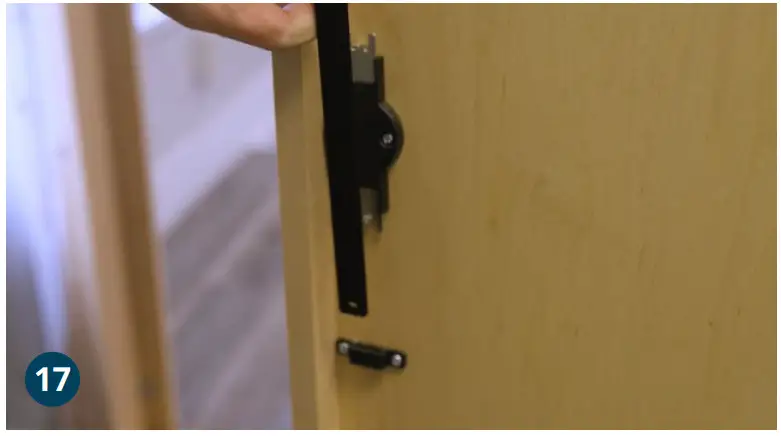
| Slide (3) lock bar brackets onto the top lock bar and place the bar in the lock. | Position the top bracket one finger-width from the top of the door and secure with (2) 1/2″ Phillips head screws. |
 | 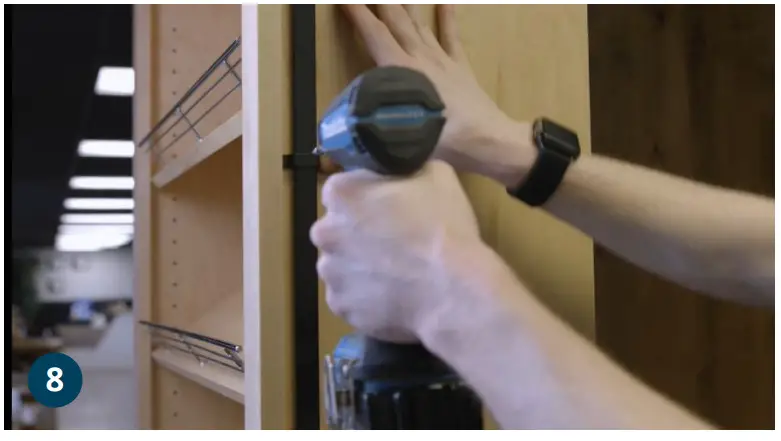 |
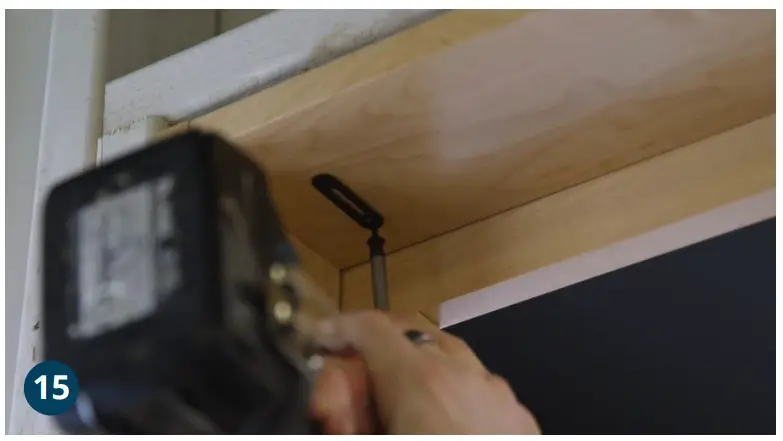
| Secure the bottom bracket four fingers above the lock using (2) 1/2″ Phillips head screws. | Position the center bracket halfway between the two brackets and secure with (2) 1/2” Phillips head screws. |
 | 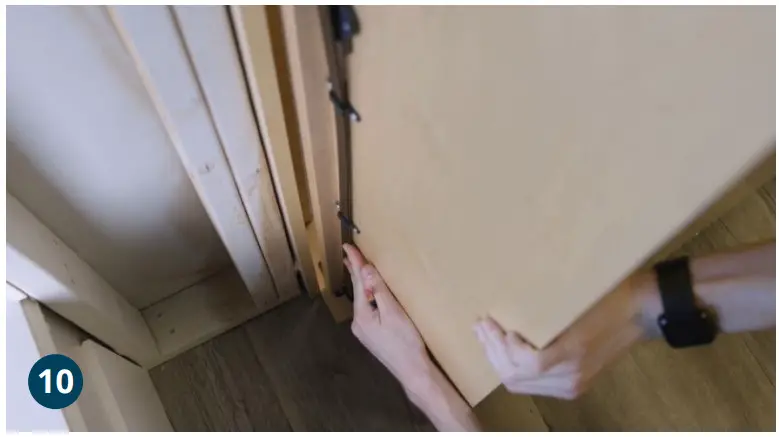 |
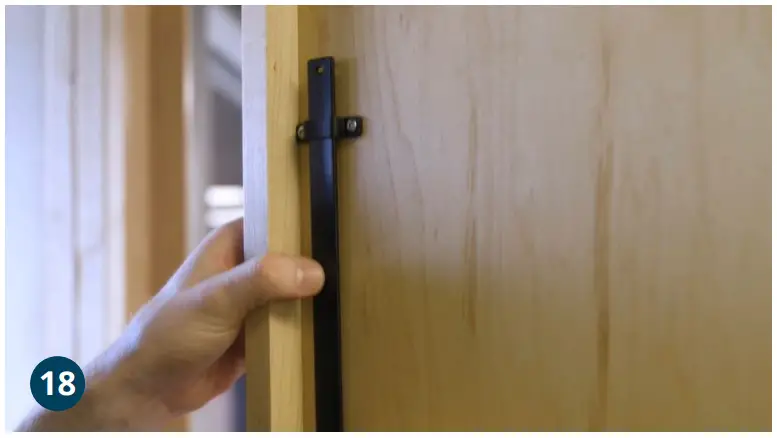
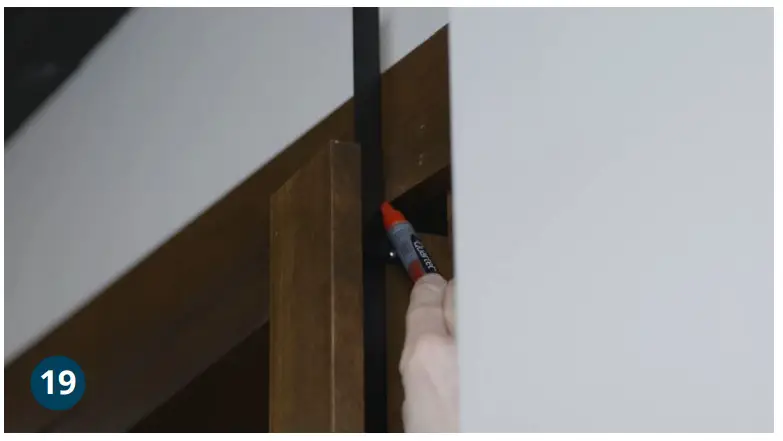
| The bottom lock bar will be too long to position in the lock, but the brackets can be placed without the bar. Position and secure the bottom bracket 1 finger from the bottom of the door, the top bracket four fingers below the lock, and the middle bracket halfway between with (6) 1/2” Phillips head screws. | For Pre-assembled Doors, the process begins here. Slide the bottom lock bar into the brackets and mark where it makes contact with the bottom jamb when the door is closed. NOTE: Applying a small bit of paint to the end of the lock bar is an easy way to mark the position. |
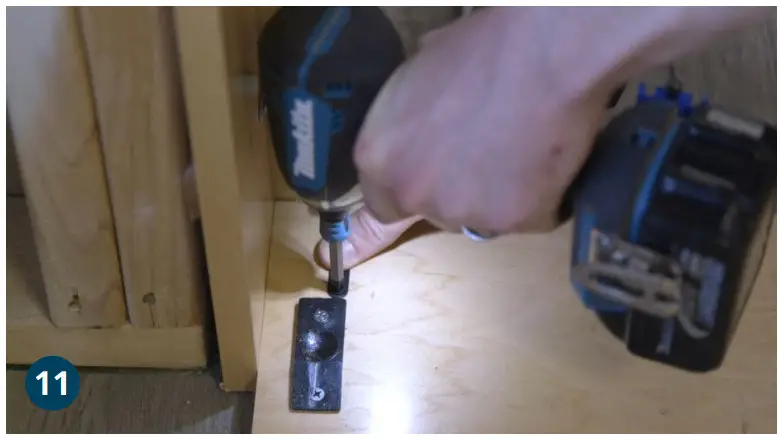 | 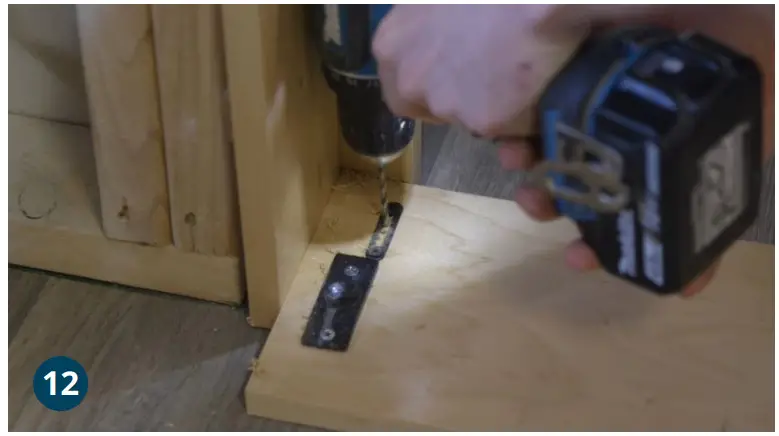 |
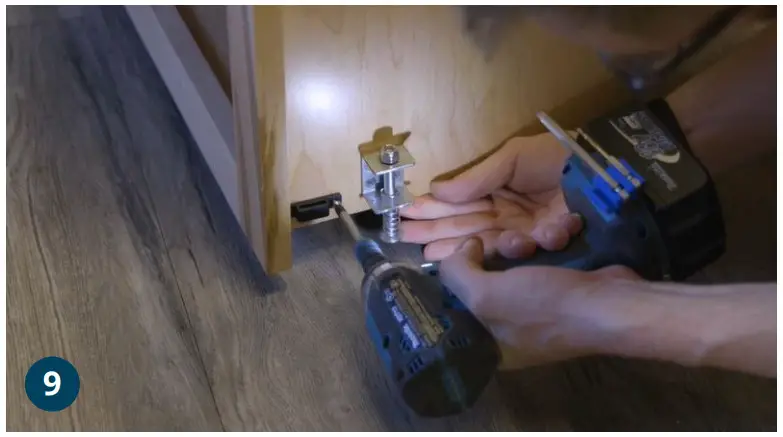
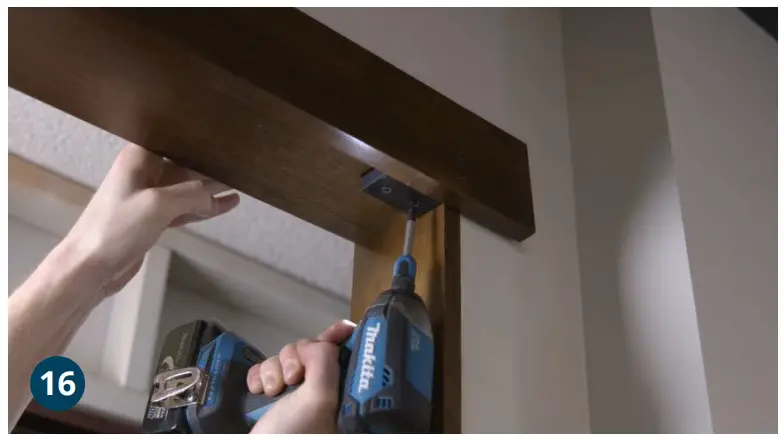
| Using the position you have marked, pre-drill the holes and secure the strike plate using (2) 1/2″ Philips flat head screws. | Use your drill and a chisel to bore out the slot allowing space for the lock bar to enter. |
 |  |
| For an In-swing door, use the same procedure to install the upper strike plate. | Position the top lock bar so that it clears the jamb. Mark where it contacts the top jamb when the door is closed. |
 |  |
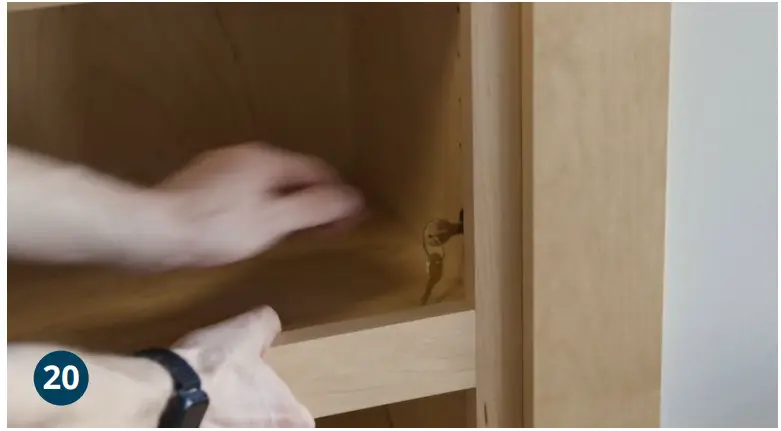
| Secure the upper strike plate with (2) 1/2” Phillips flat heads crews and bore out the slot for the lock bar. | For an Out-swing door, secure the stopping block, in the corner, flush with the front of the jamb using (2) 1 1/4″ Philips screws. |
 |  |
| Insert the bottom lock bar, upside down, with the hole toward the bottom. Close the door and slide the bar into the strike plate. Mark the bar where it meets the black plastic bottom part of the lock. Cut the bar making certain not to cut the end with the hole. | For an In-swing door, repeat the process by inserting the top lock bar, upside down in the brackets, and hole toward the top. Close the door and slide the bar into the strike plate. Mark the bar where it meets the top of the lock. Cut the bar making certain not to cut the end with the hole. |
 |  |
| For an Out-swing door, insert the top bar, non-hole side up, and fit it in the lock. Close the door and mark the lock bar where it clears the top jamb. Cut the bar making certain not to cut the end with the hole. | Attach the cut lock bars to the lock mechanism and ensure that it works. Note: If the bar doesn’t fall neatly into the strike plate, you can apply a small bend to position it better. |
Congratulations.
This concludes the Mechanical Key Lock installation.
888-458-5911
MurphyDoor.com


