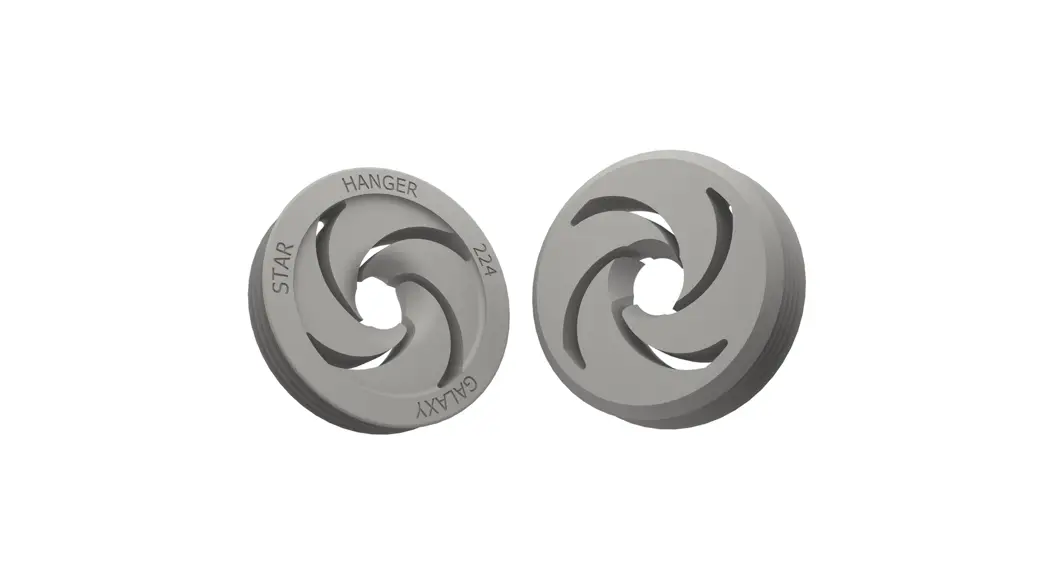
![]() 226 GALAXY, HEAVY ACOUSTICAL PANELS,
226 GALAXY, HEAVY ACOUSTICAL PANELS,
DIRECT TO SHEETROCK, INSTALLATION GUIDE
226 Galaxy Heavy Acoustical Panels
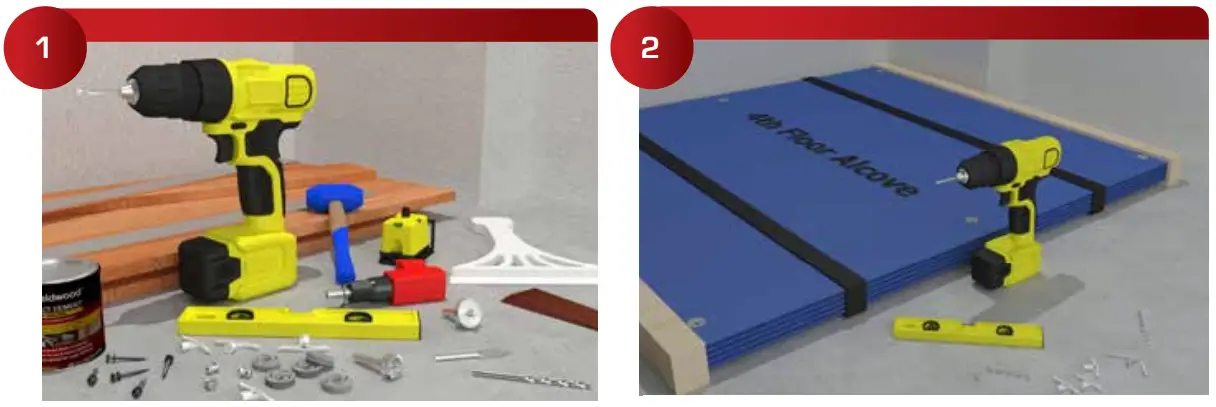 | |
| Required Tools; 225 Galaxy, 229 Galaxy Alignment Pins, 236 Combination Screws, Dead Blow Hammer or 965 Galaxy Hammer, 919 Carbide Tipped Drill 5/16”, 911 Carbide Tipped Drill 1-1/4”, Forstner Drill, 952 Pop Toggle. | When shipped in a pre-assembled flat packed kit, the tools required for customer installation are minimal. Tools required for “Customer DIY Installation”: 229 Galaxy Alignment Pins, 236 Combination Screws, 919 Carbide Tipped Drill 5/16”, 911 Carbide Tipped Drill 1-1/4”, 952 Pop Toggle. |
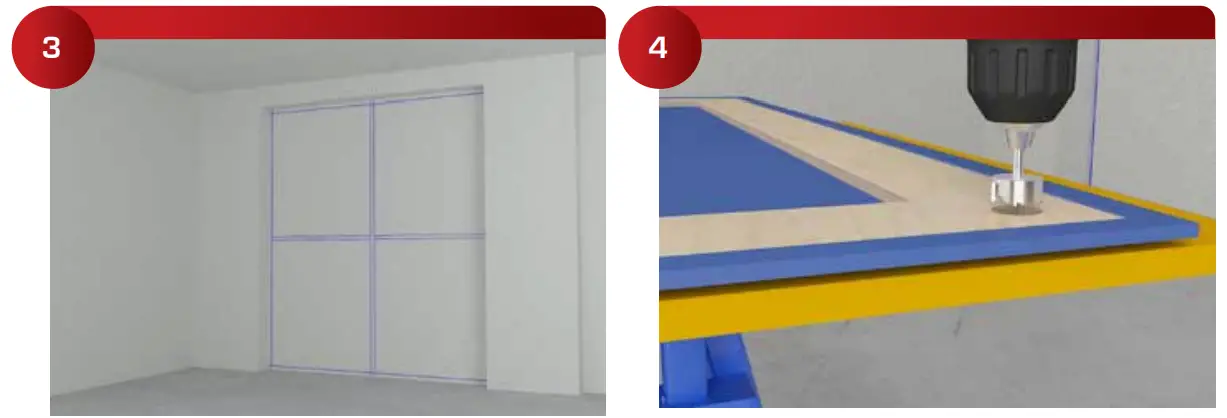 | |
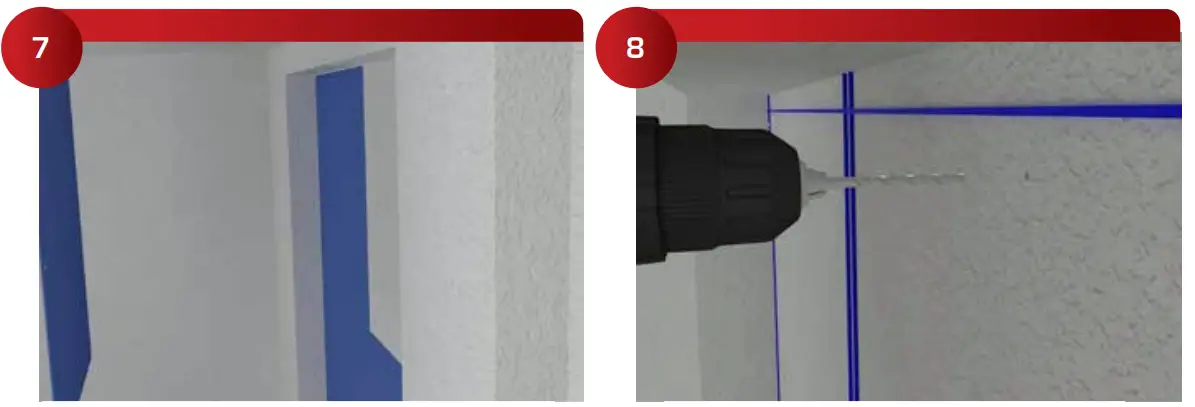
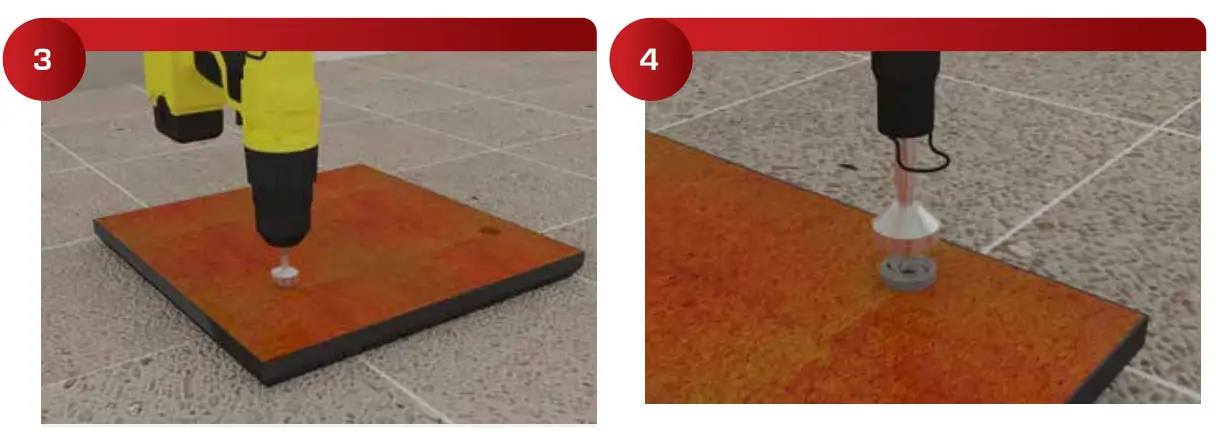
| Layout the perimeter of the panels on the walls with a blue chalk line. Confirm that the panel layout is workable with field alignmen electrical and any other requirements. | 225 Galaxy should be drilled about 2” off the panel corners to firmly hold the panels. Drill the holes with a 911 Carbide Tipped Drill 1-1/4”, Forstner Drill, 3/8” deep. |
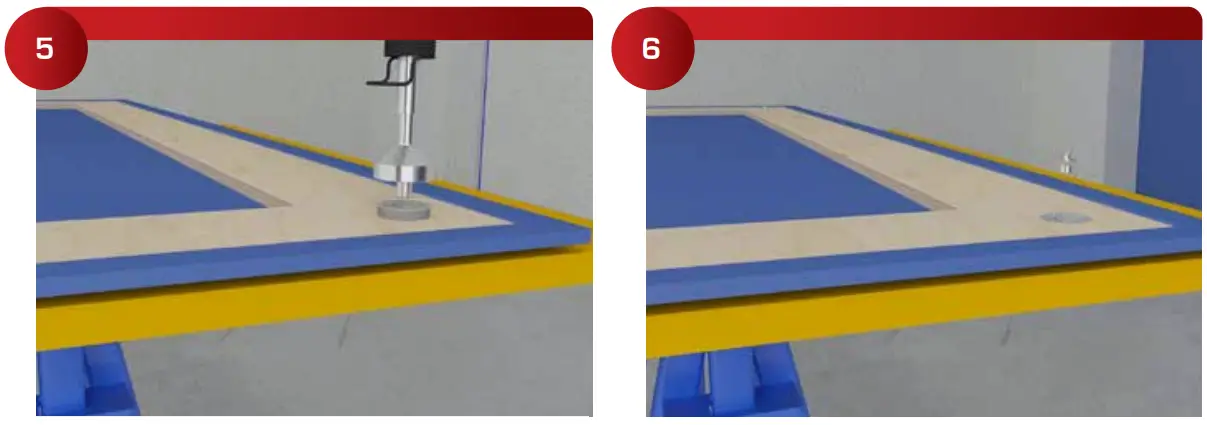 | |
| Install the 224 Galaxy flush with the panel surface using a DeadBlow Hammer. | Using pliers insert the 229 Galaxy Alignment Pins into the 225 Galaxy. |
 | |
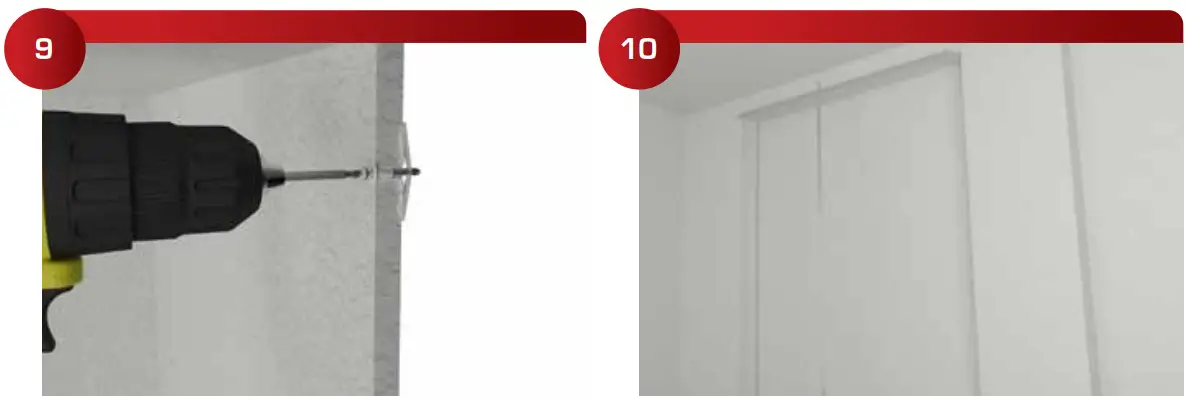
| Set the panels on top of the reveal strips and push them firmly into the drywall to mark the locations for the 236 Combination Screws. | Drill a 5/16” hole in the positions indicated by the 211 Alignment Pins |
 | |
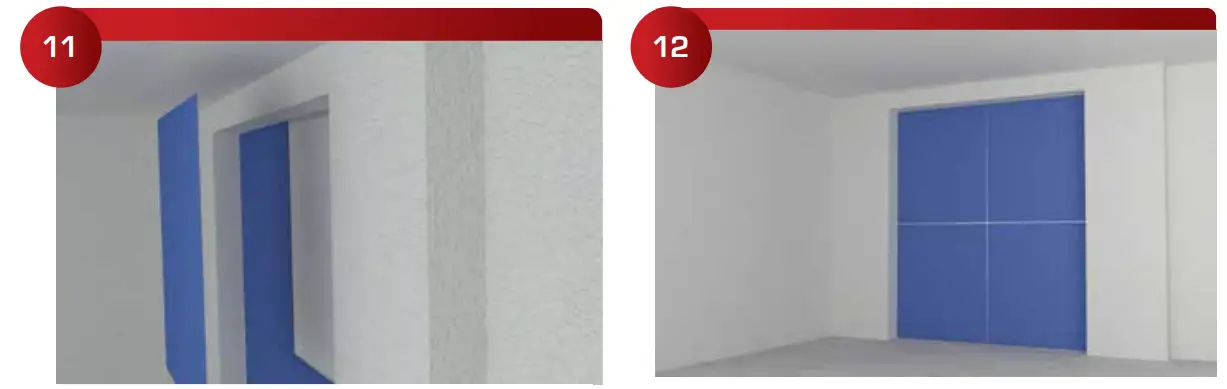
| Install 952 Pop Toggle and 236 Combination Screws. Push red the setting stick into the 952 Pop Toggle to force the arms to pop out in the back. Using a drill set on low torque gently snug the screws. (TIP: Do not over tighten the screw, it can compress into the sheetrock.) | The reveals can be quickly painted, or you can use 1/32” plastic laminate with contact cement. |
 | |
| To install the panels they must be carefully realigned with the mounting screws. Then push them straight into place firmly, you should hear them click and lock in position. (TIP: Use reveal spacers to quickly locate the position of the panel.) | The panels are permanently removable for maintenance. The Galaxies are not suitable for frequently used access panels. |
![]()
 | |
| Required Tools; 226 Galaxy, 229 Galaxy Alignment Pins, 239 Machine Screws, Dead Blow Hammer or 965 Galaxy Hammer, 917 Drill & Tap combination, 10-24 Thread, 911 Carbide Tipped Drill 1-1/4” Forstner Drill | Determine the location of the sign and lightly mark the location,use tape on the door if it’s too hard to mark. |
 | |
| The 226 Galaxy can be field installed using a 911 Carbide TippedDrill 1-1/4”, Forstner Drill | The 226 Galaxy can be plant installed flush with the back of the sign, allowing signs to be shipped flat with the hardware installed. A plant prepared CNC cut sign and layout template,including the centers for the mounting screws, makes the field installation very quick. |
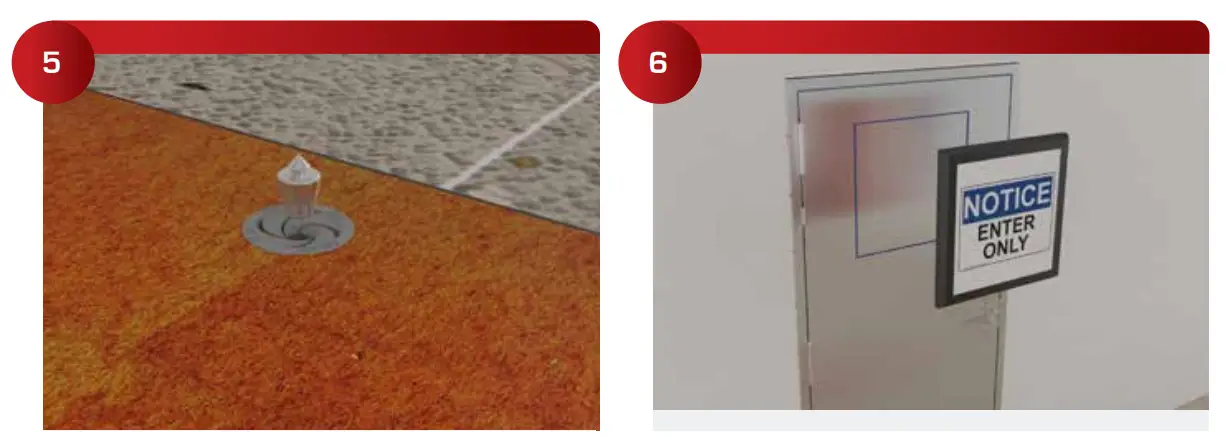 | |
| Place 229 Galaxy Alignment Pins in each 226 Galaxy to mark the sign. Alignment Pins are reusable. | Carefully place the sign in the correct position and bump the sign in each corner to mark the location of each mounting screw. |
![]() “Hidden Fastener Specialists” | www.starhanger.com
“Hidden Fastener Specialists” | www.starhanger.com


 420 S Clip & Long Bars Installation Guide")


 Installation Guide")


