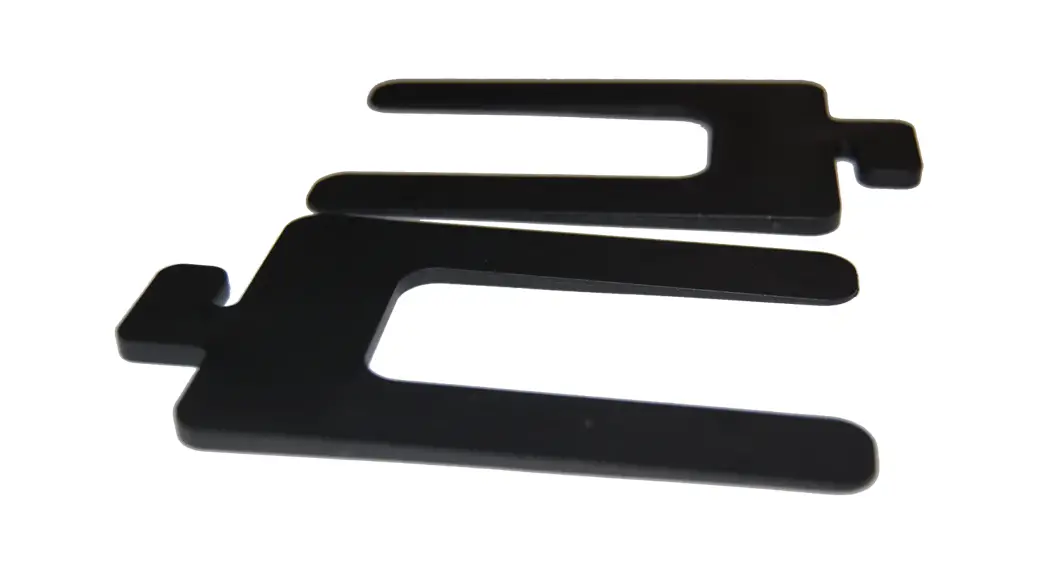
![]() Systems 750 Tapered Shim,
Systems 750 Tapered Shim,
Installation Guide
“Hidden Fastener Specialists”
www.starhanger.com
750 Tapered Shim,
GET TOOLS READY
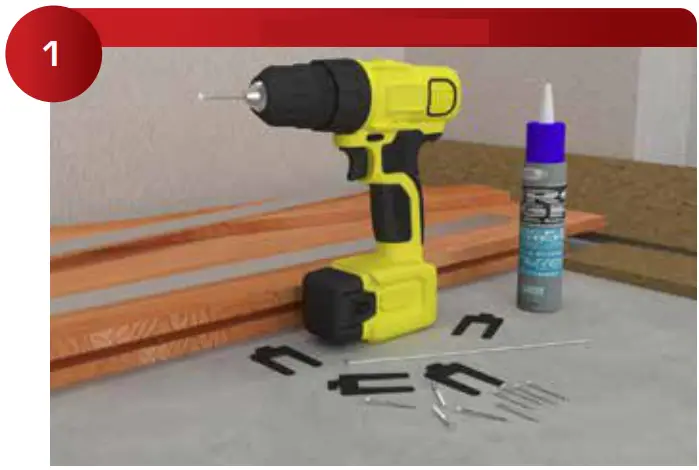 |  |
| Required Tools: 750 Tapered Shim, Panel Adhesive, Drill, Screws | 750 Tapered Shims can be used for any item that needs variable spacers. They are especially useful for shimming furring. |
 | 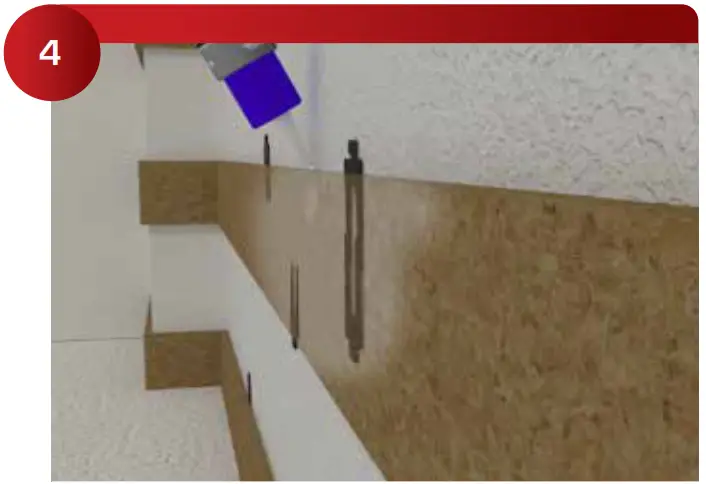 |
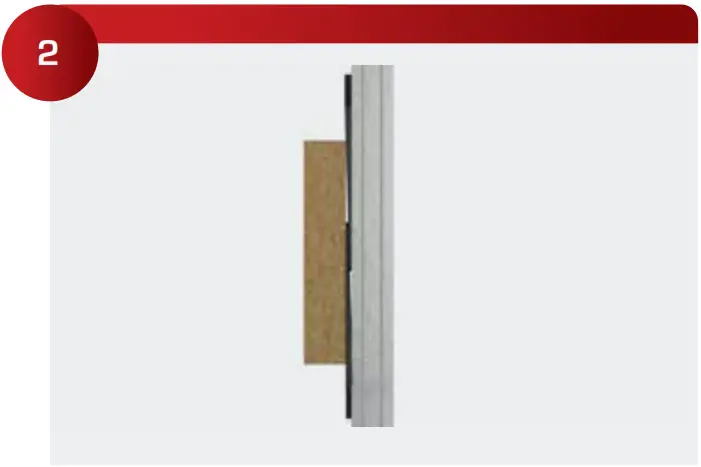
| Determine the greatest projection (bump out in the wall). This will determine the face of your furring and panels. It is important to know exactly where you want your face to furring before you start. | After laying out your furring horizontally, start the installation of the furring systems by nailing the furring straight into position, without panel adhesive. This allows the furring to be adjusted in and out. |
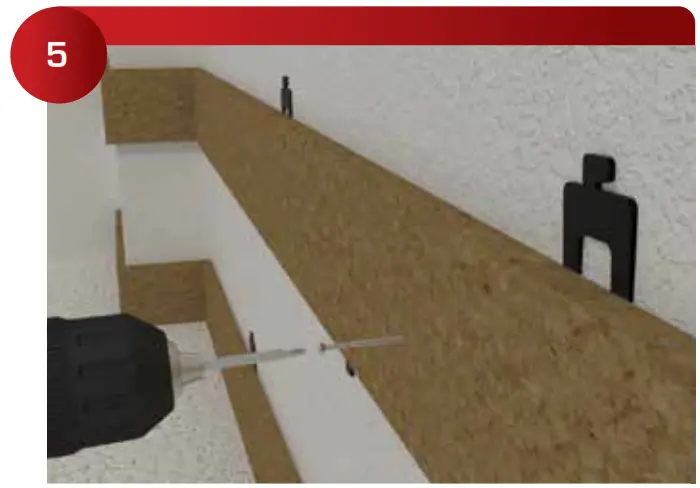 | 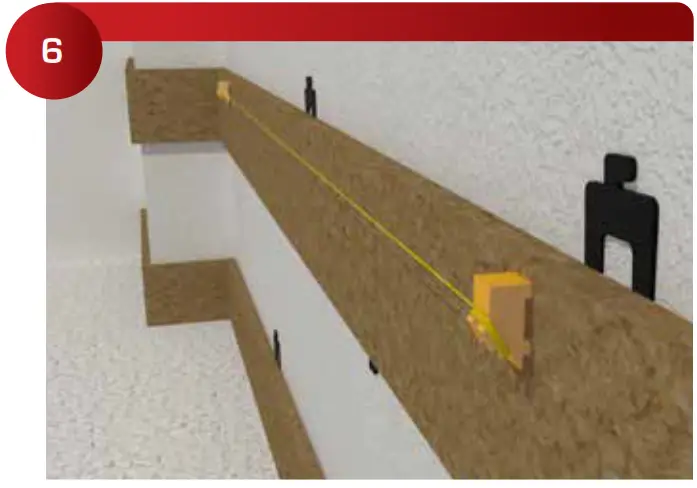 |
| Use a level, shims, and glue to screw and lock the far left and right sides of the furring into place. This provides level work surfaces to straighten the middle of the furring. | Place ¾” thick blocks on the far left and right sides of the furring that are fixed and leveled. Pull a tight string line between the blocks. |
 | Using a 3rd ¾” thick block, work down the line, one stud at a time to level, shim, glue, and screw the furring permanently into place. |


 420 S Clip & Long Bars Installation Guide")


