![]() Wall Panel (pdf) 420 S Clip & Long Bars
Wall Panel (pdf) 420 S Clip & Long Bars
Installation Guide
“Hidden Fastener Specialists”
www.starhanger.com
Wall Panel (pdf) 420 S Clip & Long Bars
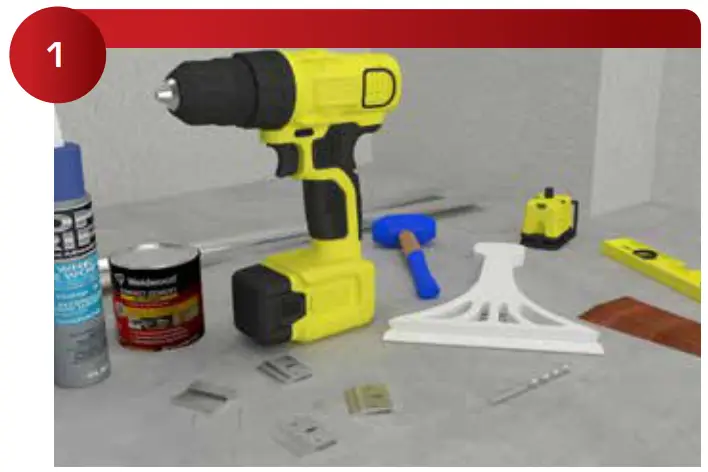 |  |
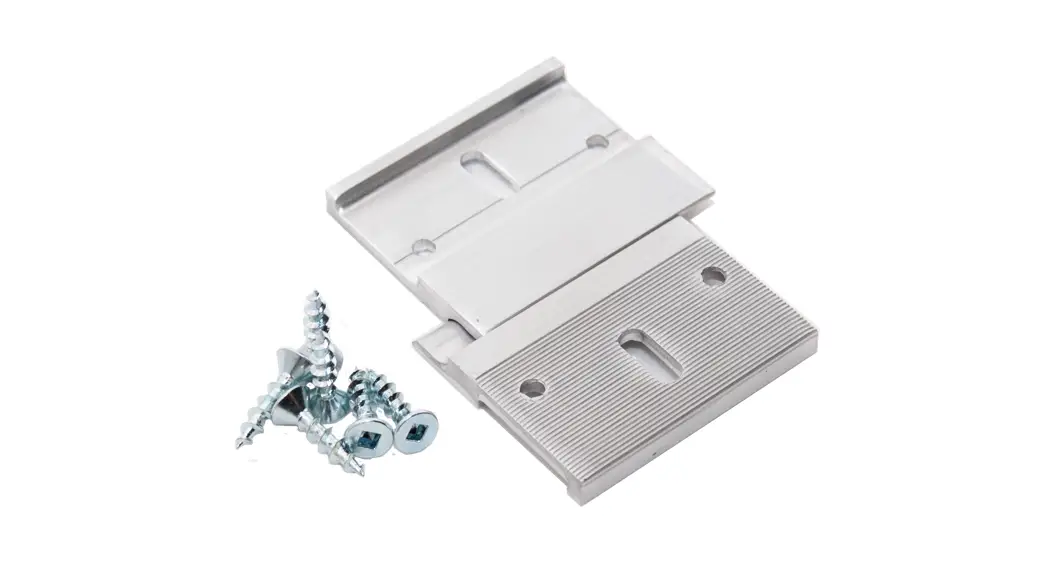
| Required Tools; 420 S Clip, 421 S Alignment Clips, Panel Adjuster, 1/32” plastic laminate, Spray Contact Cement, Panel Adhesive. | When using pre-engineered, field-verified, CNC-cut furring, the panel clips are pushed firmly to the bottom of the clip pocket. |
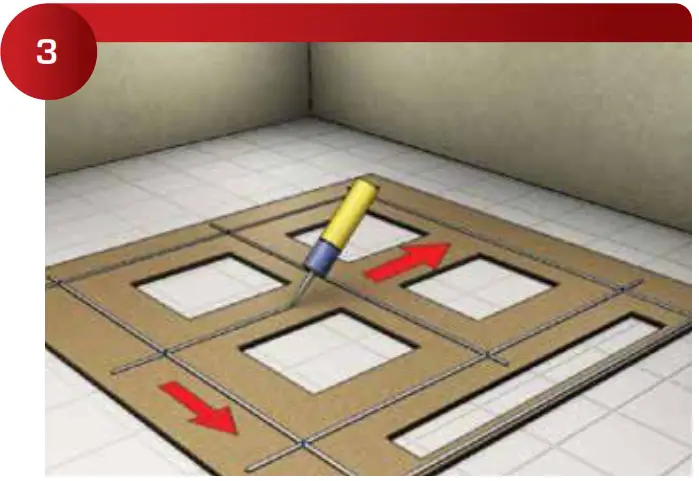 | 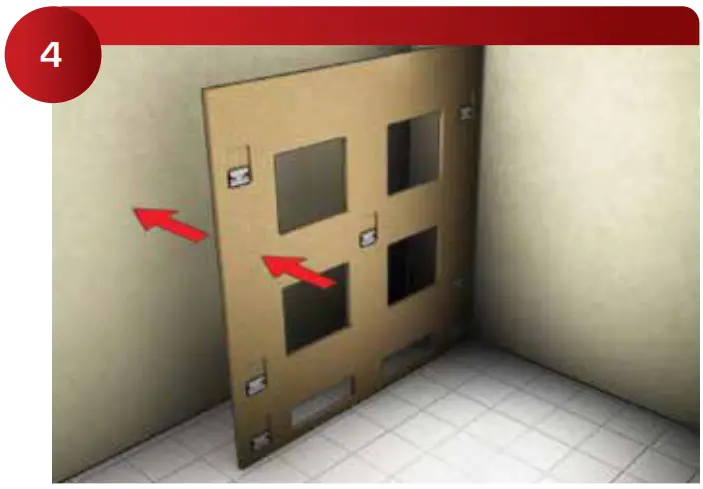 |
| Full-size furring sections can be pre-glued and shimmed into place. | Install the corner furring sections to the field control lines. |
 |  |
| Level and square the corner furring sections with shims and screws as required. | Use a string line to straighten the pre-cut furring. (Tip: If you have per-glued the furring panels, you need to work quickly.) |
 | 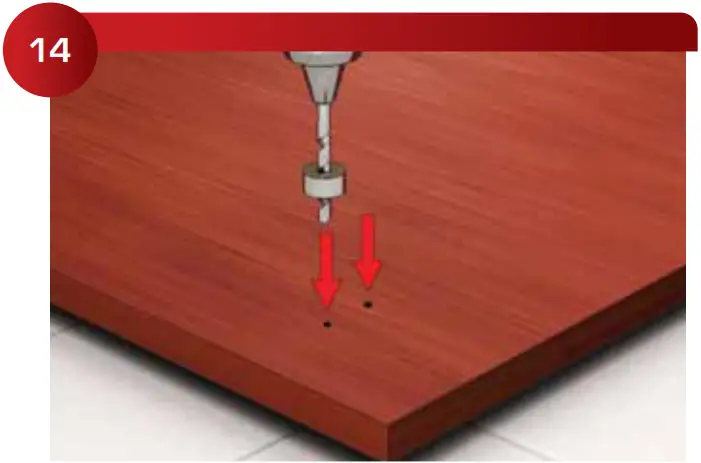 |
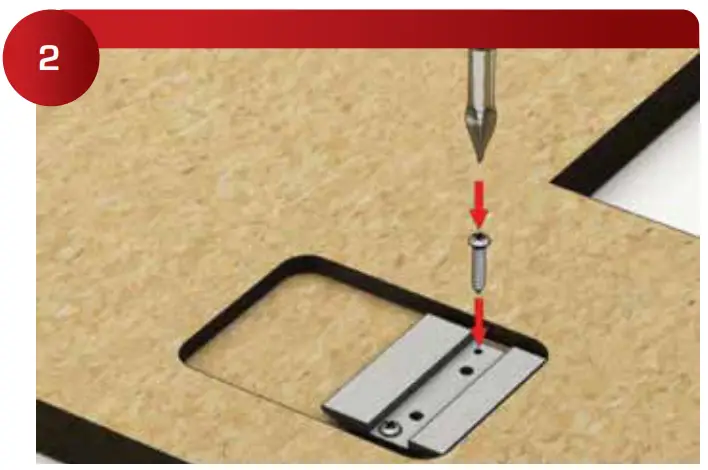
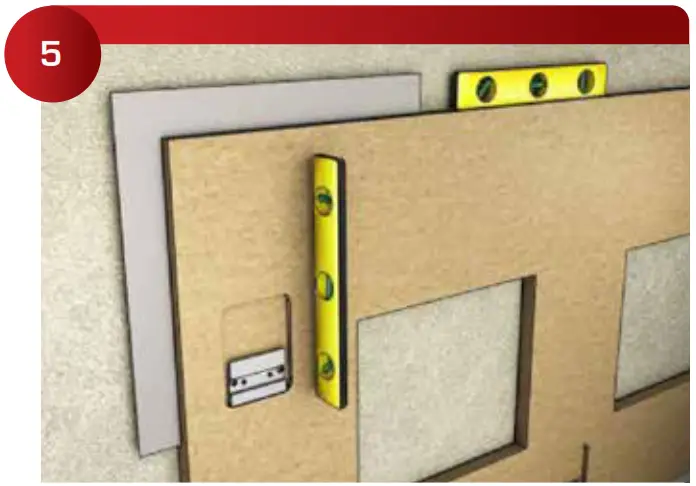
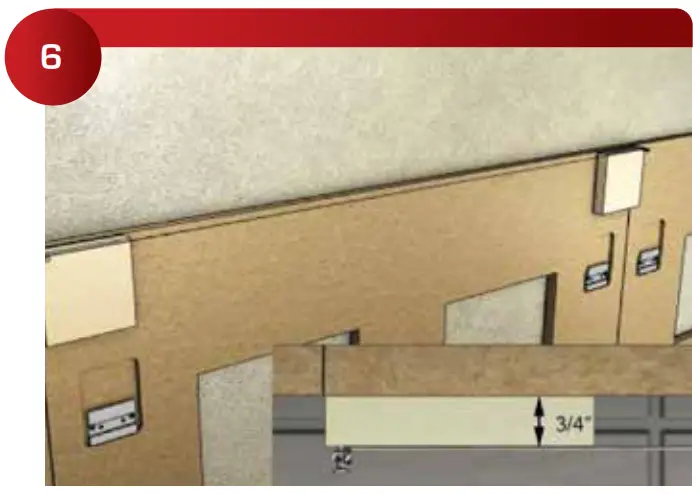
| Carefully position your panel over the 421 S Alignment Clips and push them firmly enough to leave a location mark for the mounting screws. | Pre-drill with a 1/16” drill on the back side of the panel at each location mark. |
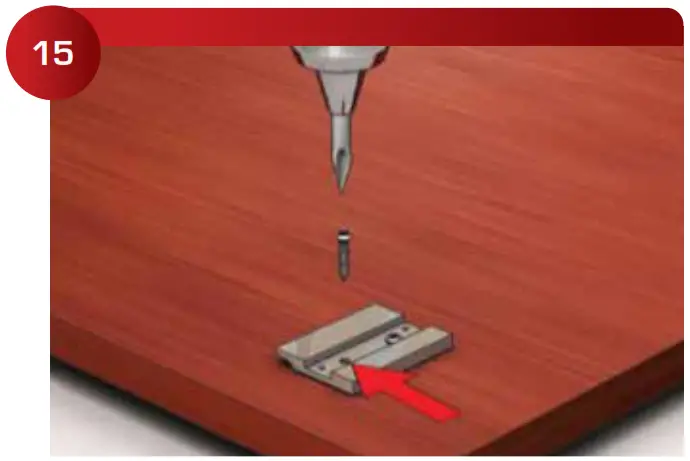 |  |
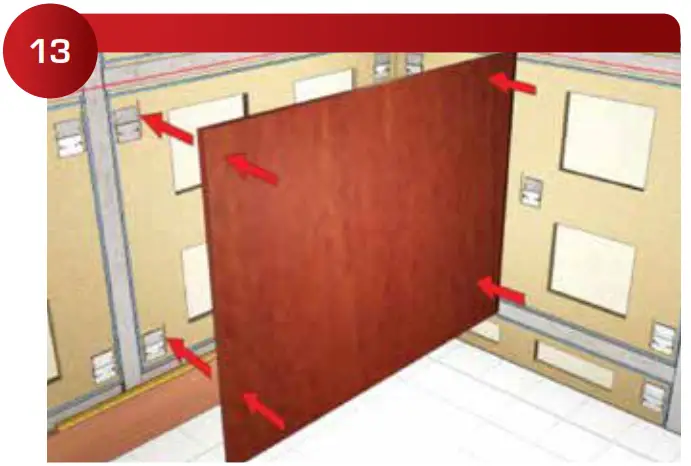
| Insert supplied screws. | Lift the panel into place about 1/2” above marks, and push in and down firmly to lock the panels into their final position. |
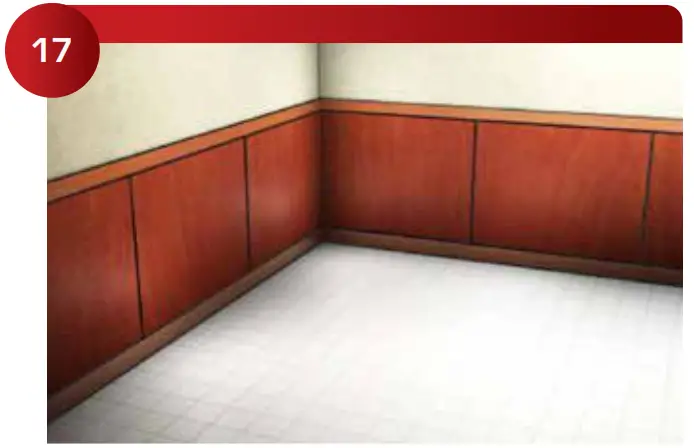 | Finished paneled wall. |


