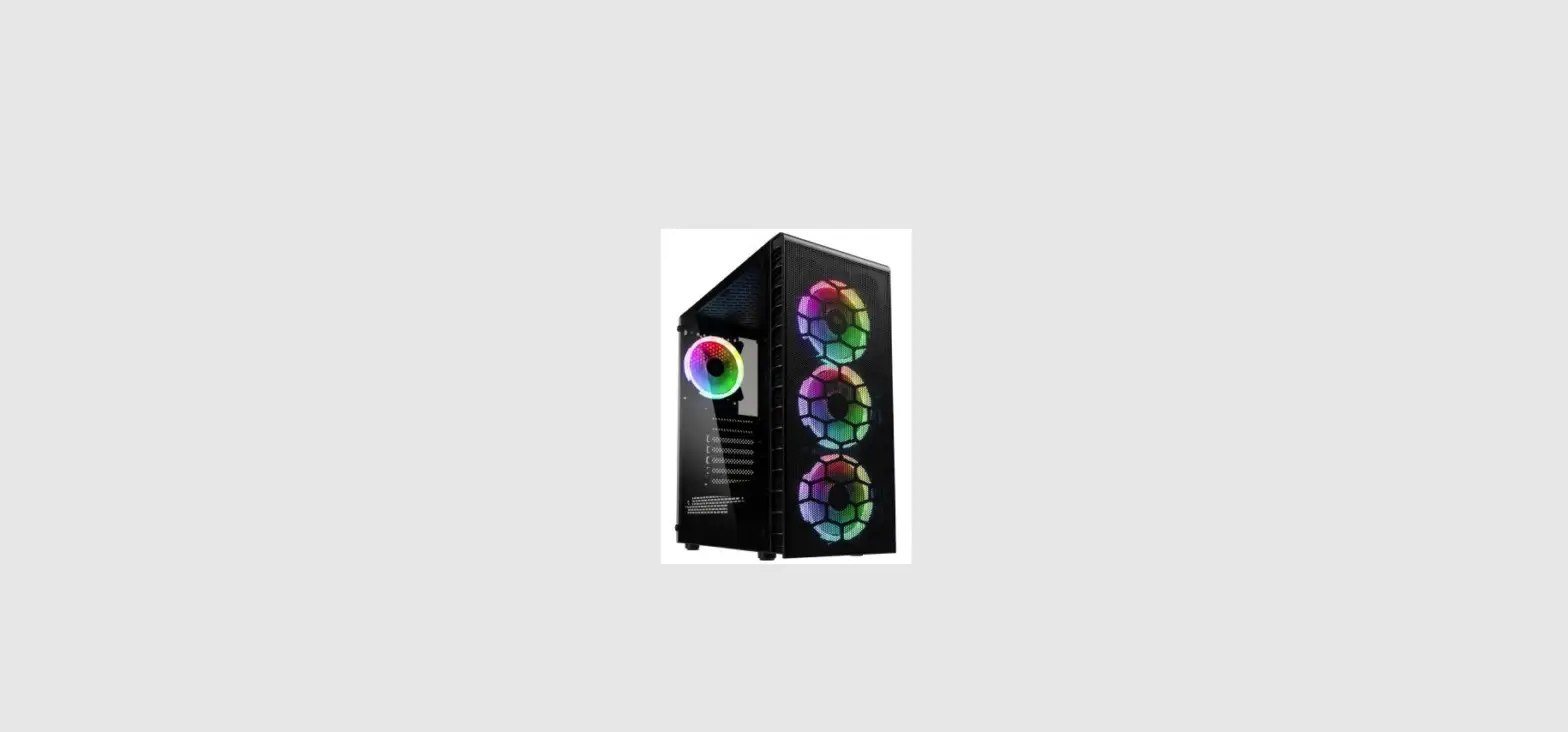
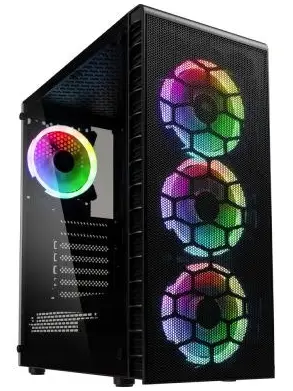
KOLINK ObservatoryY Mesh ARGB Midi Tower Case
ACCESSORY PACK CONTENTS

PANEL REMOVAL
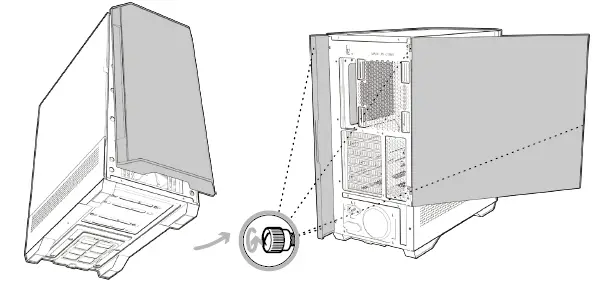
- Left Panel – Pull the tab to open the hinged glass panel and lift off the hinges
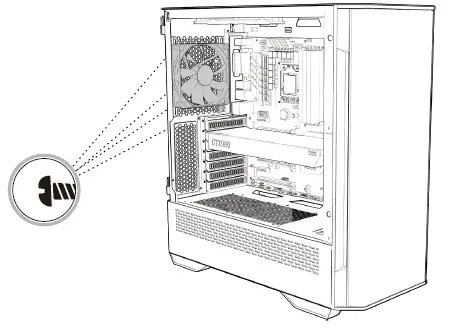
- Right Panel – Unscrew the two thumbscrews and slide off.
- Front Panel – Find the bottom cut out, stabilise the chassis with one hand, and pull from the cutout with a little force until the clips release.
MOTHERBOARD INSTALLATION
- Align your motherboard with the chassis to locate where the stand-offs should be installed. Once done, remove the motherboard and fasten stand-offs accordingly.
- Insert your motherboard I/O plate into the cutout at the rear of the case.
- Place your motherboard into the chassis, making sure the rear ports fit into the I/O plate.
- Use the provided motherboard screws to attach your motherboard to the chassis.

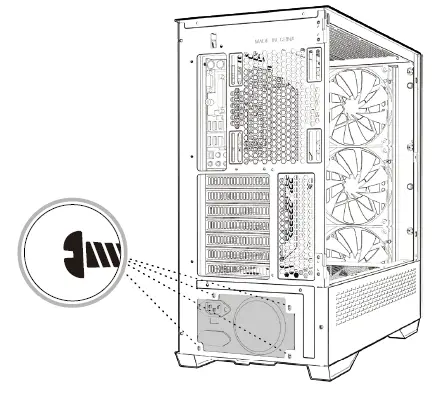
POWER SUPPLY INSTALLATION
- Place PSU in the bottom rear of the case, within the PSU shroud.
- Align the holes and secure with screws
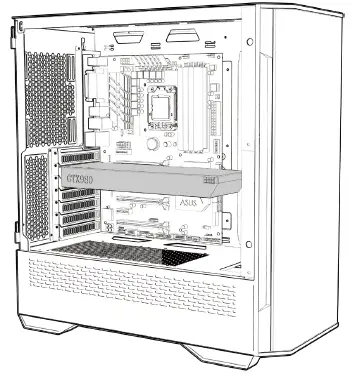
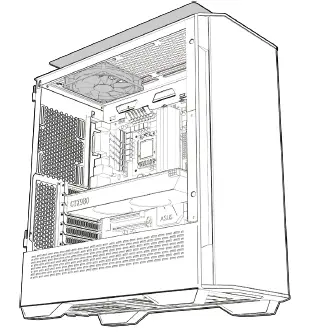
GRAPHICS CARD/PCI-E CARD INSTALLATION
- Remove the rear PCI-E slot covers as necessary (depending on the slot size of your card)
- Carefully position and slide your PCI-E card into place, then secure with the add-on card screws supplied.
- Graphics card can also be mounted vertically using the Vertical GPU bracket & riser cable kit (sold separately)
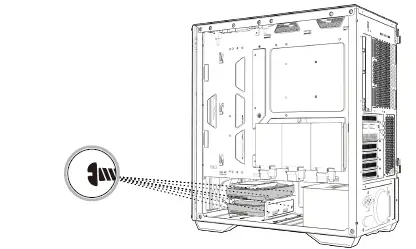
2.5″ SDD INSTALLATION (R)
Remove the bracket from the rear of the motherboard plate, attach your 2.5″ drive and then screw back into place.

2.5″ SDD INSTALLATION (R)
Place the 2.5″ HDD/SSD into/on top of the HDD bracket and screw in if required
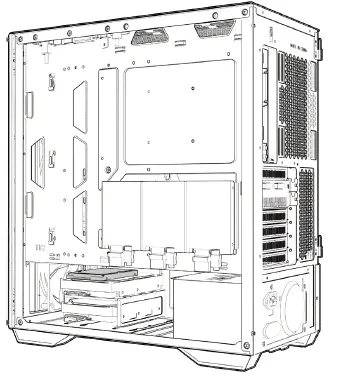
3.5″ HDD INSTALLATION
Place the 3.5″ HDD into/on top of the HDD bracket and screw in if required
TOP FAN INSTALLATION
- Remove the dust filter from the top of the case.
- Align your fan(s) to the screw holes on the top of the chassis and secure with screws.
- Replace your dust filter once secured.
FRONT/REAR FAN INSTALLATION
Align your fan to the screw holes on the chassis and secure with screws.
I/O PANEL INSTALLATION
- Carefully check the labeling of each connector from the I/O panel to identify their function.
- Cross-reference with the motherboard manual to locate where each wire should be installed, then secure one at a time. Please ensure they are installed in the correct polarity to avoid non-function or damage.


